Isolated Hyper-V pfSense Network

In this post, the text of the images can appear in Hungarian, because the material was part of projects that I used to teach for fellow Hungarians. If you can not fully follow the steps or the tutorial, I hope you got at least some inspiration.
Configuration and Testing of a Hyper-V-Based Isolated Network Using Windows 10 and pfSense
The purpose of the documentation is to demonstrate the configuration of a pfSense firewall operating in a Hyper-V environment, as well as the creation of a Windows 10-based virtual machine and its placement in an isolated network. In the network, traffic is routed through the firewall. In addition to the creation process, it also covers the setup of basic firewall rules, which provide fundamental knowledge for configuring the firewall.
The purpose of the documentation is to implement this network, where certain parameters, such as IP addresses, may vary depending on the implementation environment:

The requirements are to download the .iso file from the pfSense website (https://www.pfsense.org/download/). I tested it with versions 2.6 and 2.7, which worked flawlessly. Additionally, download Windows 10 from the evaluation center (https://www.microsoft.com/en-us/evalcenter/).
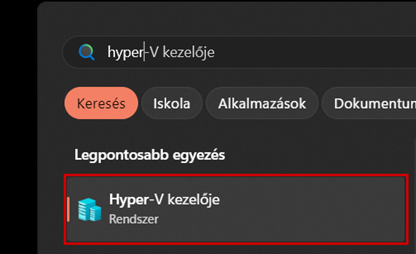
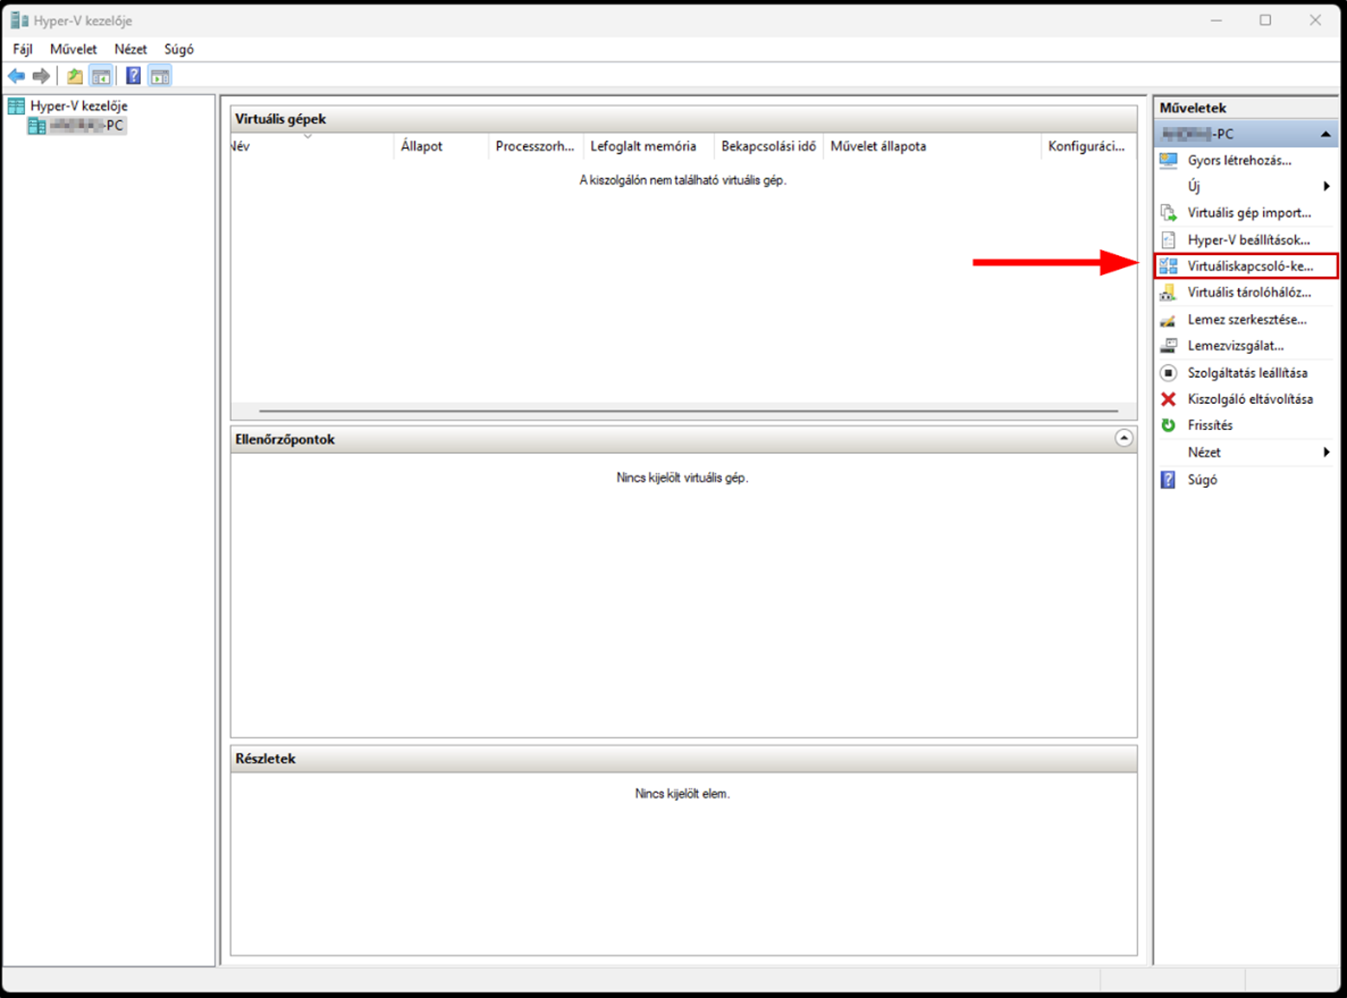
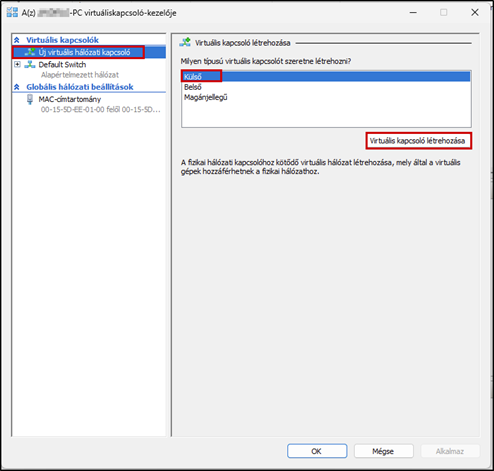
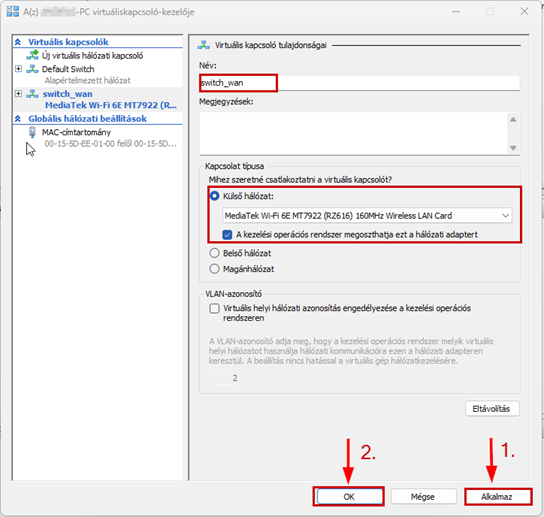
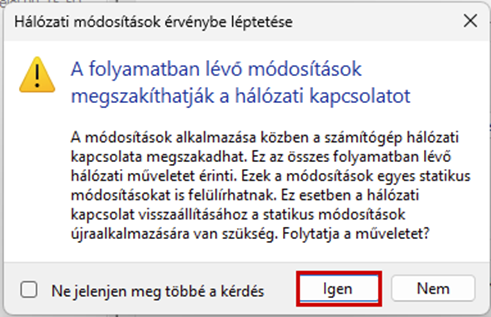
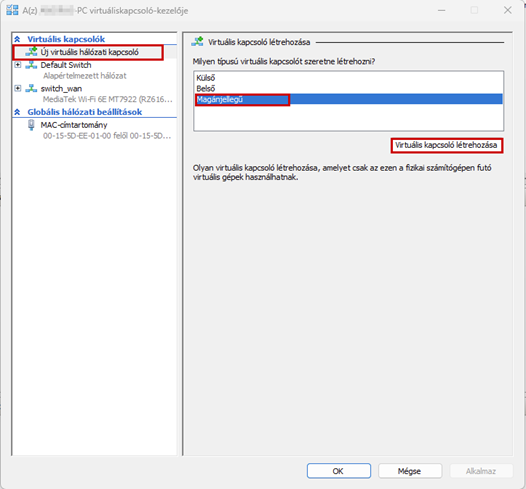
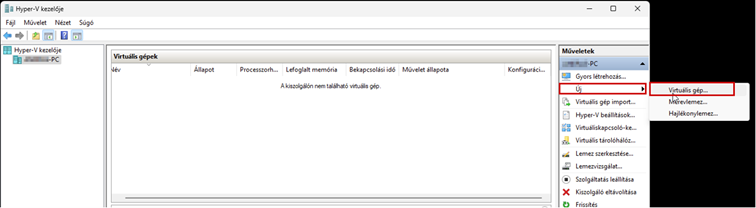
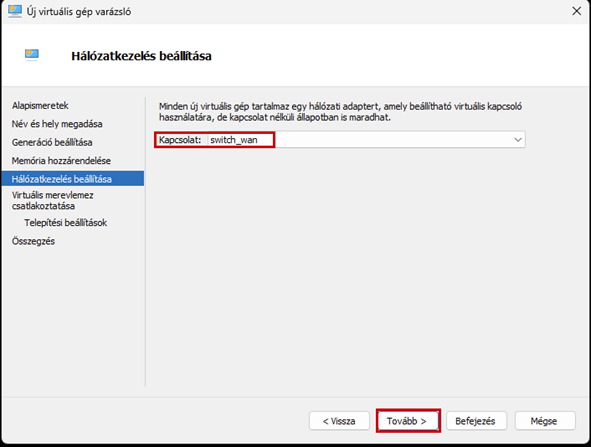
Launch the Hyper-V Manager, then configure the network switches as shown in the images.

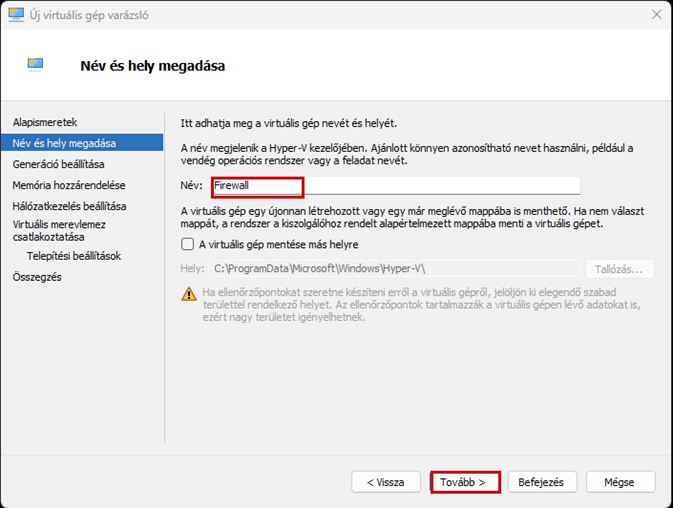
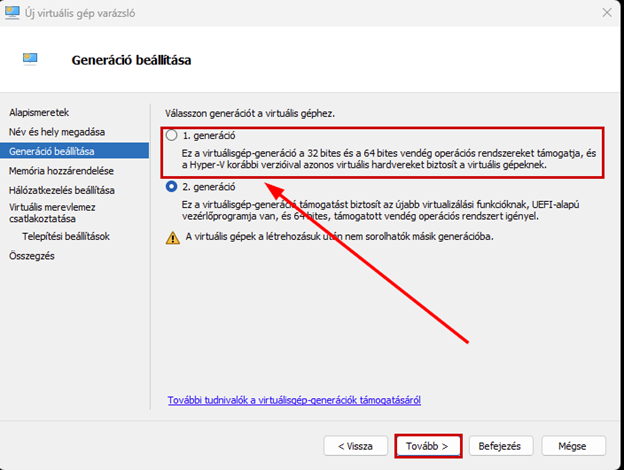
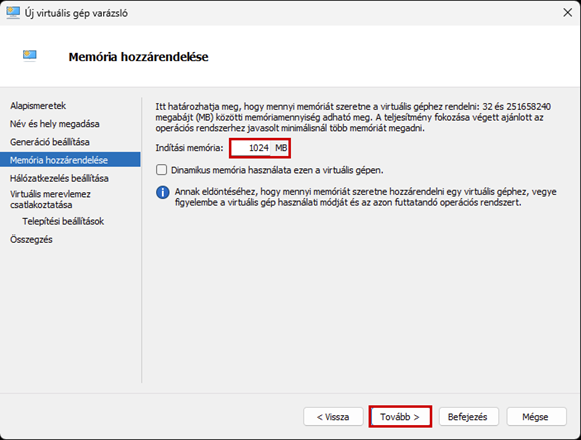
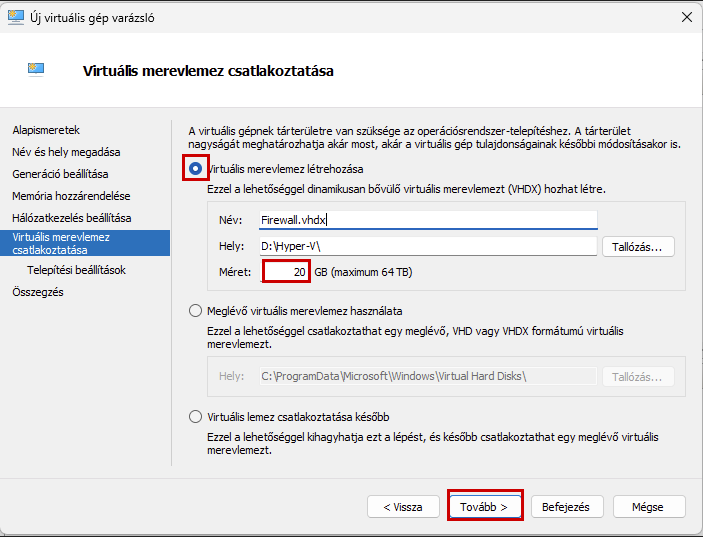
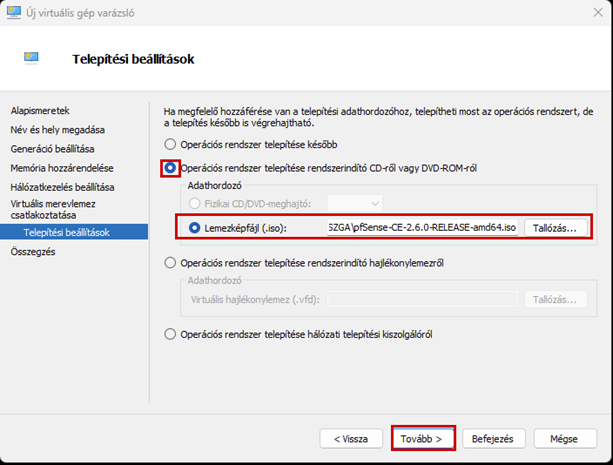
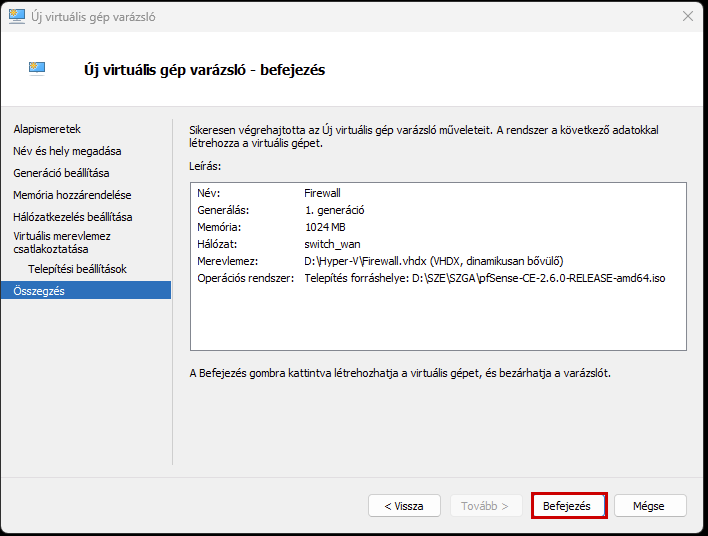
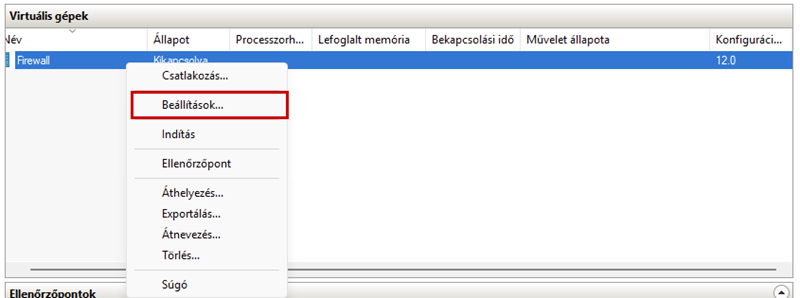
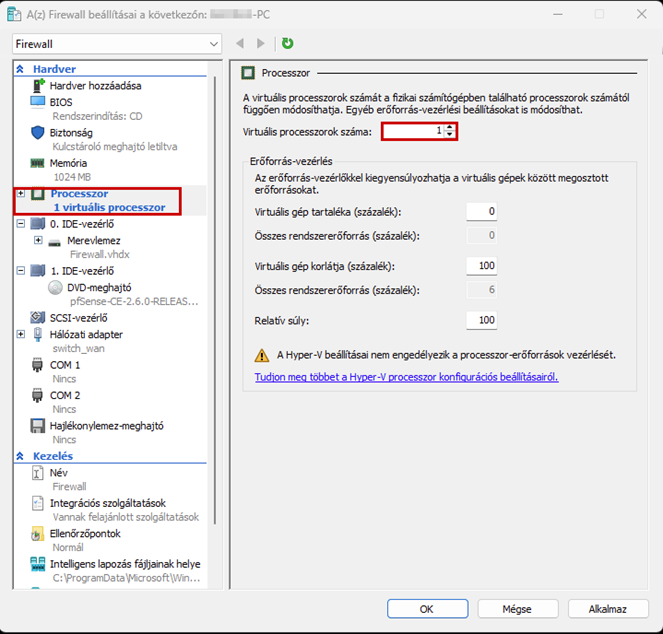
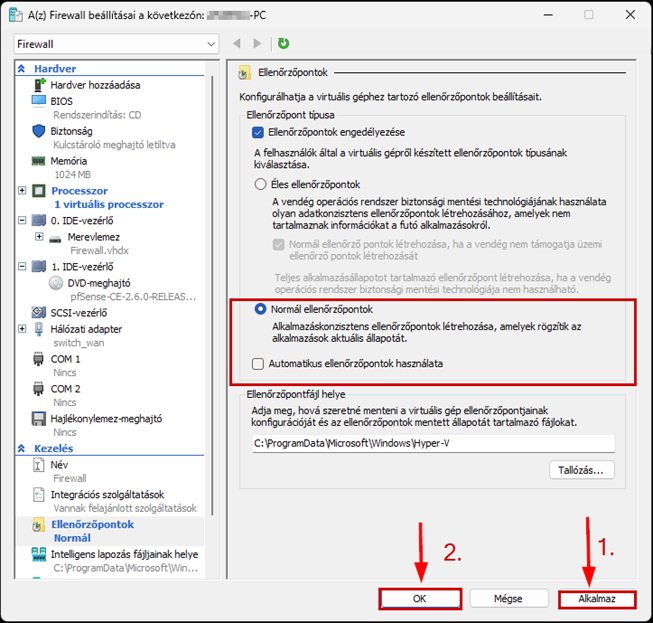
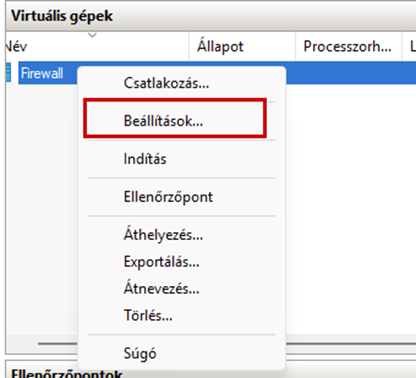
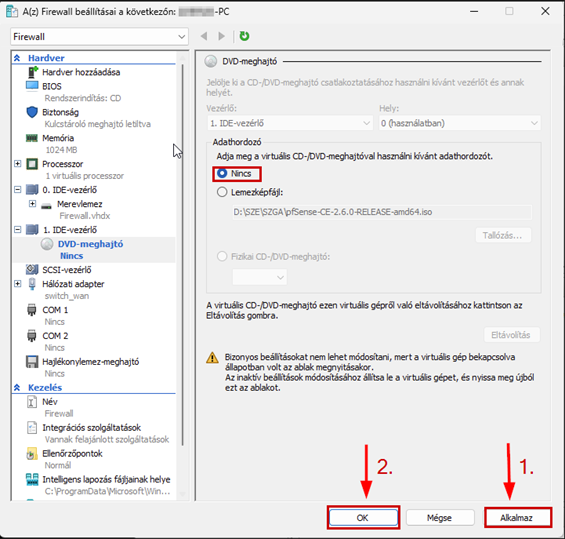
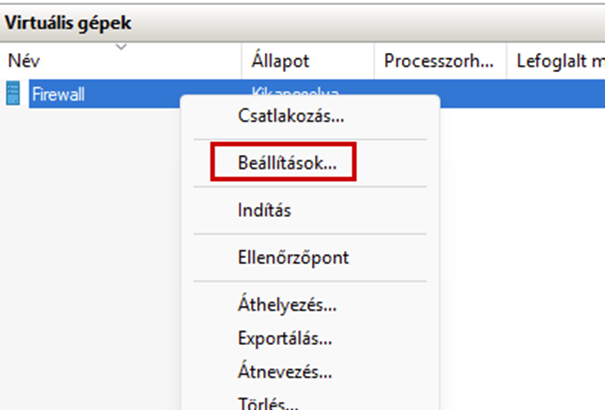
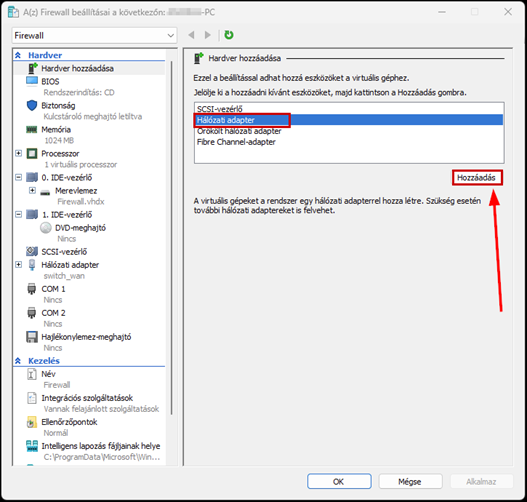
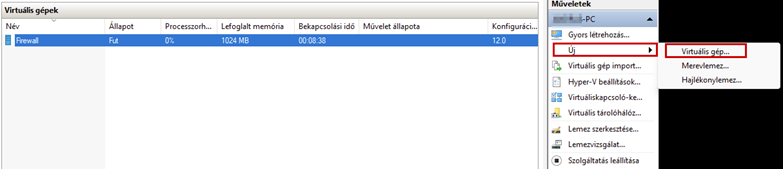
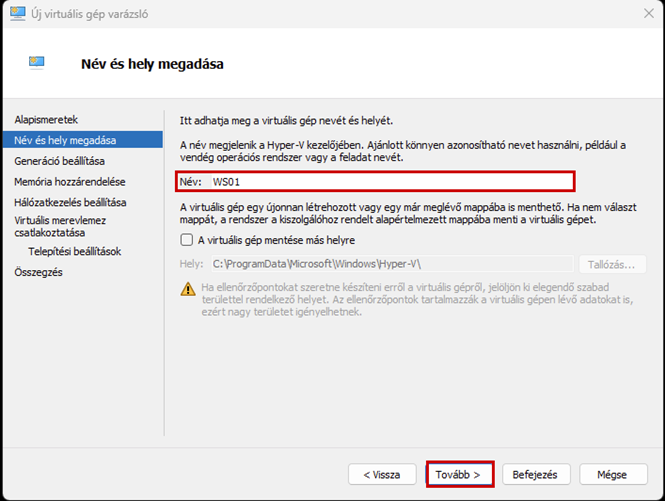
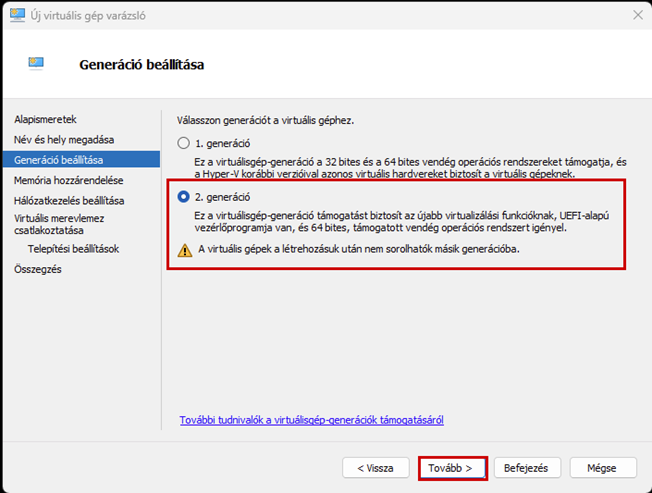
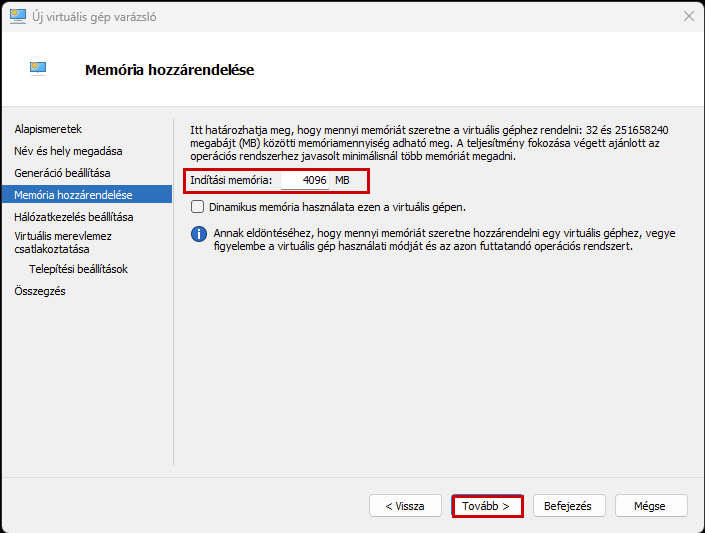
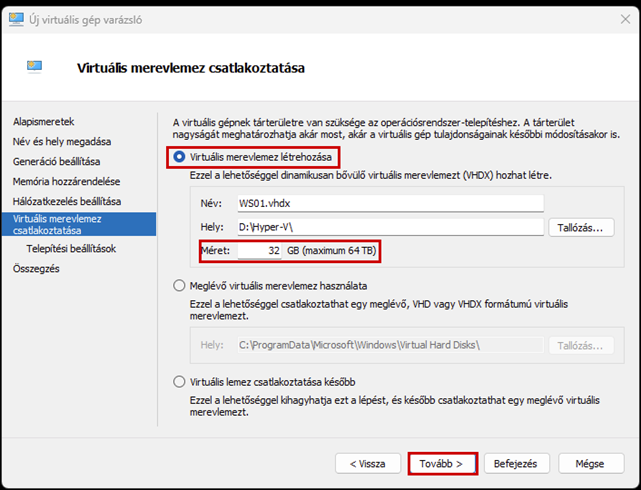
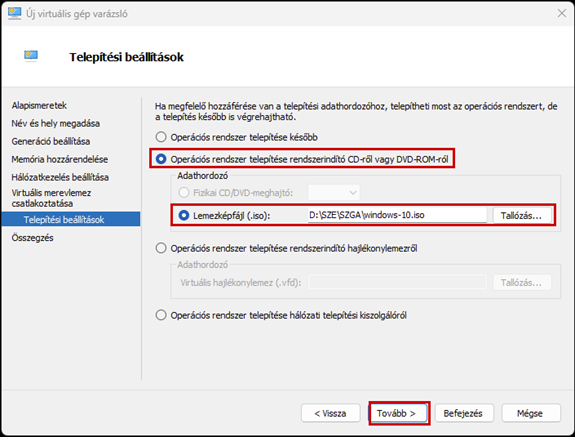
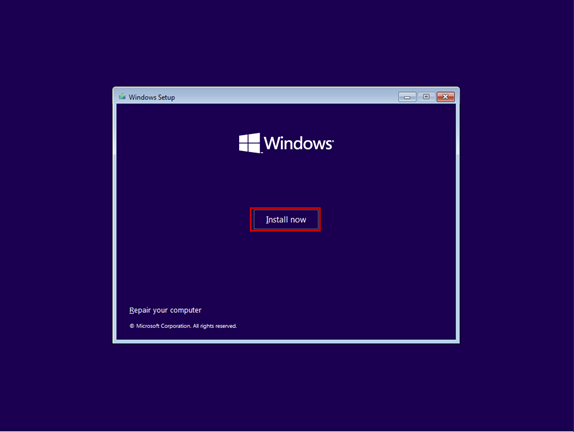
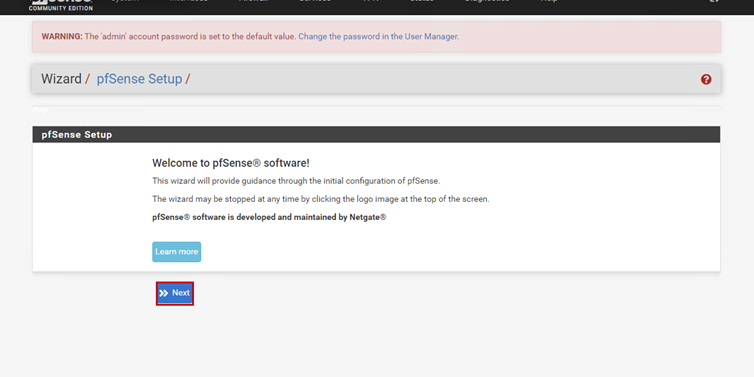
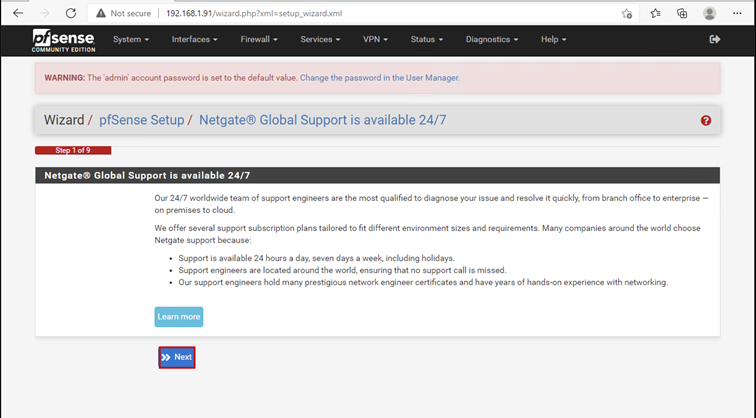
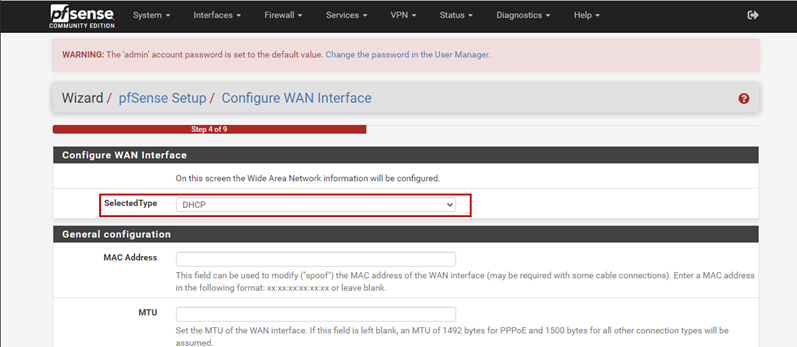
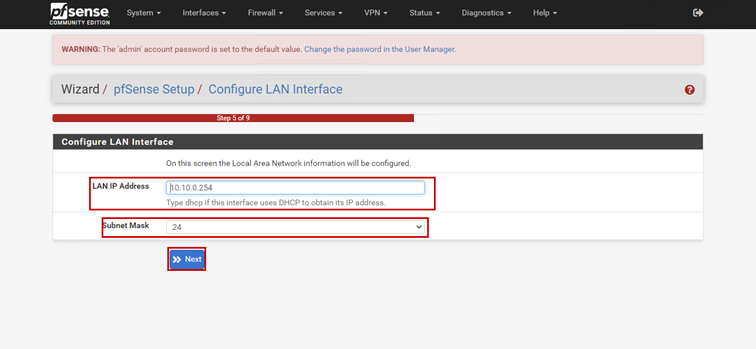
Create a new virtual machine that will serve as the pfSense firewall in our network. Follow the steps shown in the images.
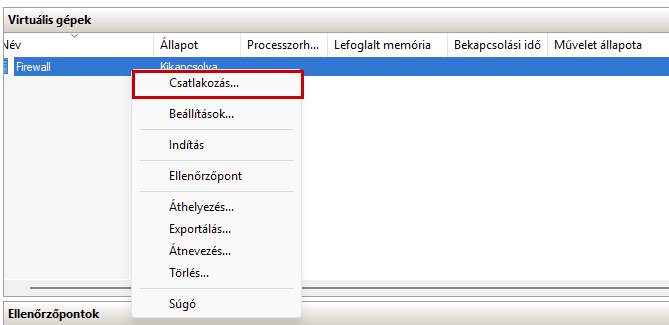
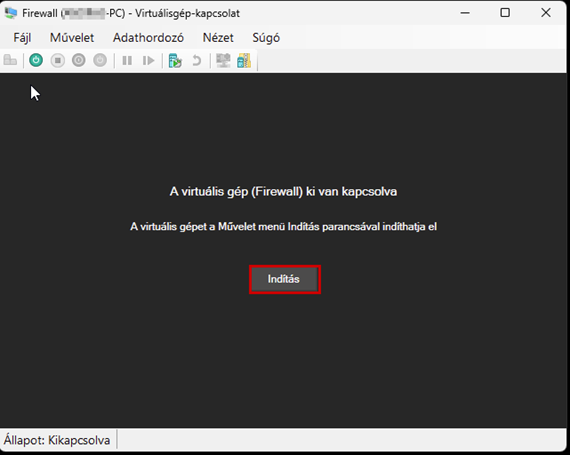
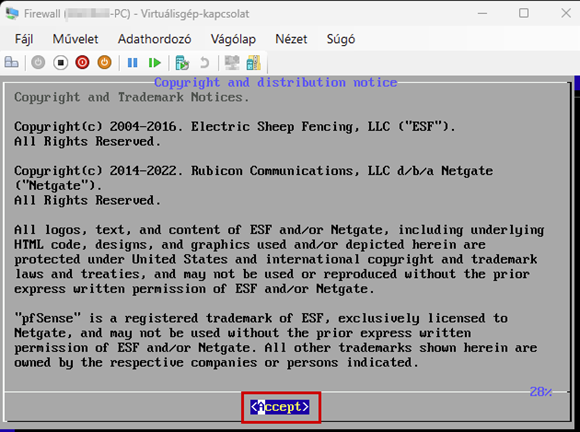
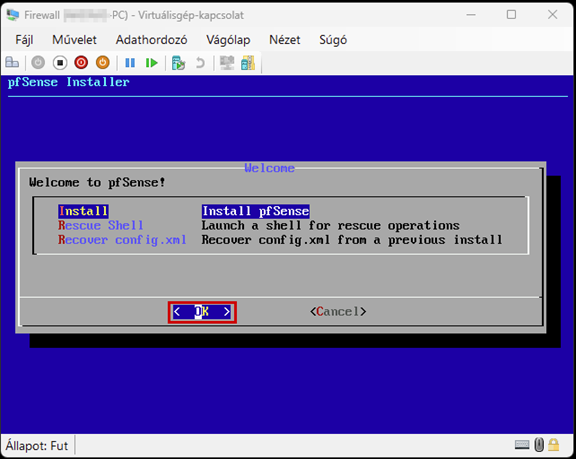
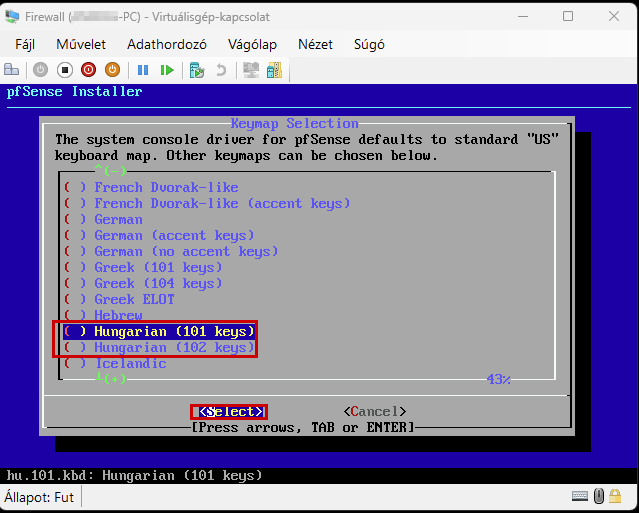
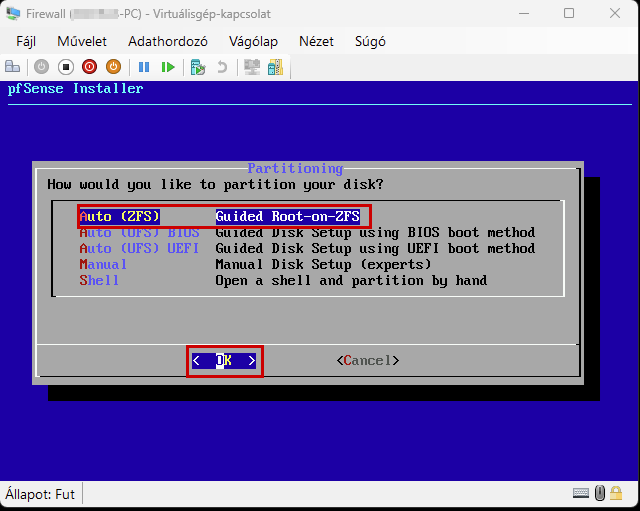
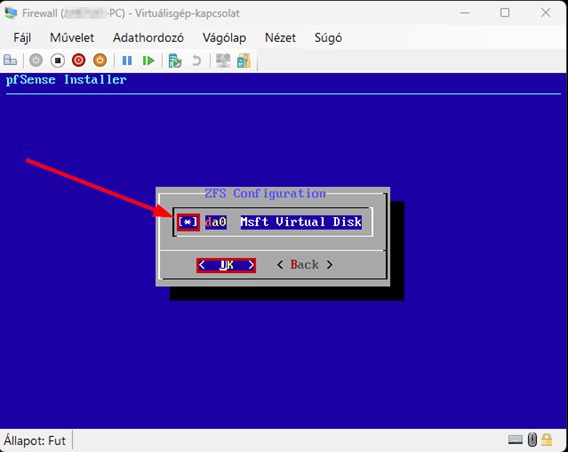
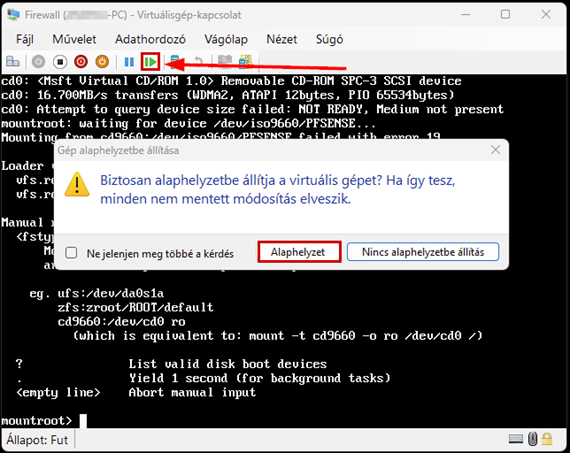
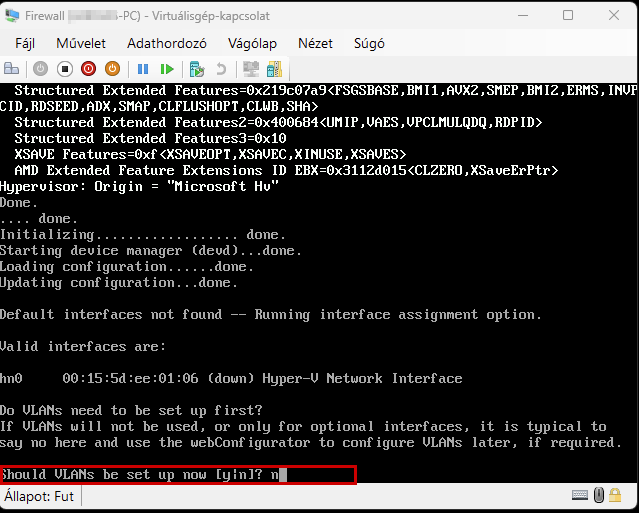
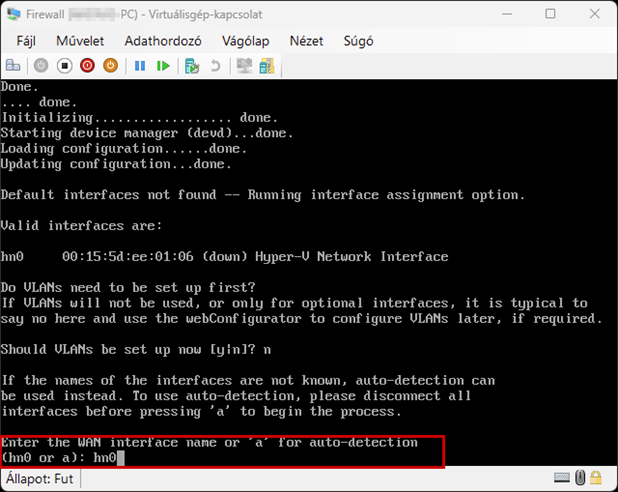
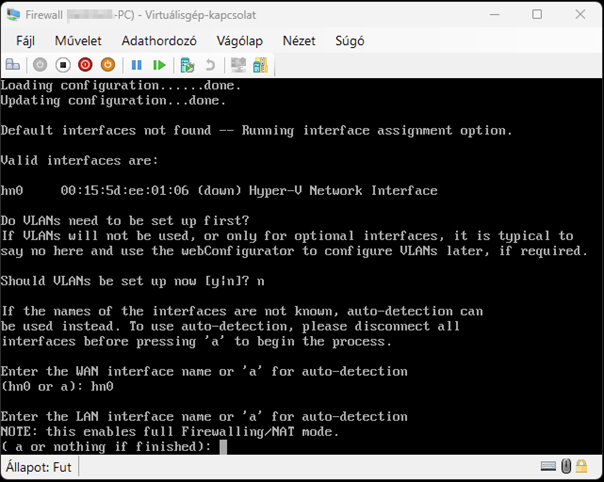
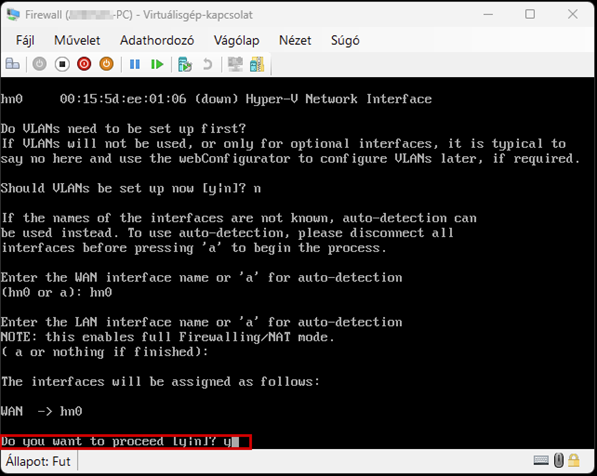
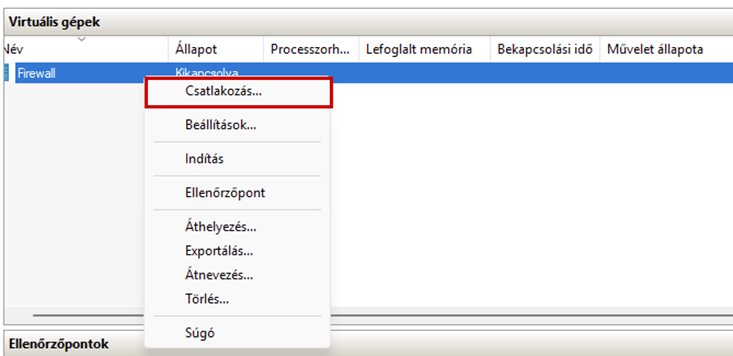
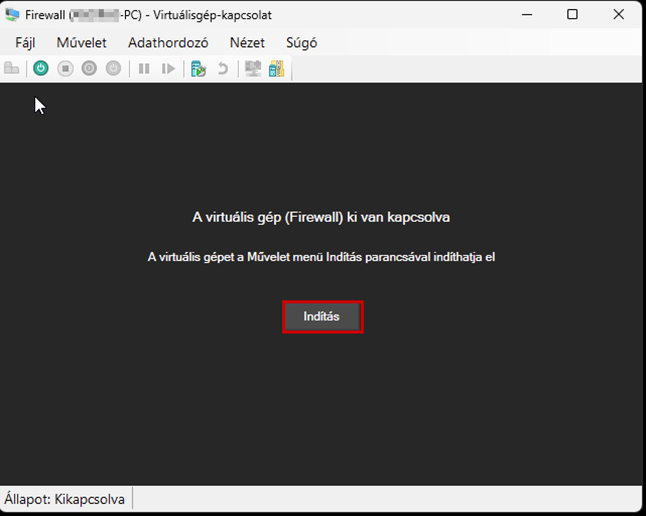
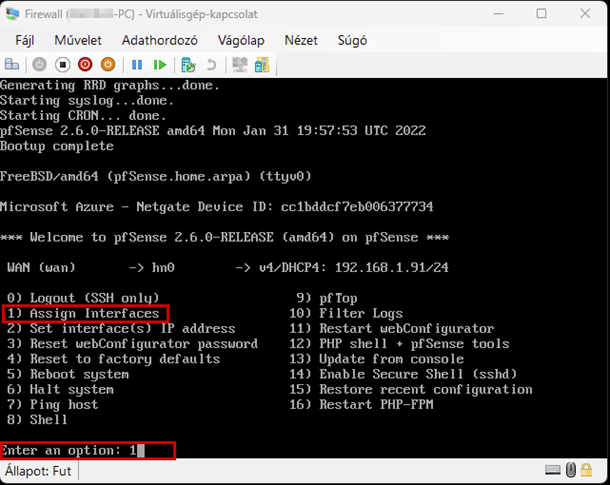
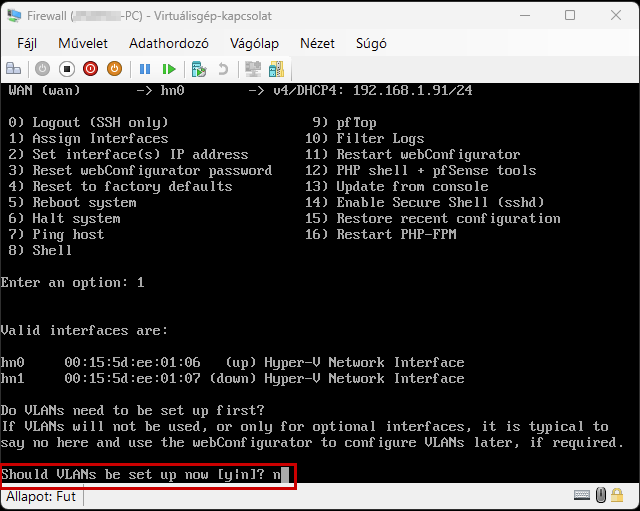
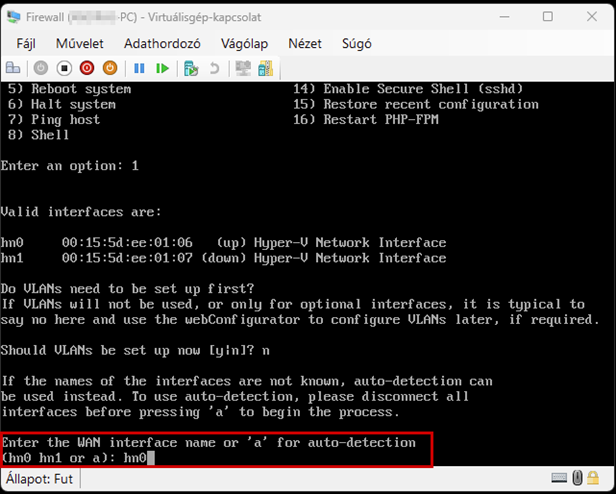
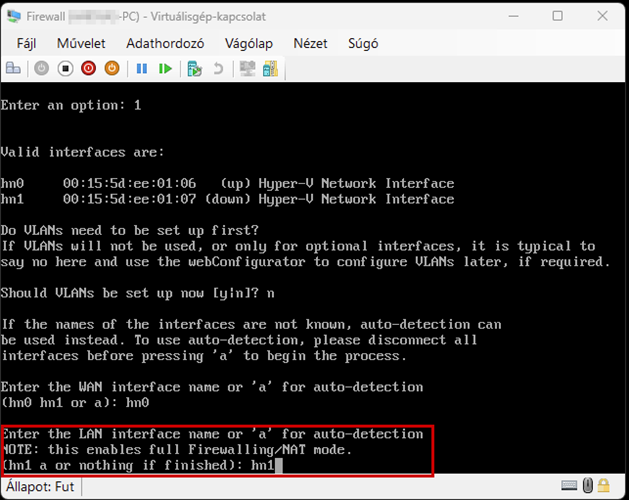
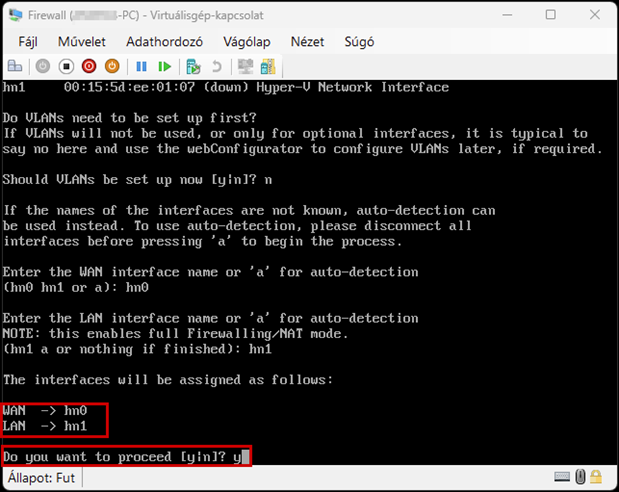
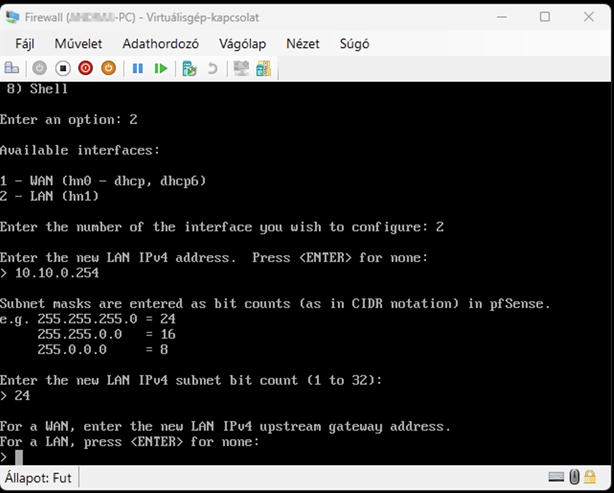
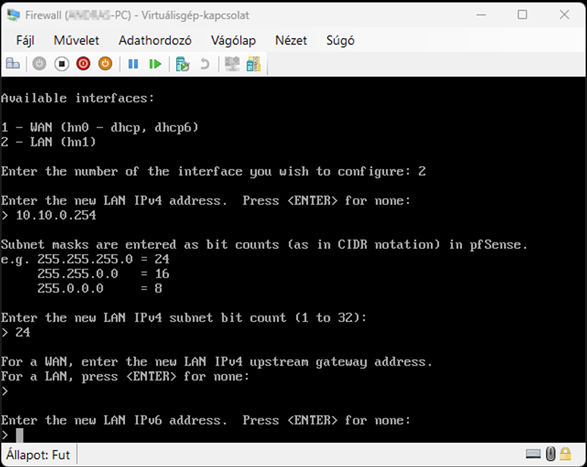
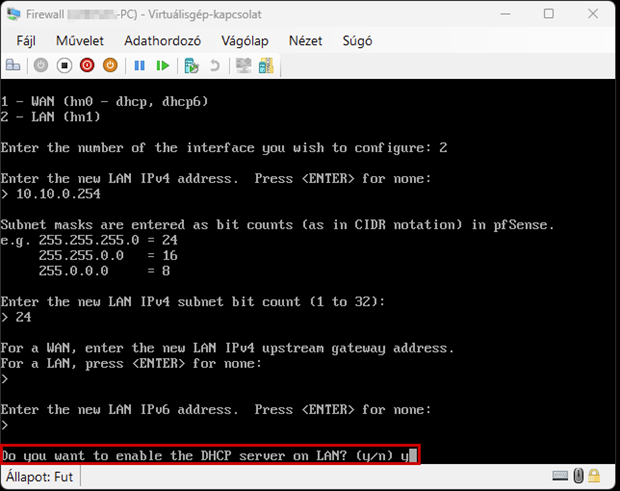
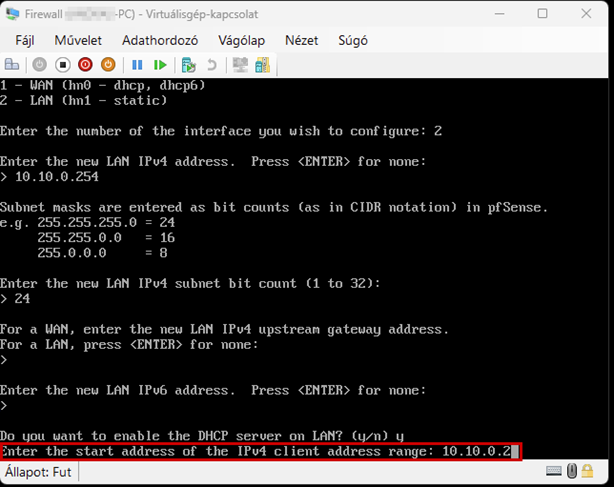
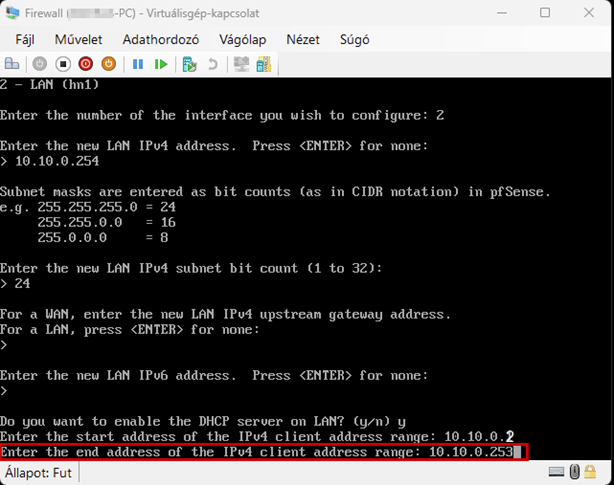
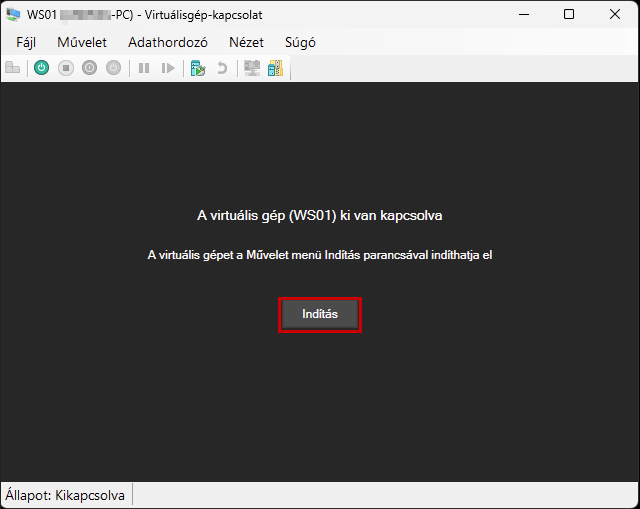
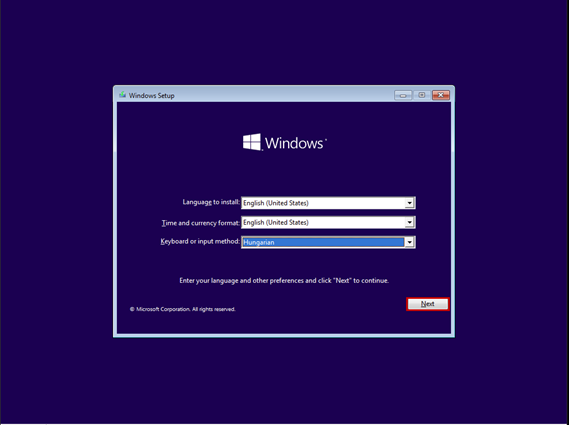
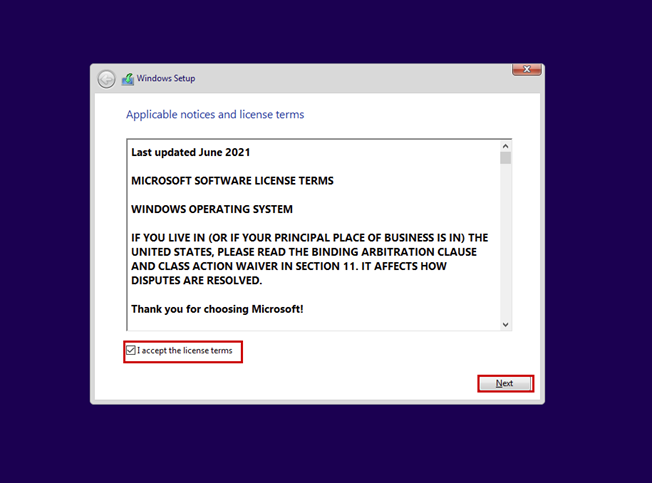
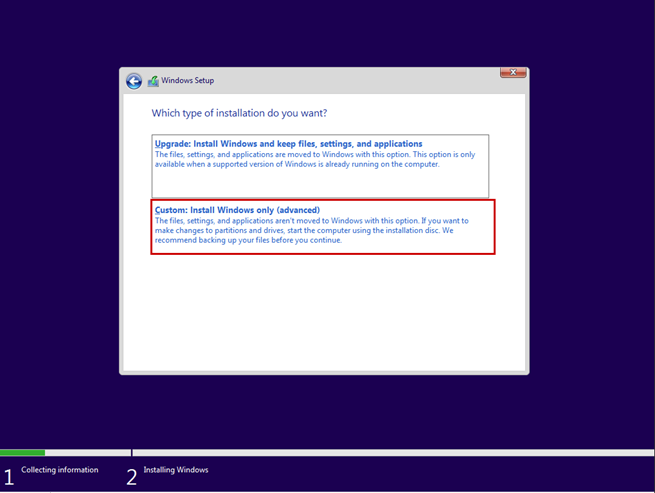
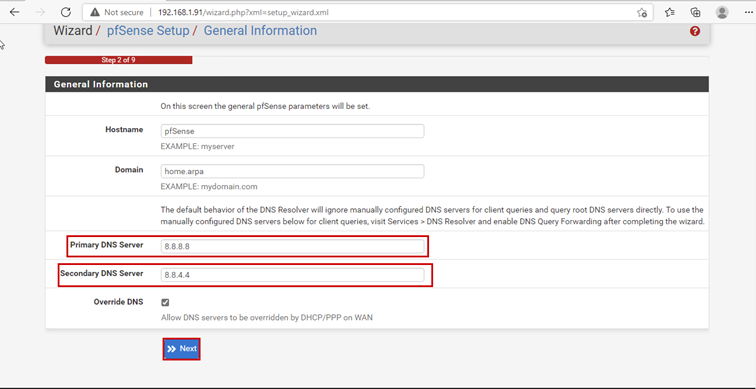
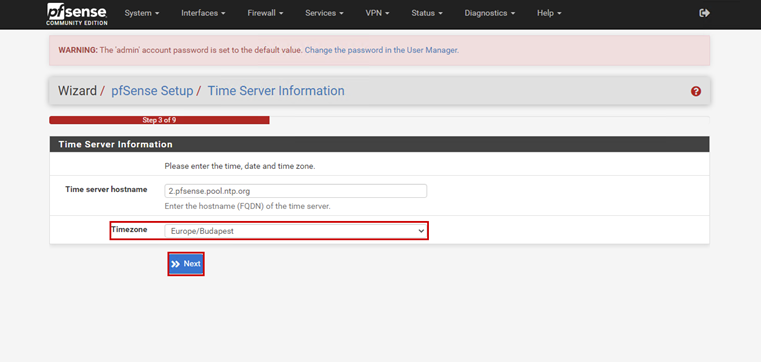
Start the virtual machine and follow the steps shown. The Enter and arrow keys can be used to navigate the interface. In most cases, the default settings will be accepted.
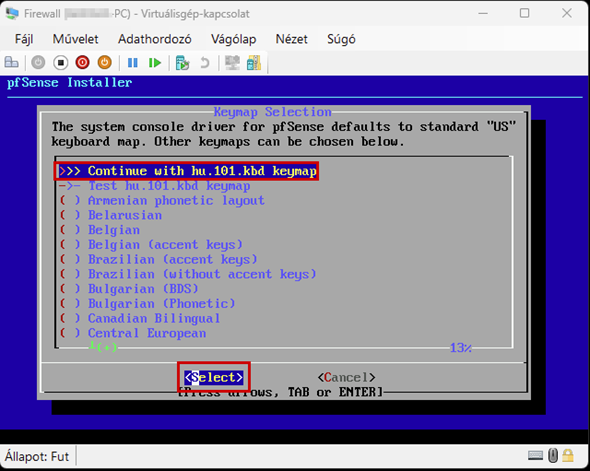
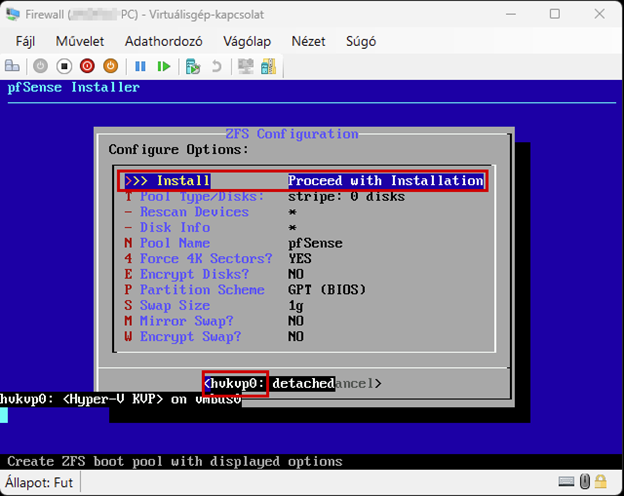
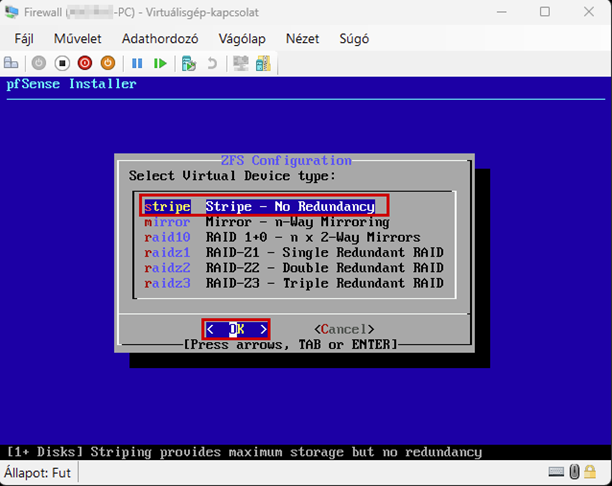
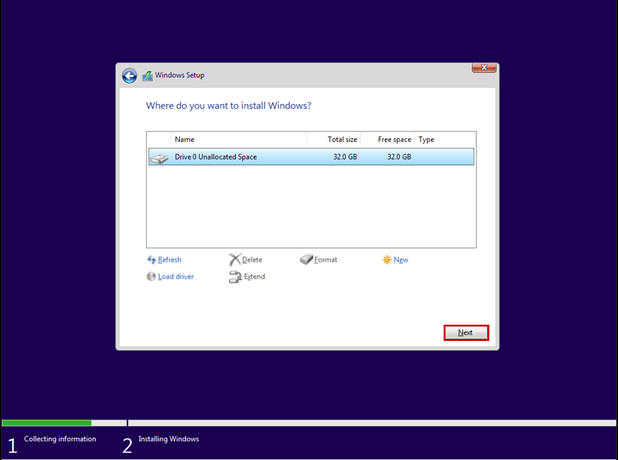
Use the Space key to select the virtual disk.
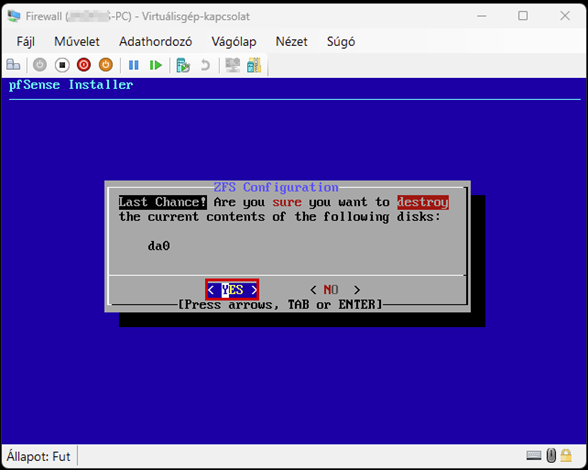
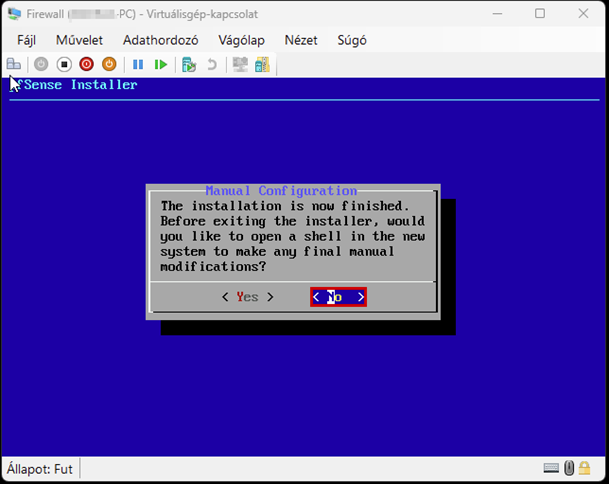
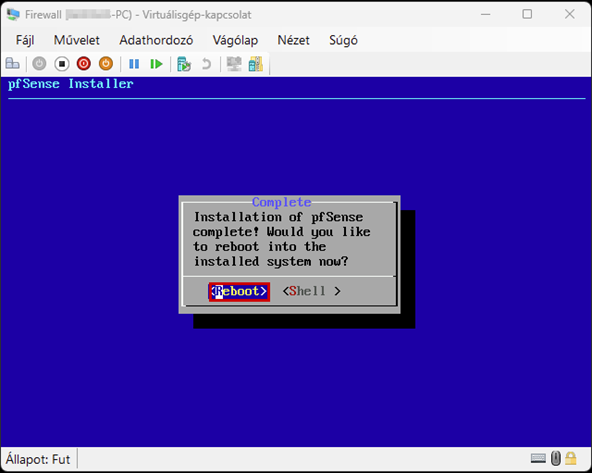
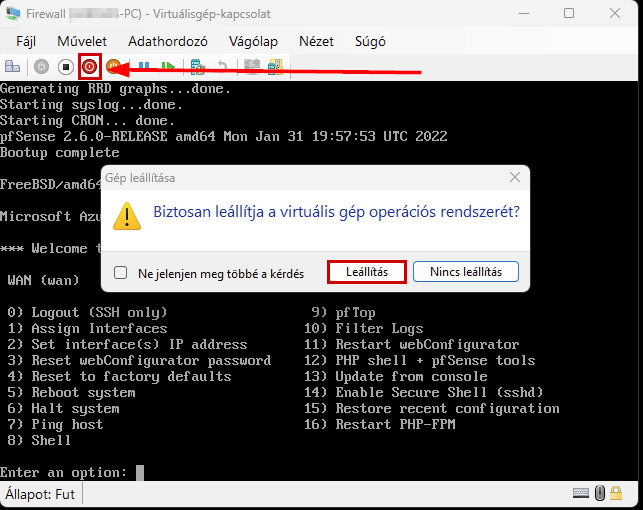

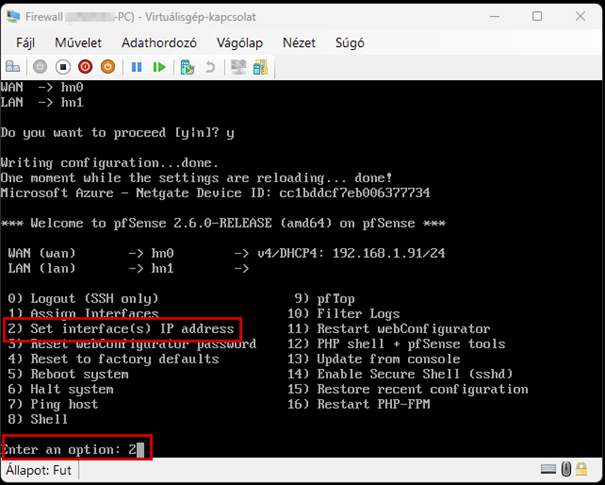

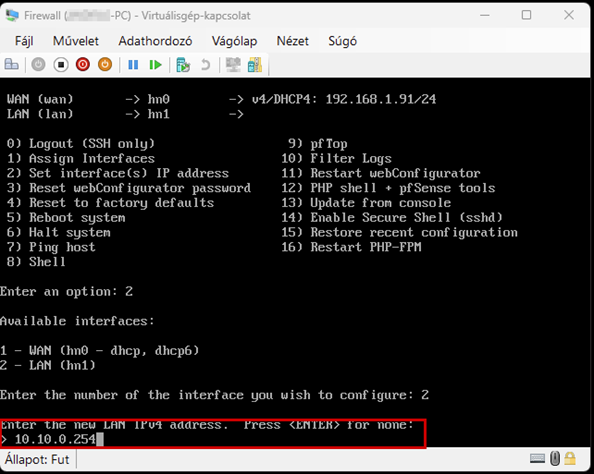
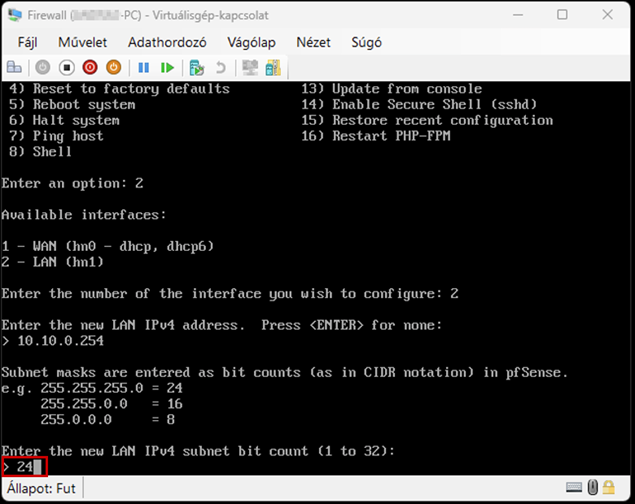
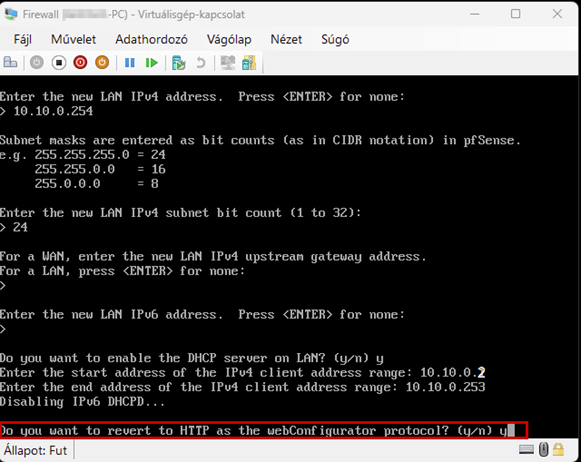
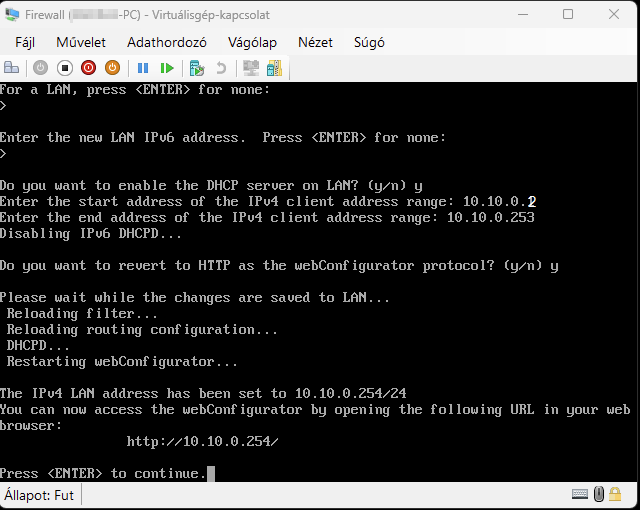
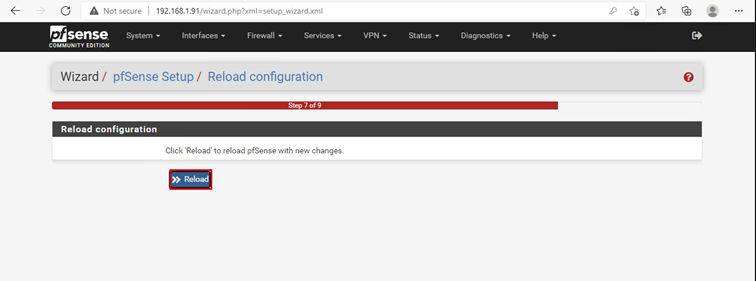
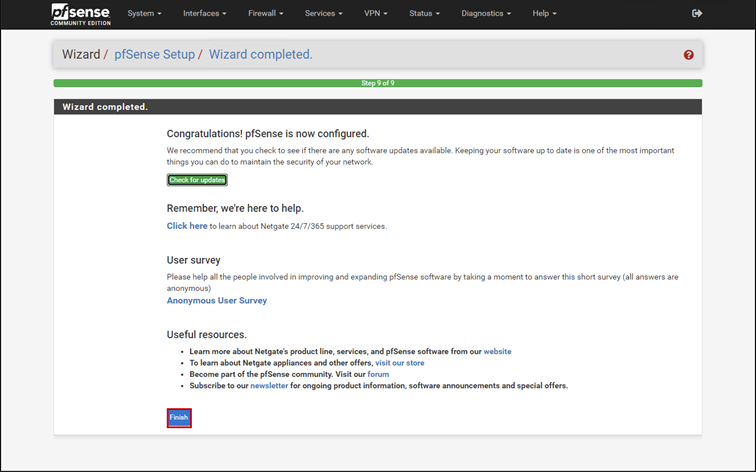
Continuation of the configuration
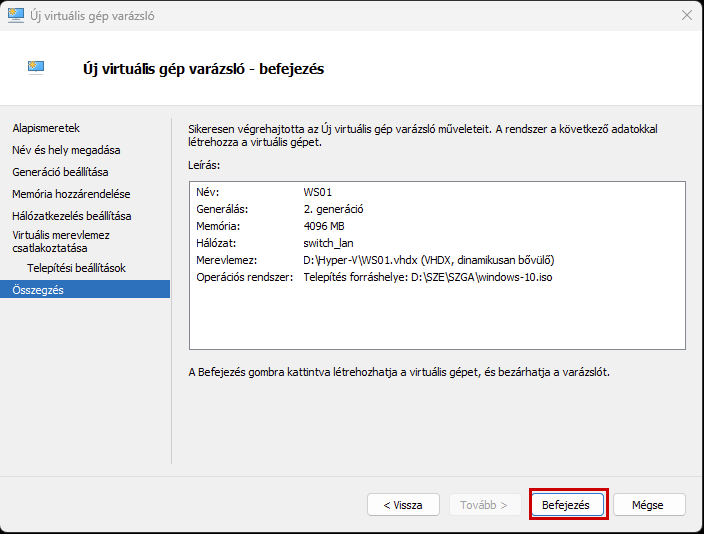
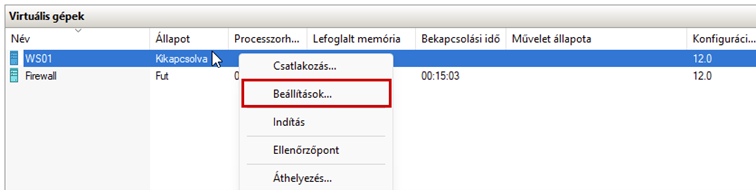
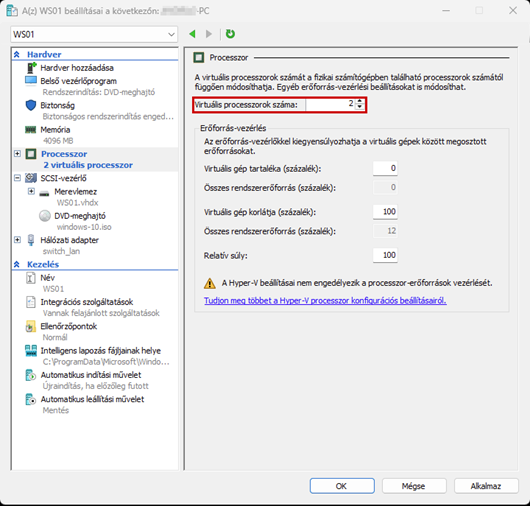
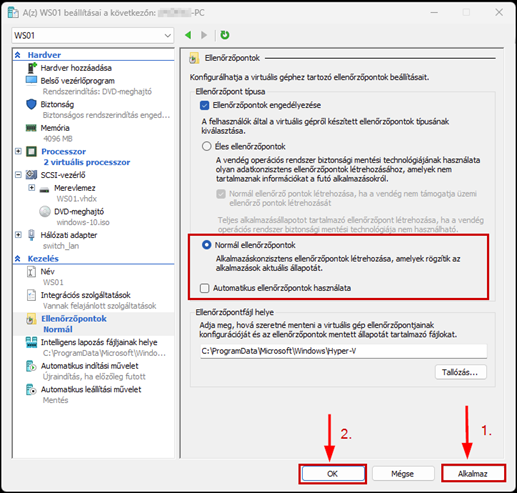
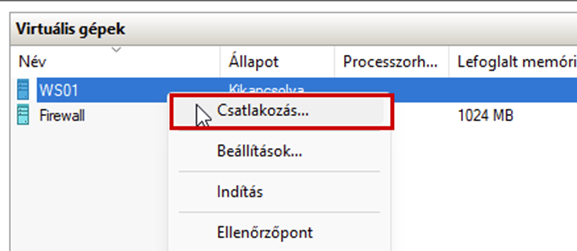
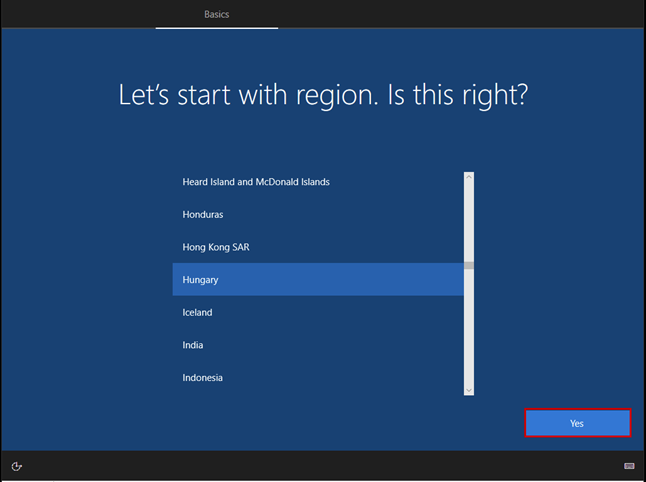
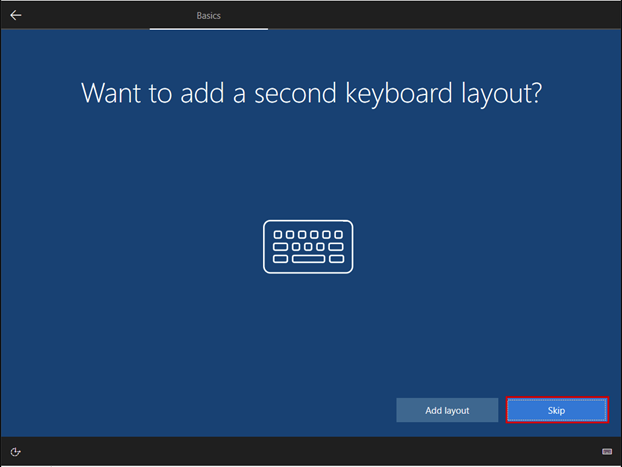
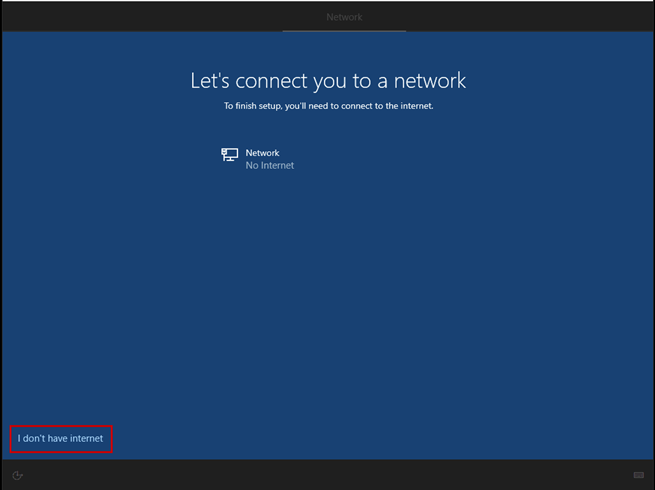
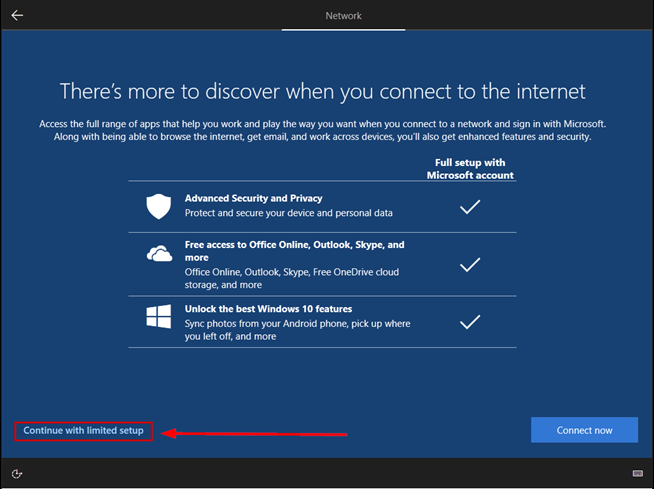
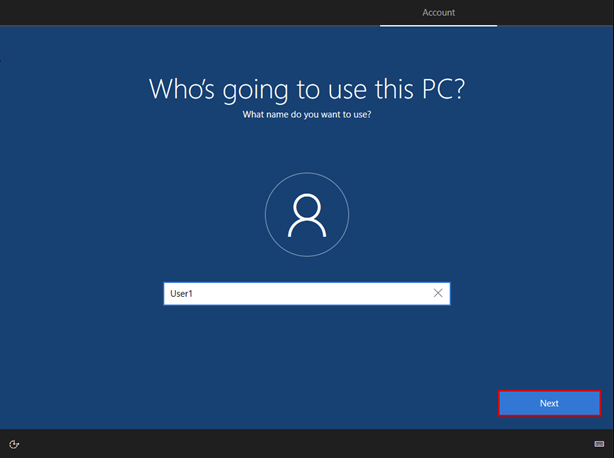
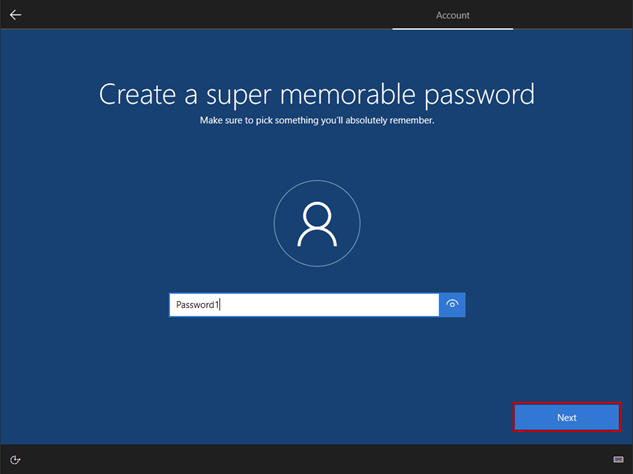
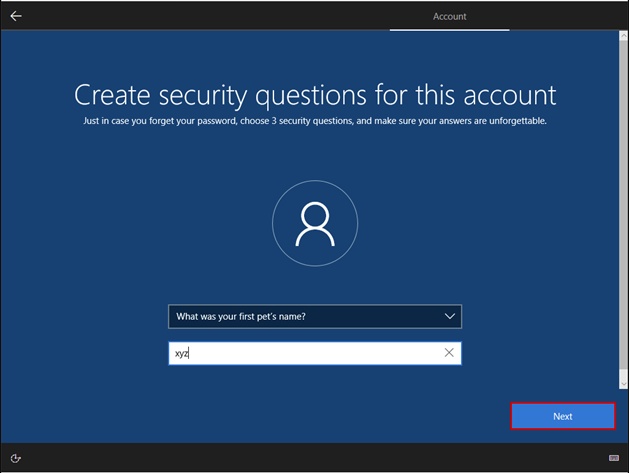
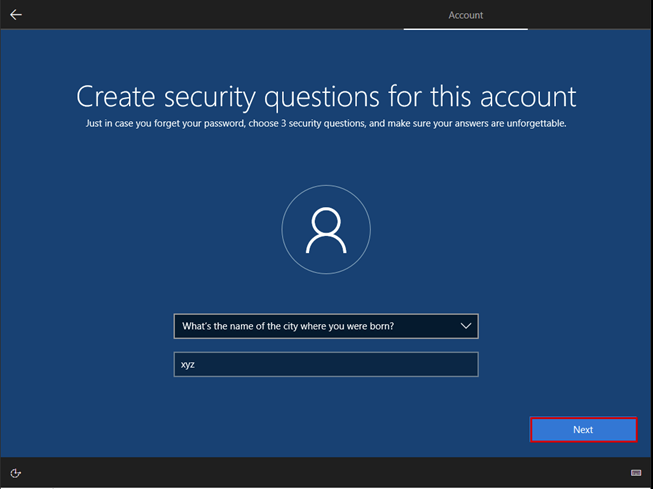
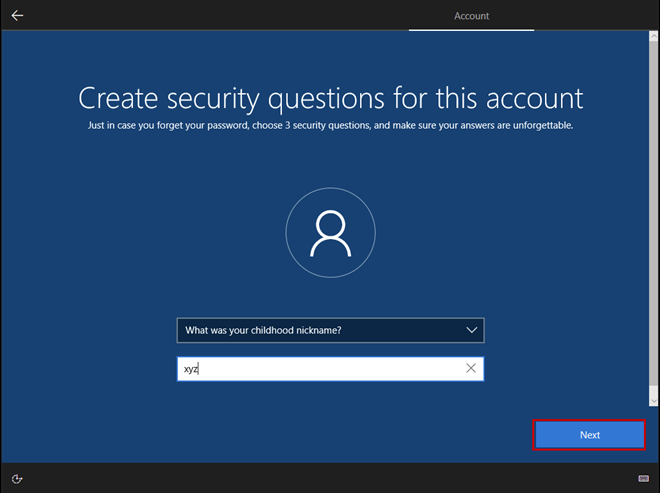
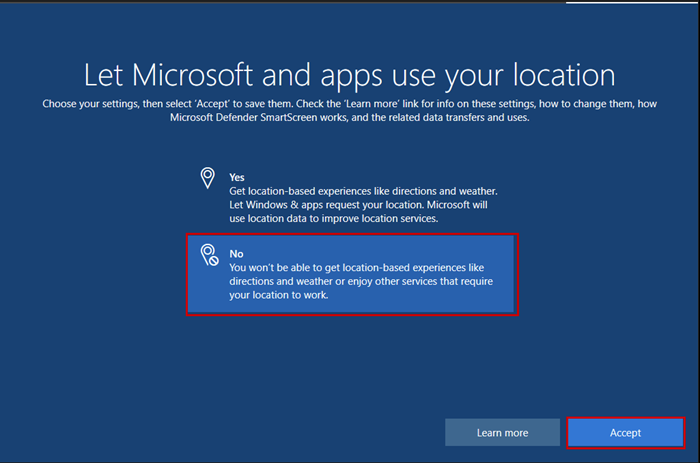
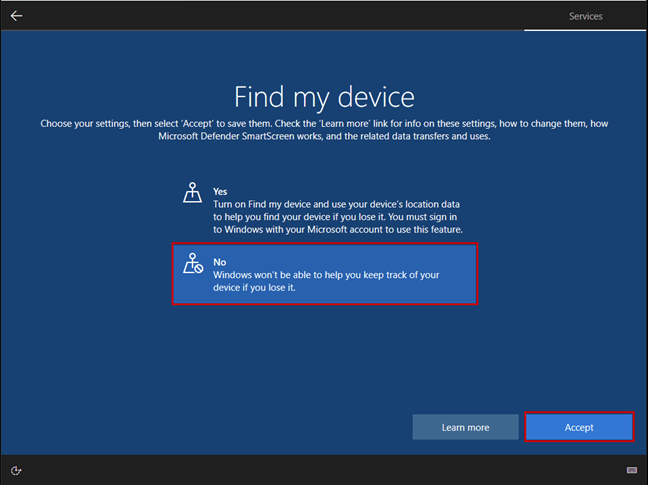
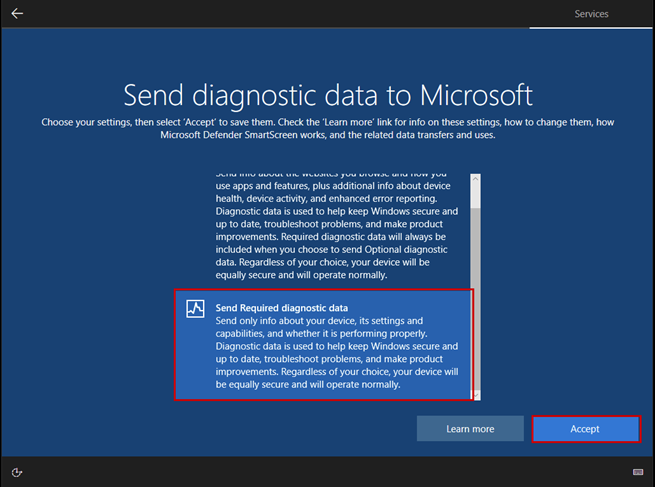
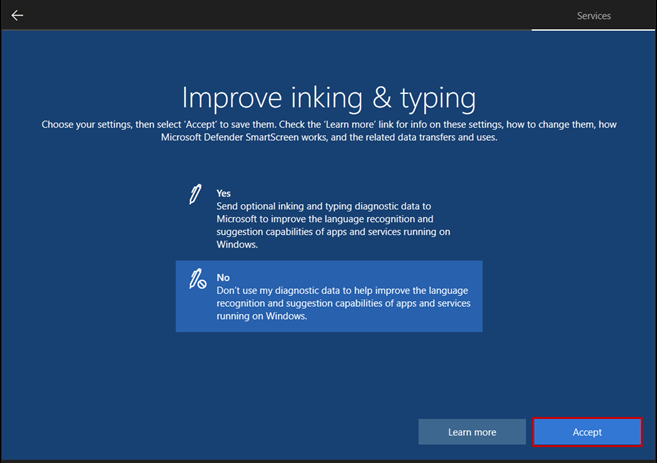
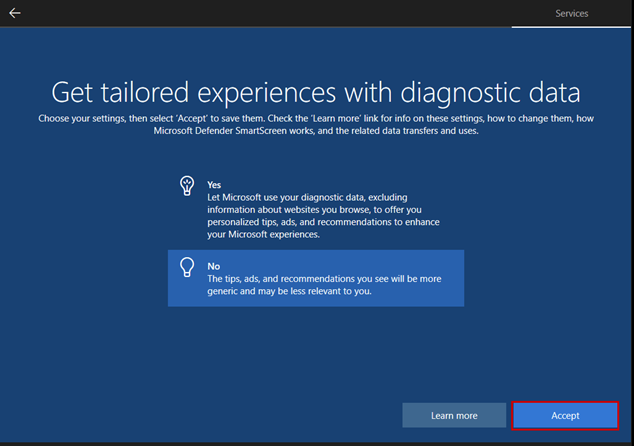
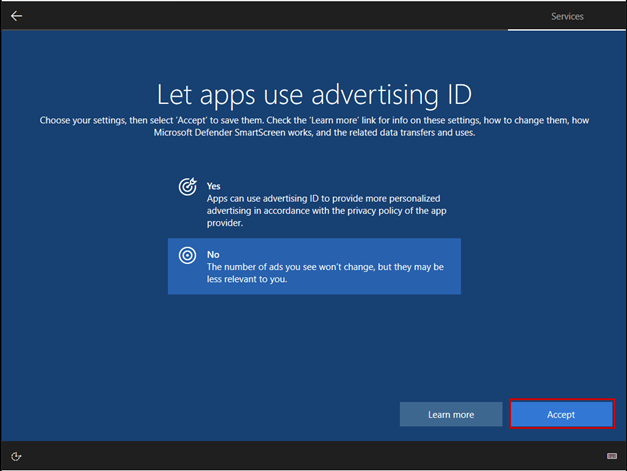
After successfully configuring the firewall, we will create a new virtual machine, which will be a Windows 10 machine, and place it in the LAN network.


Firewall Rule Configuration
Now that we have successfully built the virtual lab and configured the pfSense firewall, let us first understand what a firewall is before making any settings. Essentially, a firewall is a network device, most commonly located at the edge of the network, that permits or restricts traffic. The firewall’s task is to control traffic by examining the source/destination IP address and the source/destination ports. Based on these examinations, administrators can set rules to allow or restrict traffic.
For firewall rules, each rule is executed in sequence, meaning the firewall reads the rules from top to bottom. Depending on the configuration set in the firewall, access will be appropriately allowed or restricted. Generally, firewalls include an implicit “deny” rule as a default setting, meaning that all traffic is dropped by the system. For our approach during the exercise, we will block all traffic by default and create specific allow rules above the “deny” rule as exceptions.
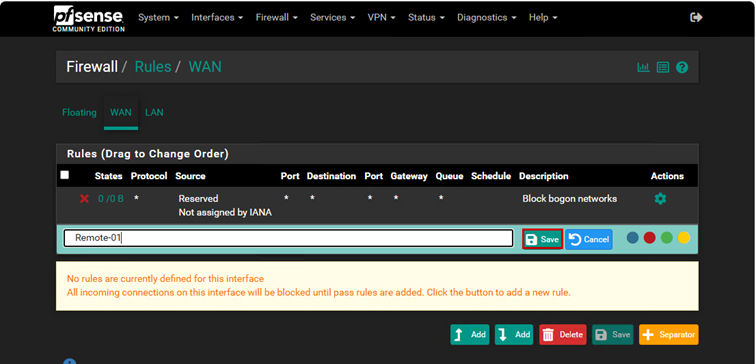
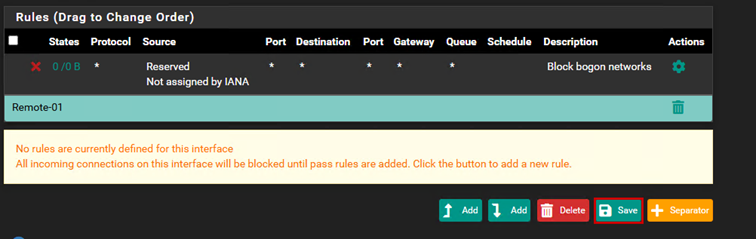
It is also advisable to create separators. Separators are useful because they allow you to divide your rules into different sections, making them more organized and easier to manage.
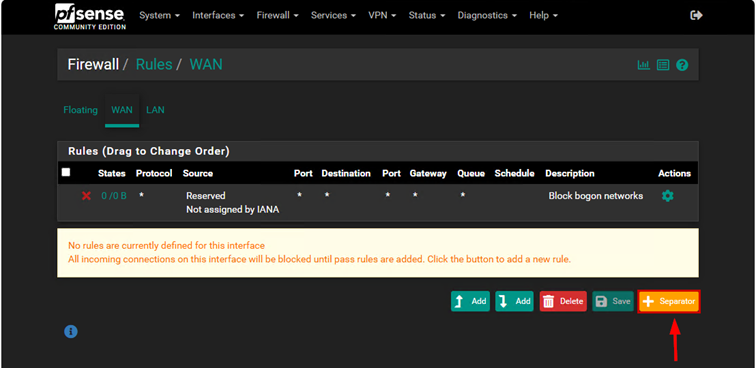
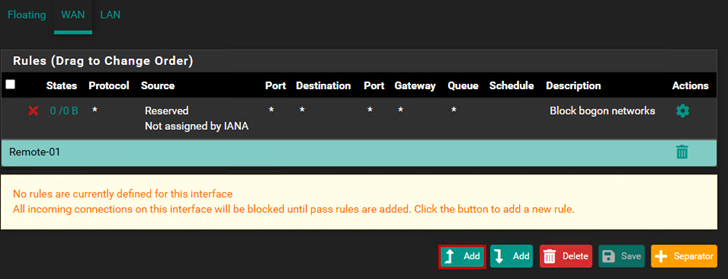
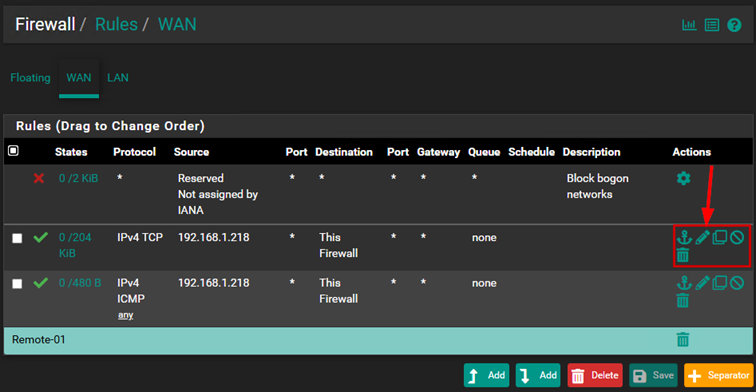
Create a firewall rule for the WAN interface.
Add a rule that allows all traffic that arrives at my WAN IP address. If something connects to the firewall through the WAN IP address and one of the ports I want to allow, the traffic will be allowed through. (This can be very dangerous if allowed from the internet and is only useful in special cases, as we are on a private network, so we can disregard this.)


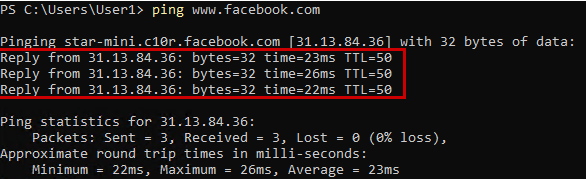
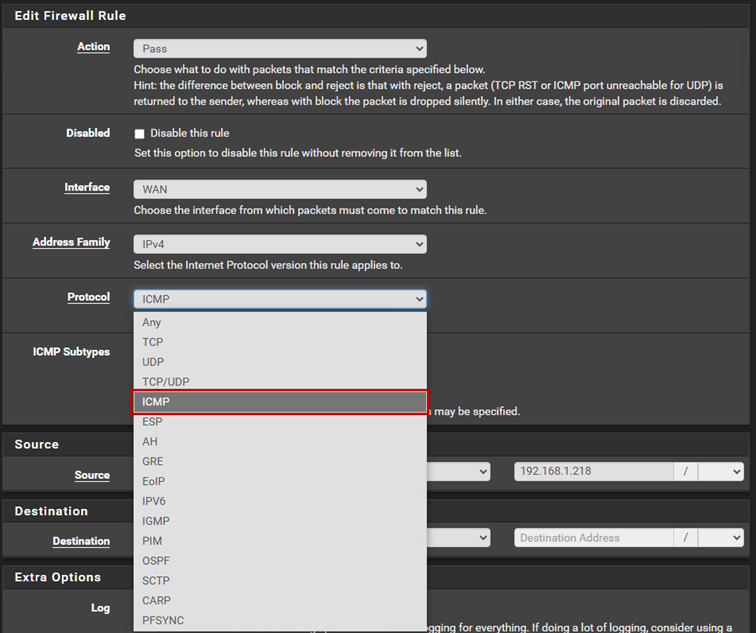
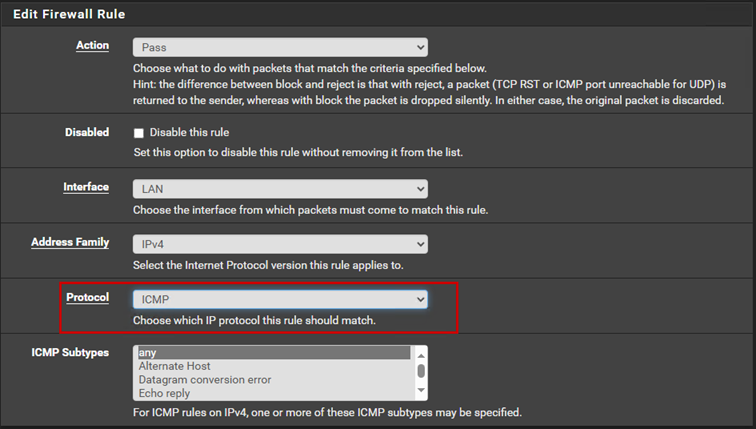
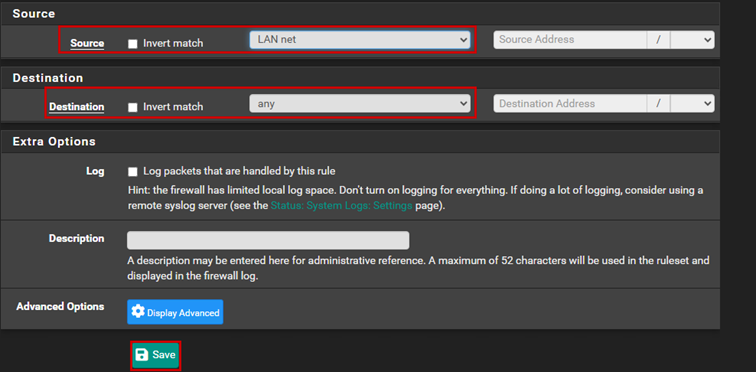
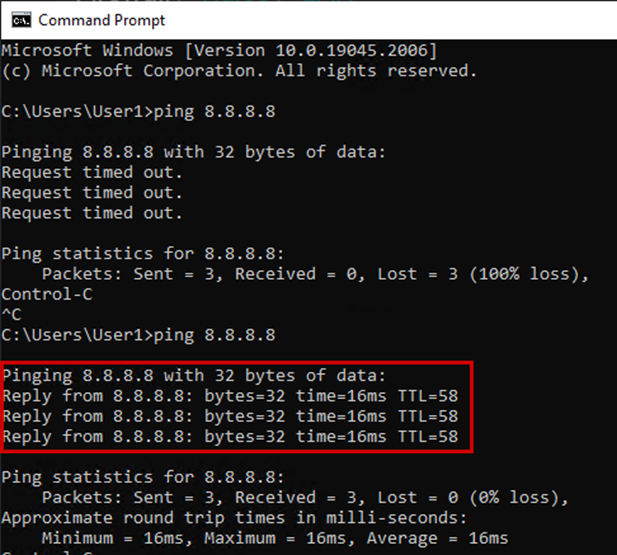
Next, let’s assume we want to ping the firewall. In this case, we need to create another rule to allow ICMP traffic, as we have only allowed TCP traffic so far. Let’s create a firewall rule for ICMP traffic as well:
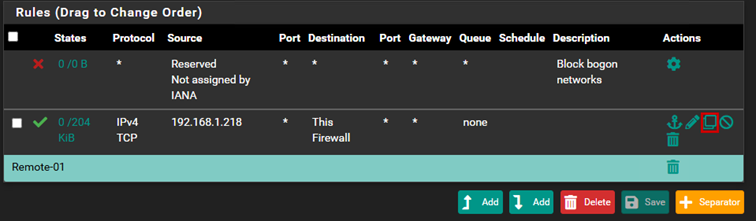

At this point, we will have two rules: one that allows TCP traffic to the firewall, and the other that allows ICMP traffic.
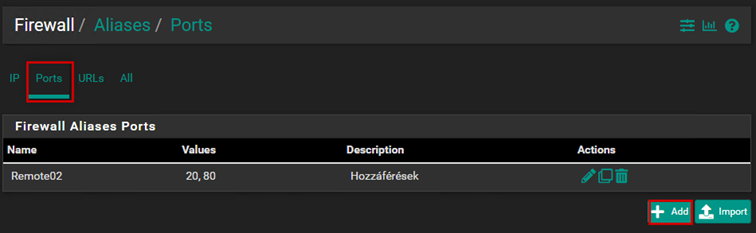
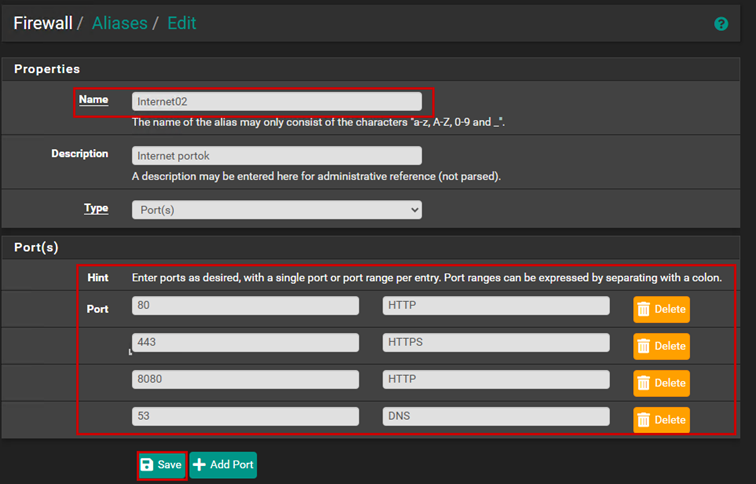
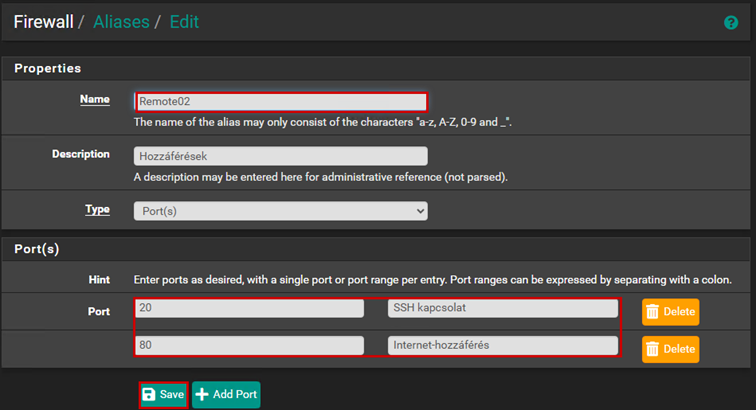
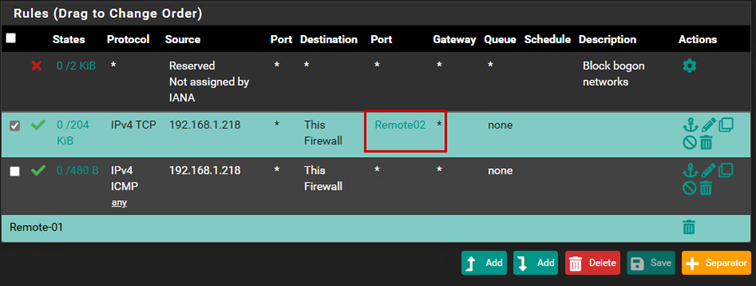
We can also create firewall aliases. An alias is a rule that we can reference within another rule, and we can add multiple different elements to an alias. We can add several different IP addresses or ports to an alias.


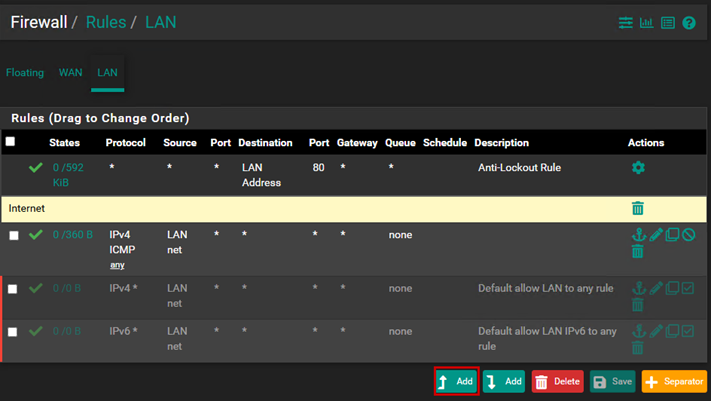
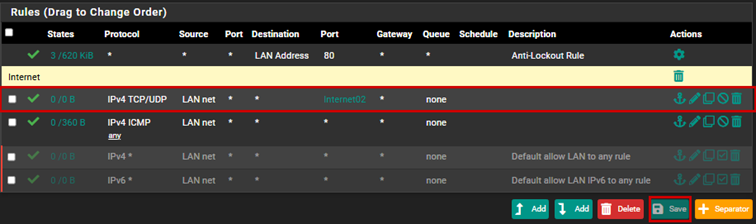
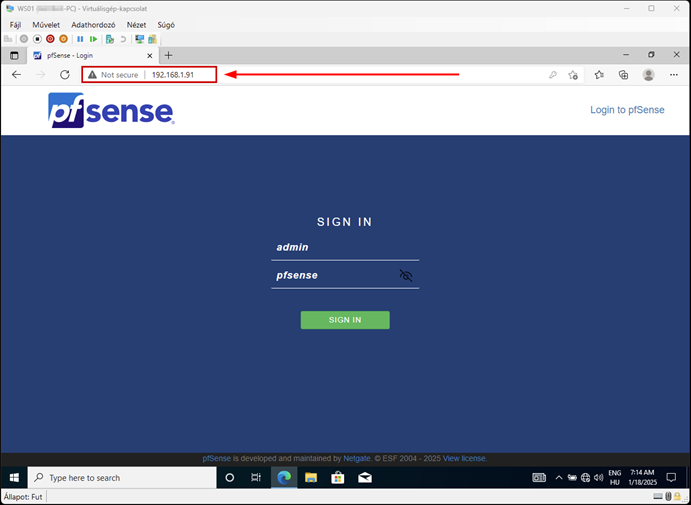
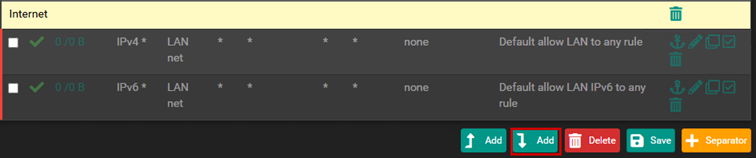
If we navigate to the LAN section, we can see the basic rules that pfSense sets by default. There is an Anti-Lockout rule, which ensures that we can access the firewall from the LAN through the management ports, preventing us from accidentally locking ourselves out.
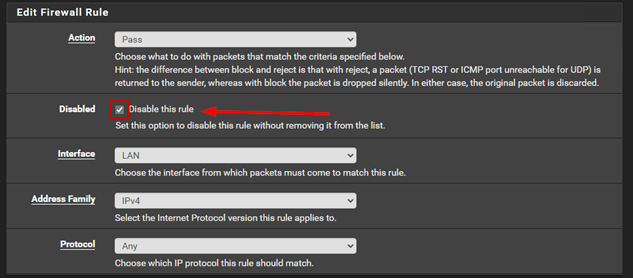
Next, two additional rules allow all outgoing access. By default, we can connect anywhere from the LAN. For the upcoming configuration, we will simply disable these rules.
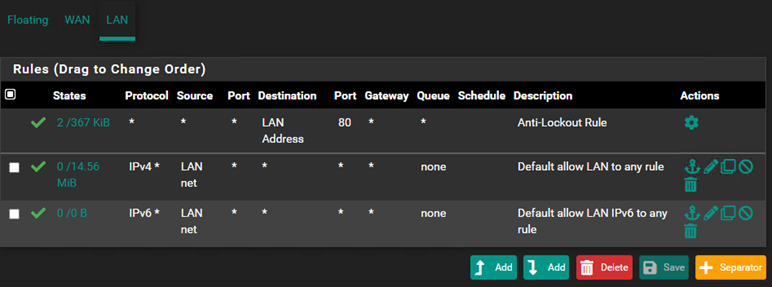


After these changes, the Windows machine will not have internet access.
For organizational purposes, let’s create a separator.

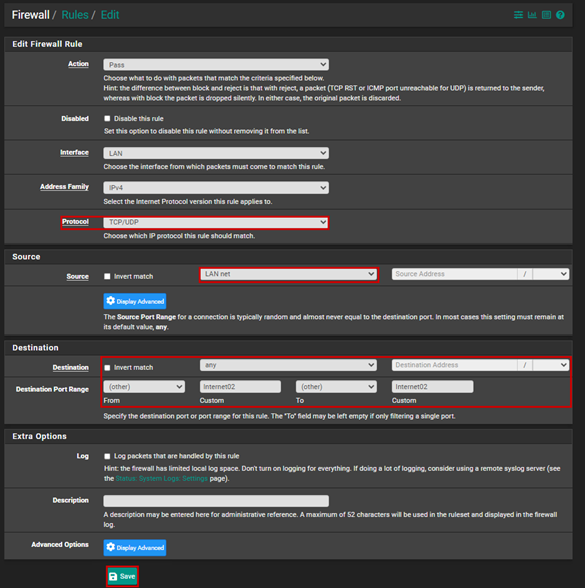
Let’s create the new firewall rules:
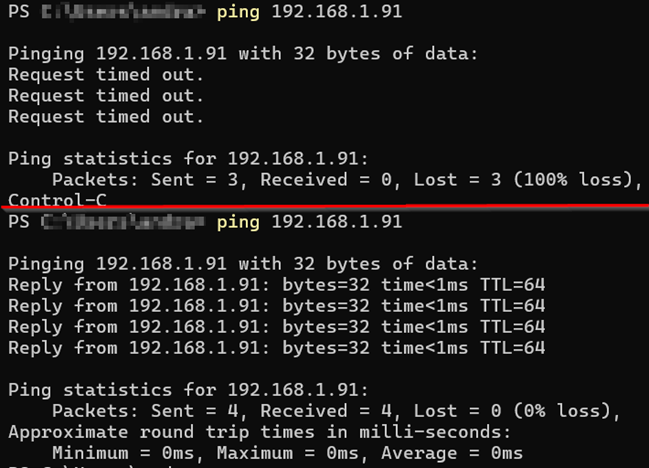
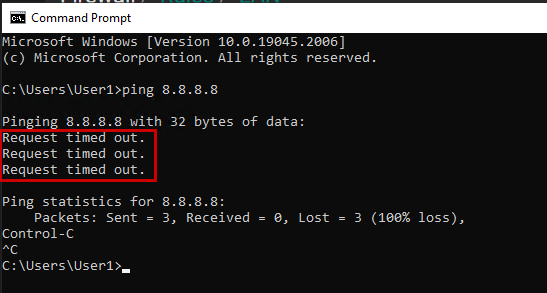
First, let’s fix the ICMP to be able to ping from the LAN network.
Let’s configure internet access, and for this, we will generally use aliases in this case as well.