Building an Office Themed Home Lab
Posted Updated 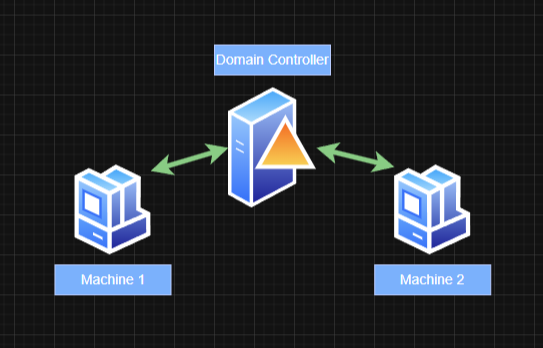
By András Klein
5 min read
Building an Office Themed Home Lab
Active Directory Lab Build Documentation
Lab Requirements
For the Active Directory lab build, the following setup is used:
- 1 Windows Server 2022
- 2 Windows 10 Workstations
System Requirements
- Disk Space: 60GB
- RAM: 16GB
Step 1: Download Necessary Files
To build the lab, we need to download the required ISO files.
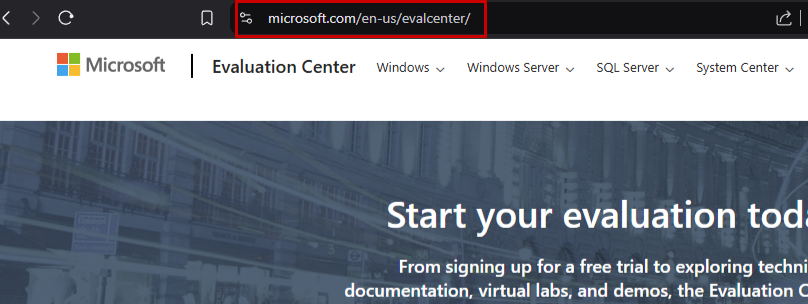
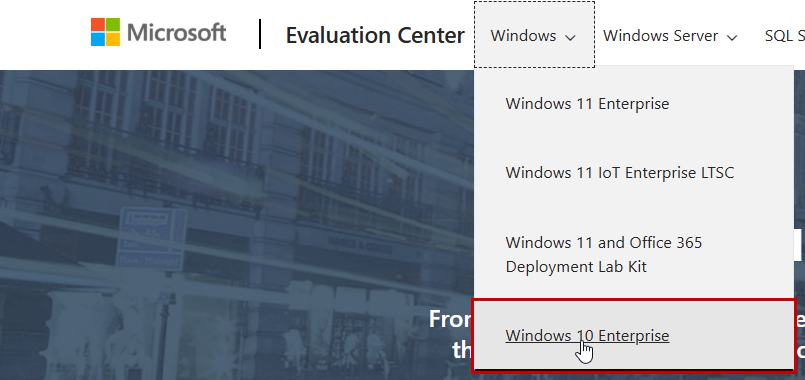
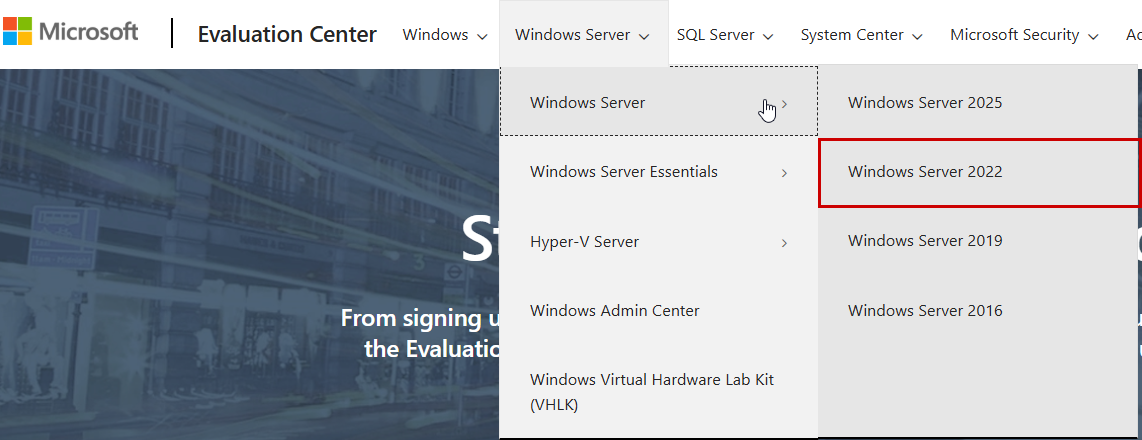
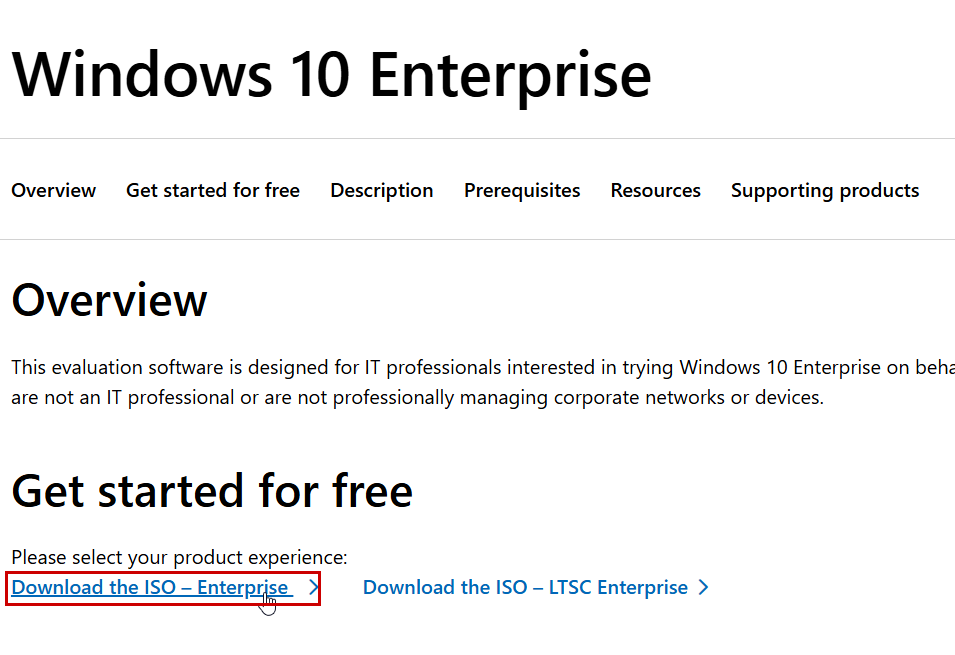
- Go to the Microsoft Evaluation Center to download the ISO files for:
- Windows Server 2022
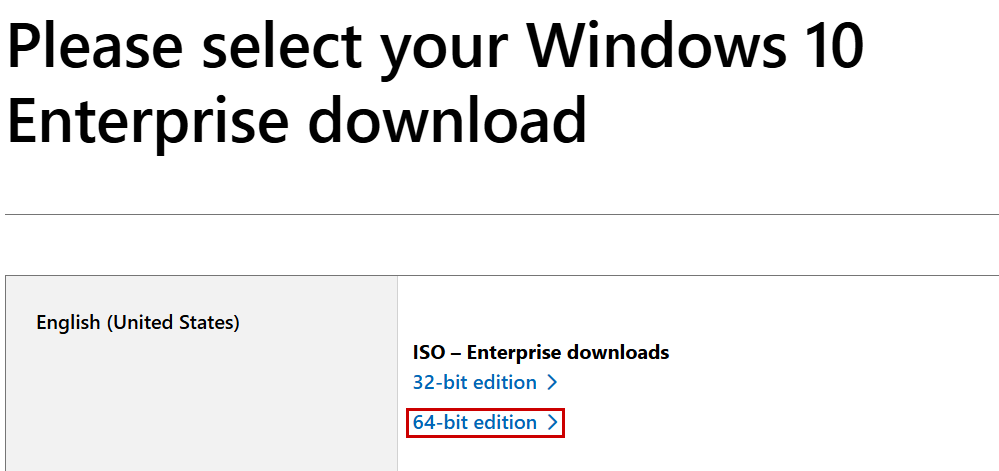
- Windows 10 Workstations (64-bit editions)
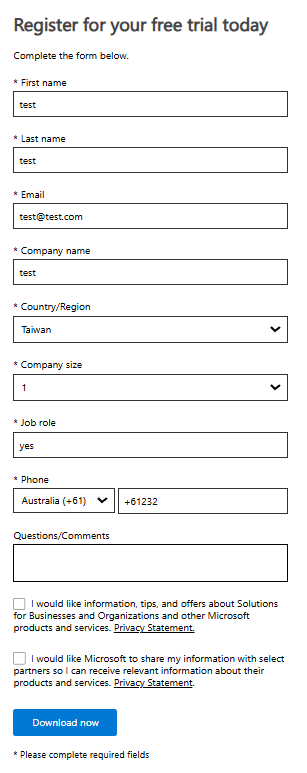
- Fill out the trial form to register.
- Note: You can input any information, as the form will work regardless of accuracy.
- Download both ISO files.
Step 2: Setting Up the Domain Controller
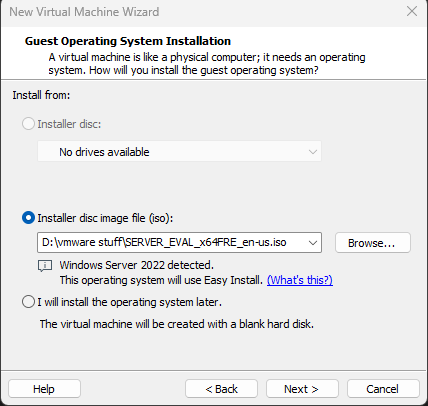
The domain controller will be configured using Windows Server 2022. Follow these steps to set up the virtual machine:
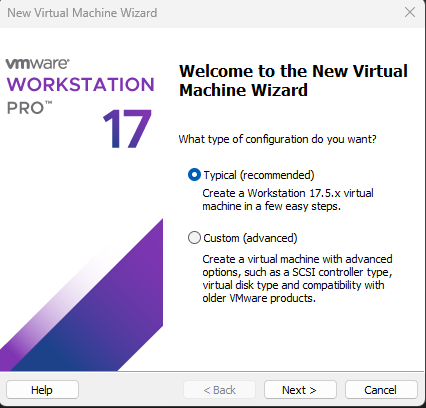
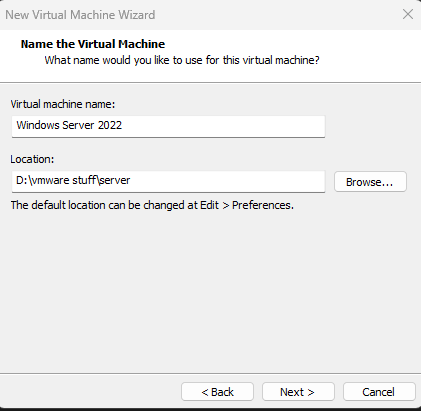
- Create a New Virtual Machine:
- Use your preferred virtualization platform.
- Select the downloaded Windows Server 2022 ISO file.
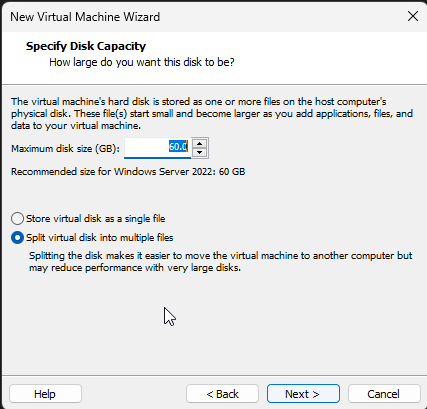
- Allocate Storage:
- Choose a drive that provides enough storage to meet the lab requirements.
- Split the virtual disk into multiple files to allow it to grow as you add more files later.
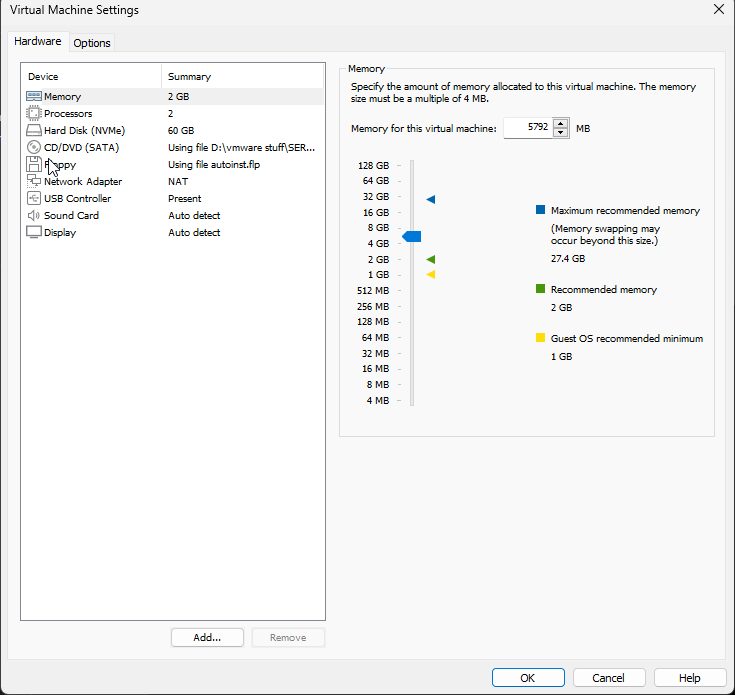
- Edit VM Settings:
- Allocate sufficient RAM for the virtual machine to ensure smooth performance.
Step 3: Configuring the Domain Controller
- Power On and Boot the Virtual Machine:
- Power on the virtual machine and press any key to boot.
- Go through the setup procedure, keeping most options set to defaults.
- Select Standard Evaluation (Desktop Experience).
- Choose a custom install and allocate the appropriate partitions.
- At the end of the setup, set a password for the Administrator account.

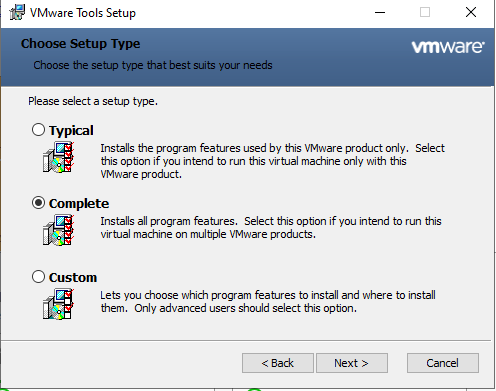
- Install VMware Tools:
- To make the screen full-size, install VMware Tools and follow the on-screen instructions.
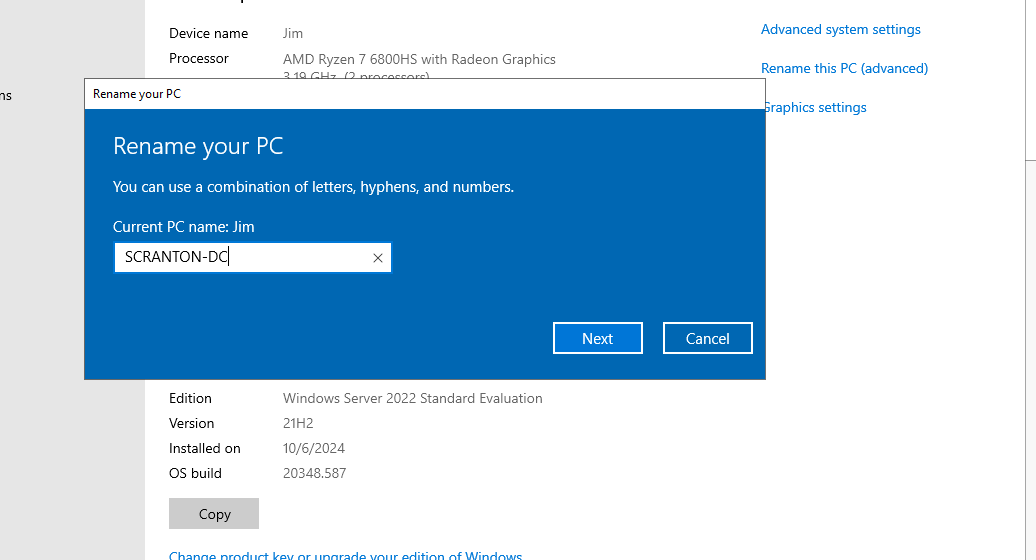
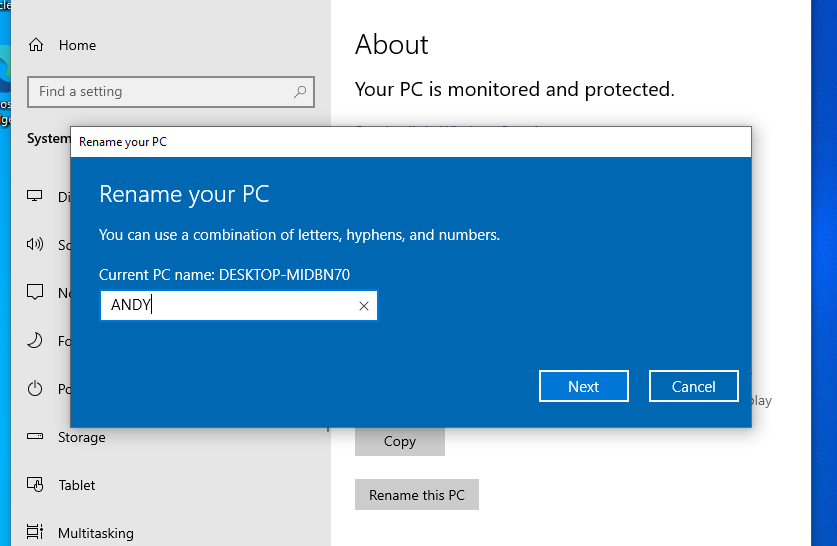
- Rename the Computer:
- Rename the computer to a unique name.
- Example: SCRANTON-DC (this lab uses an OFFICE theme, and this machine will act as the Domain Controller).
- Reboot the virtual machine after renaming.
- Rename the computer to a unique name.
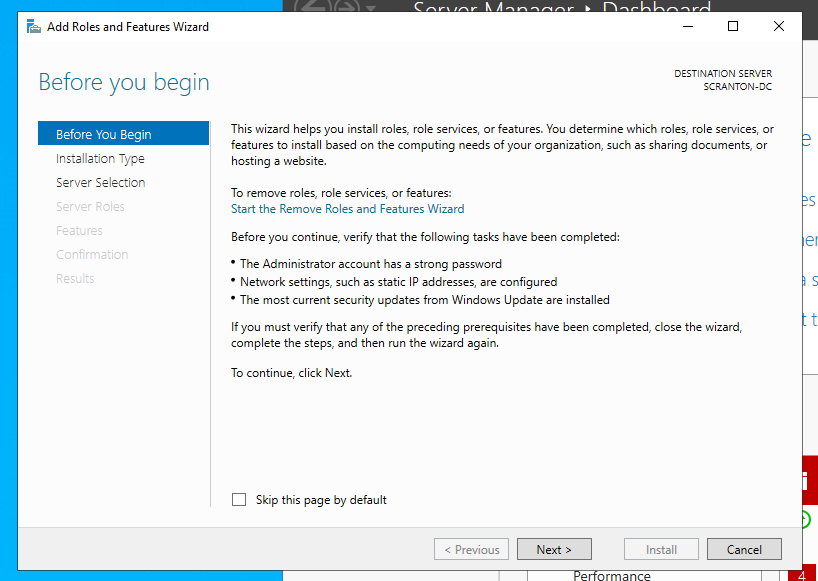
- Set Up as Domain Controller:
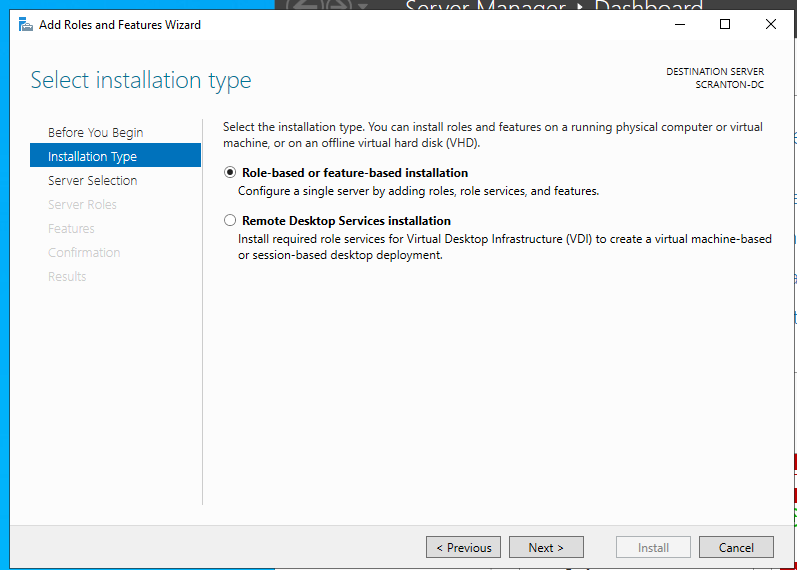
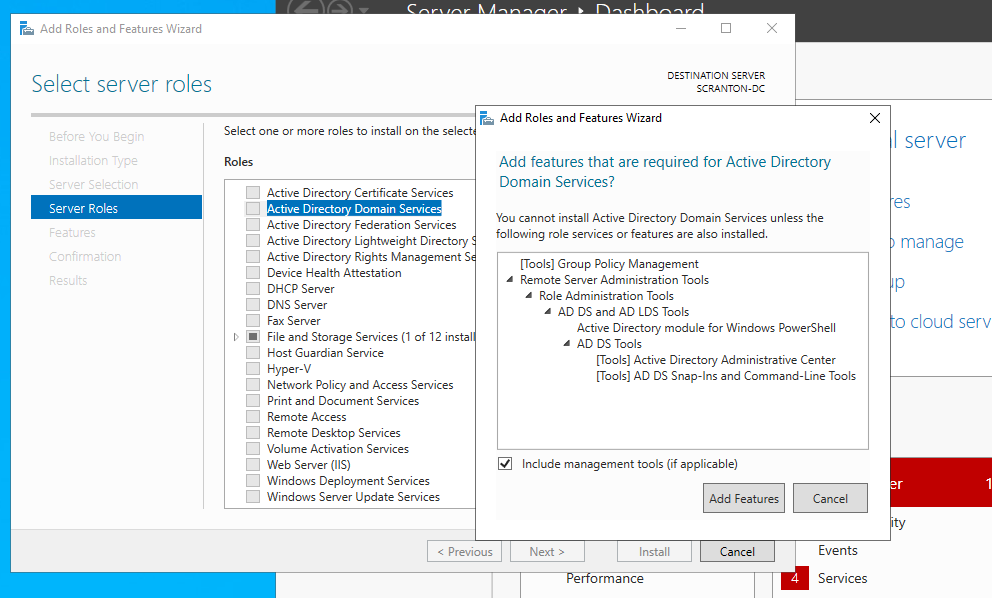
- After the reboot, open Server Manager and follow these steps:
- Select Add Roles and Features.
- Choose Role-based or feature-based installation.
- Select Active Directory Domain Services.
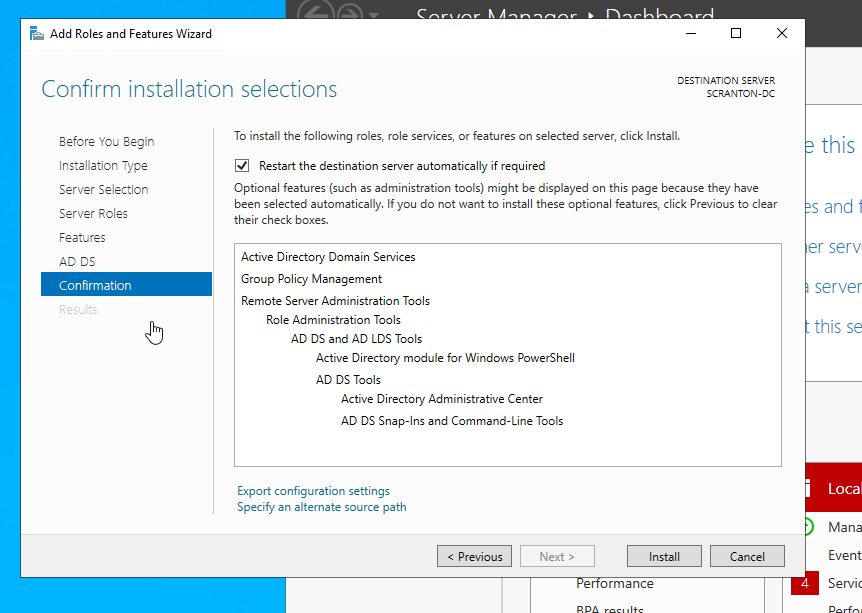
- Check the option to Restart the server automatically if required.
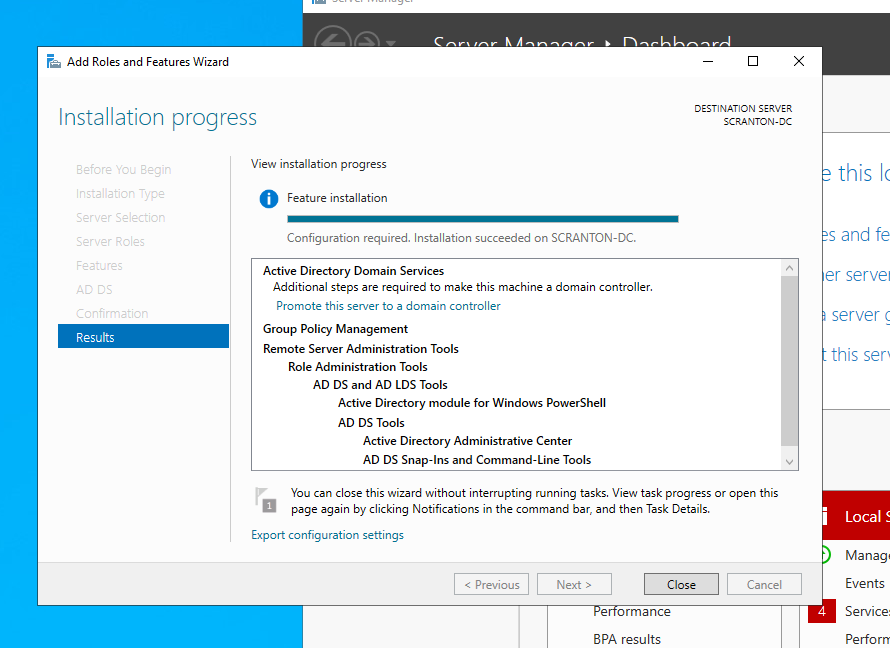
- Select Install.
- Once installation is complete, select Promote this server to a domain controller.
- After the reboot, open Server Manager and follow these steps:

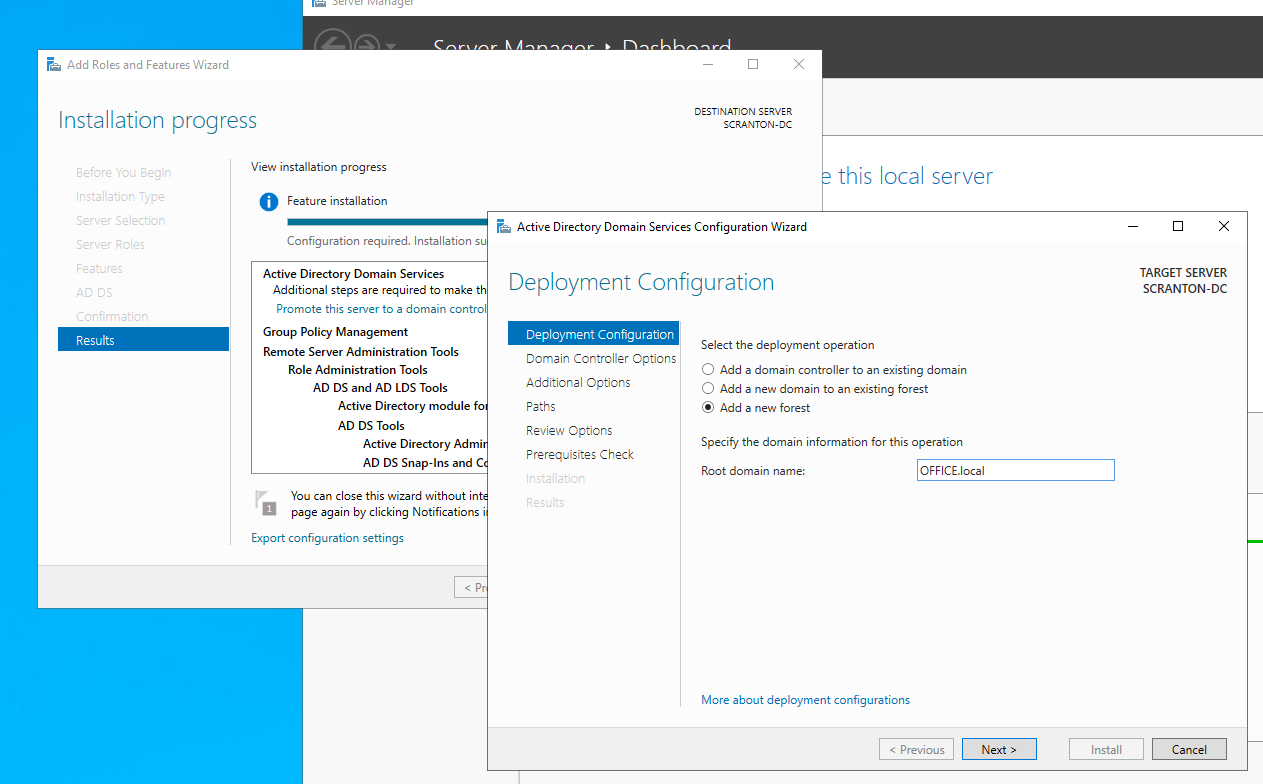
- Create a New Forest:
- Select Add a new forest.
- Choose a domain name (e.g., OFFICE.local).
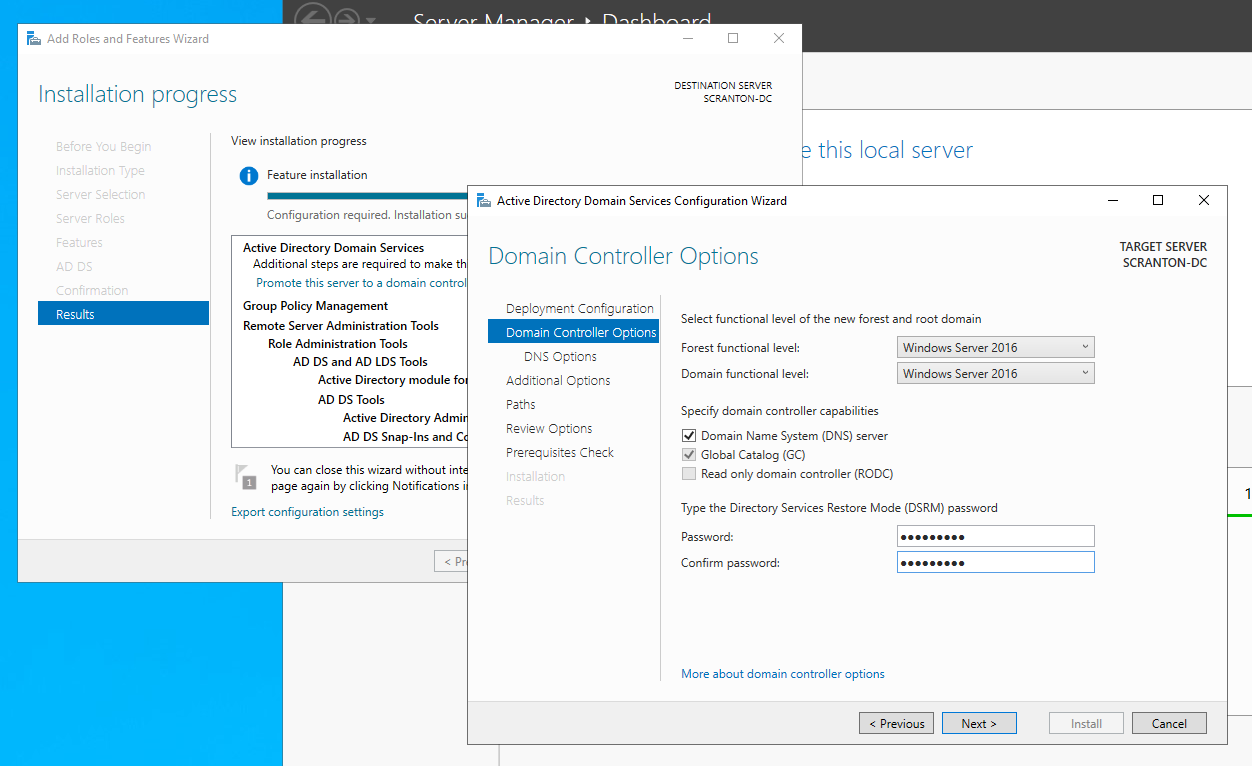
- Enter a password (this can be the same as the Administrator password).
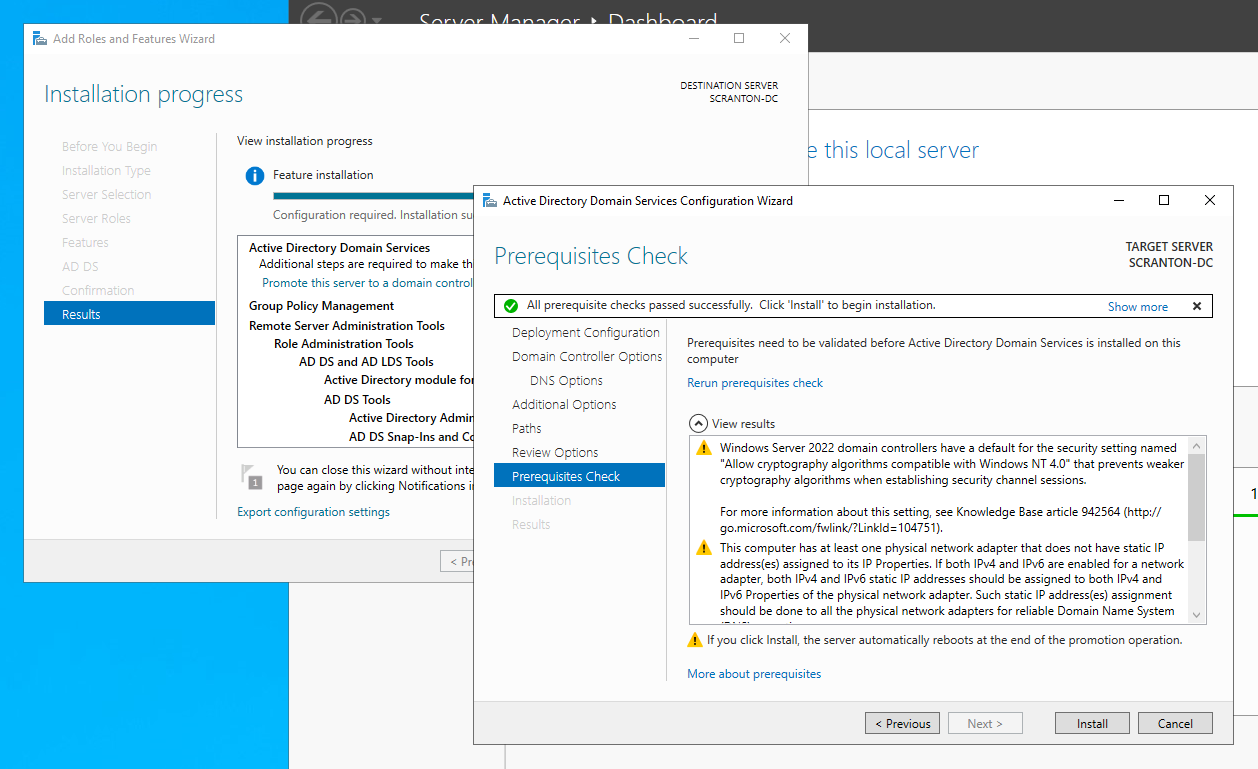
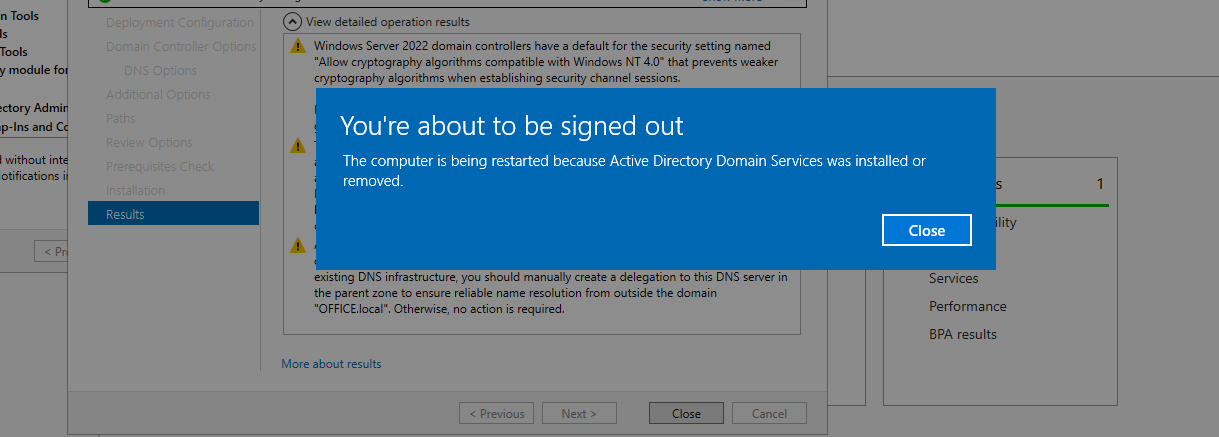
- Select Install.
- The system will automatically reboot.
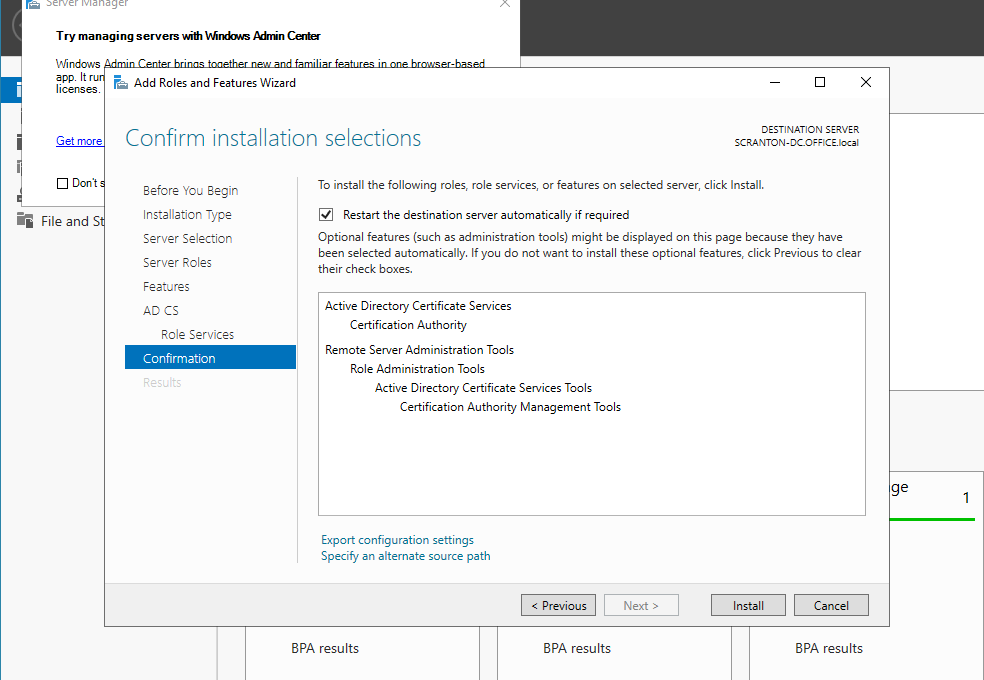
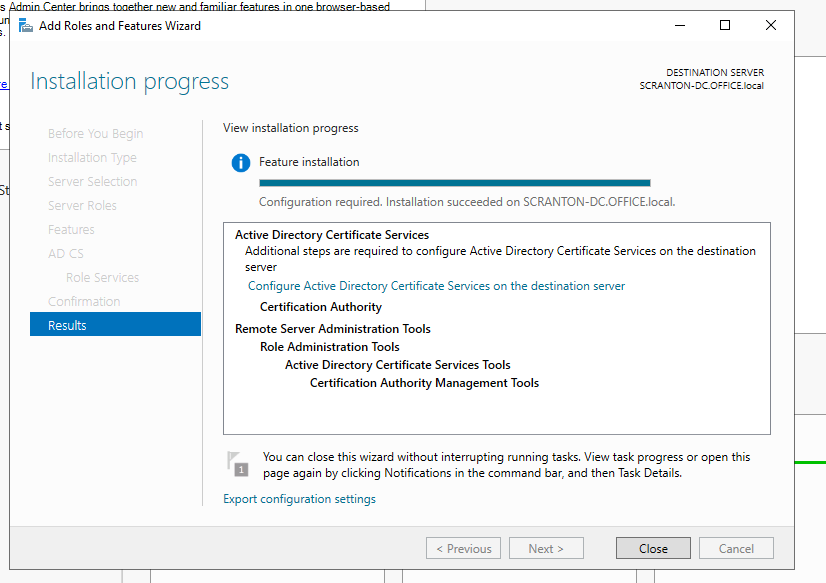
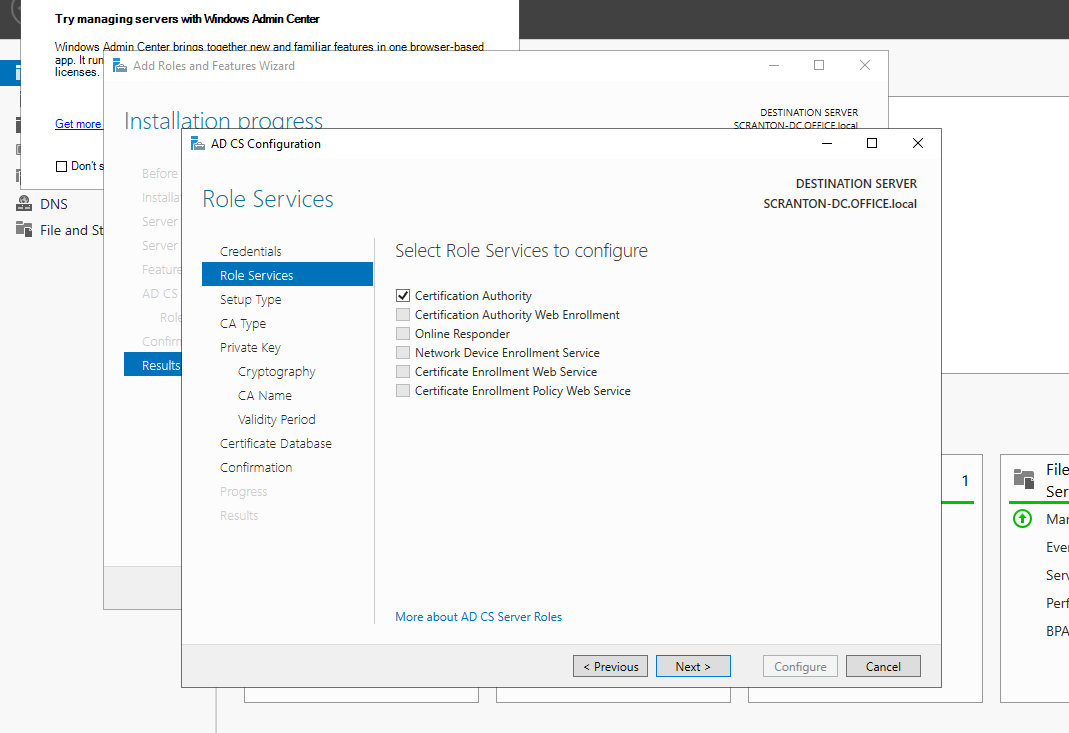
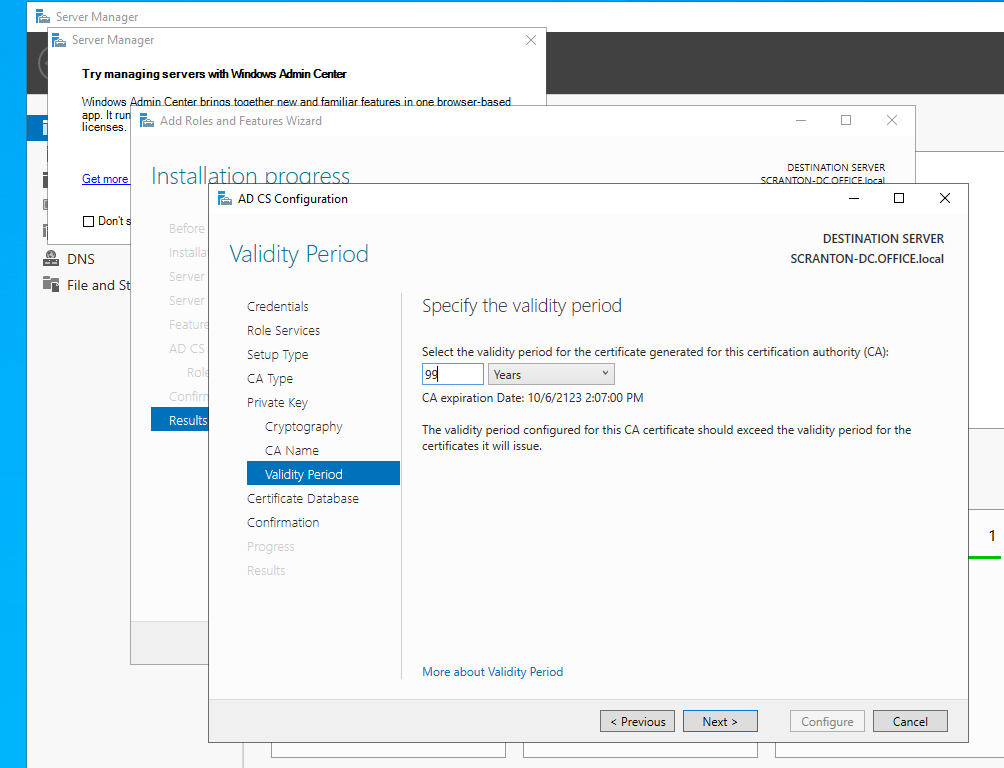
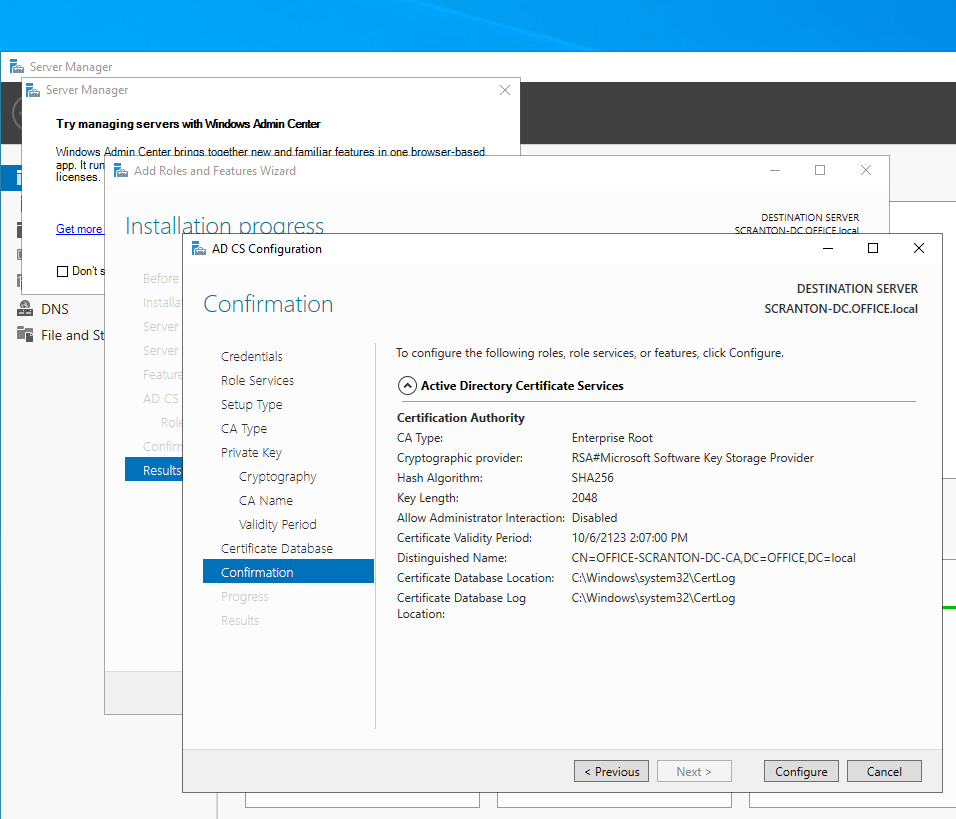
- Configure Active Directory Certificate Services:
- After logging in with the previously set credentials:
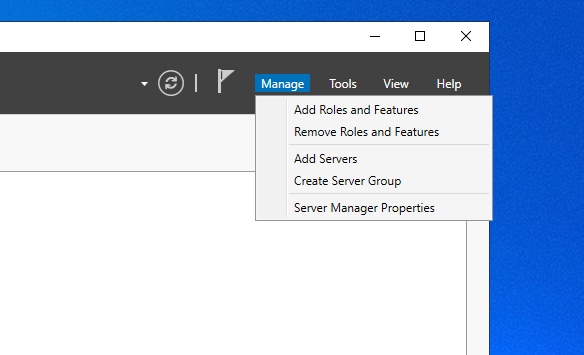
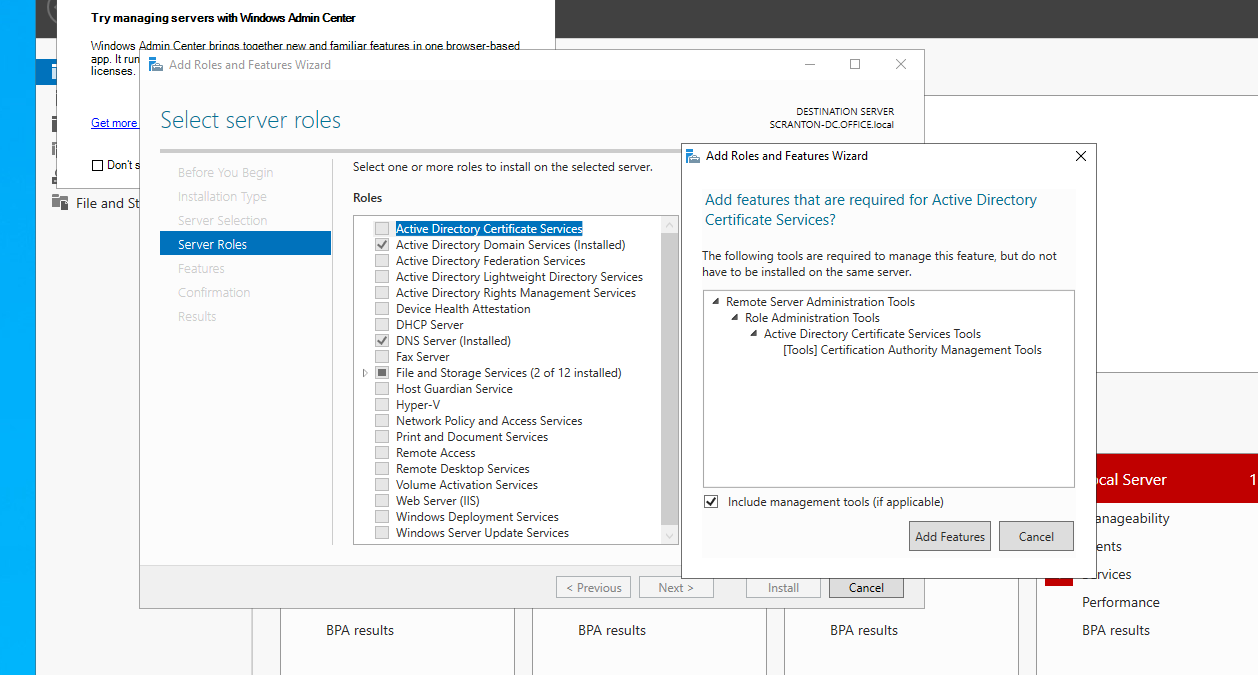
- Open Server Manager and select Add Roles and Features.
- Click Next until the Active Directory Certificate Services option is available.
- Select Add Features.
- Check the option to Restart the destination server automatically if required.
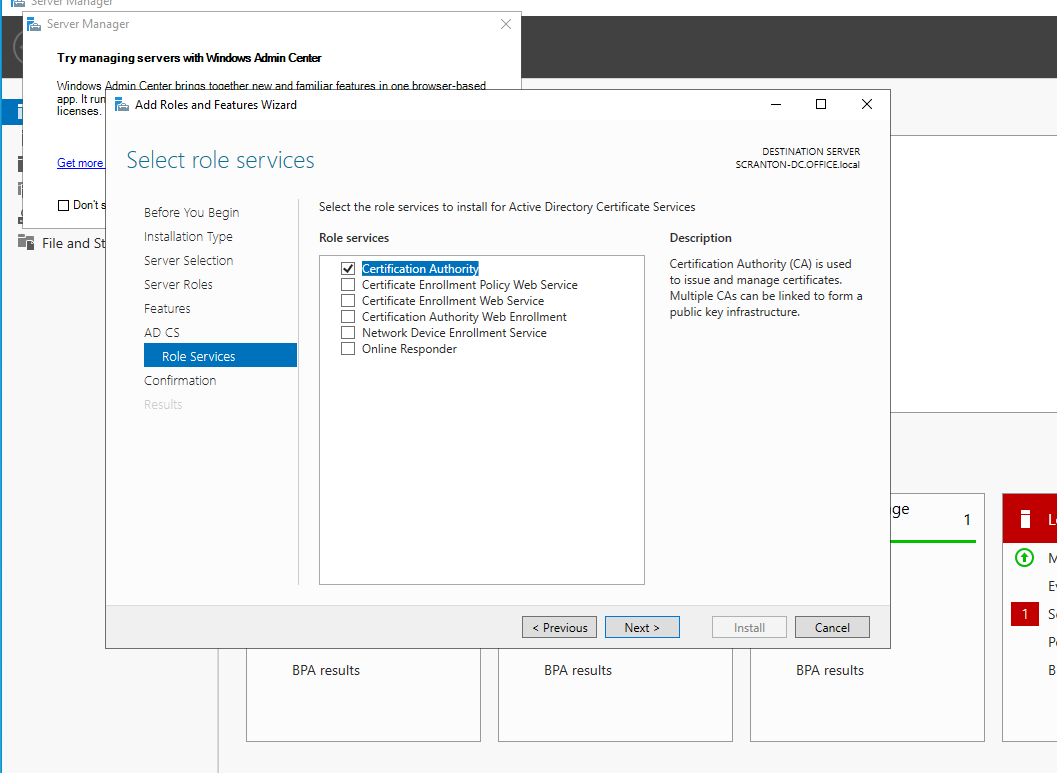
- Choose Configure Active Directory Certificate Services on the destination server.
- Select the Certification Authority option.
- Go through the default settings and select Configure.
- After logging in with the previously set credentials:
 —
—
Step 4: Setting Up the Workstation Machines
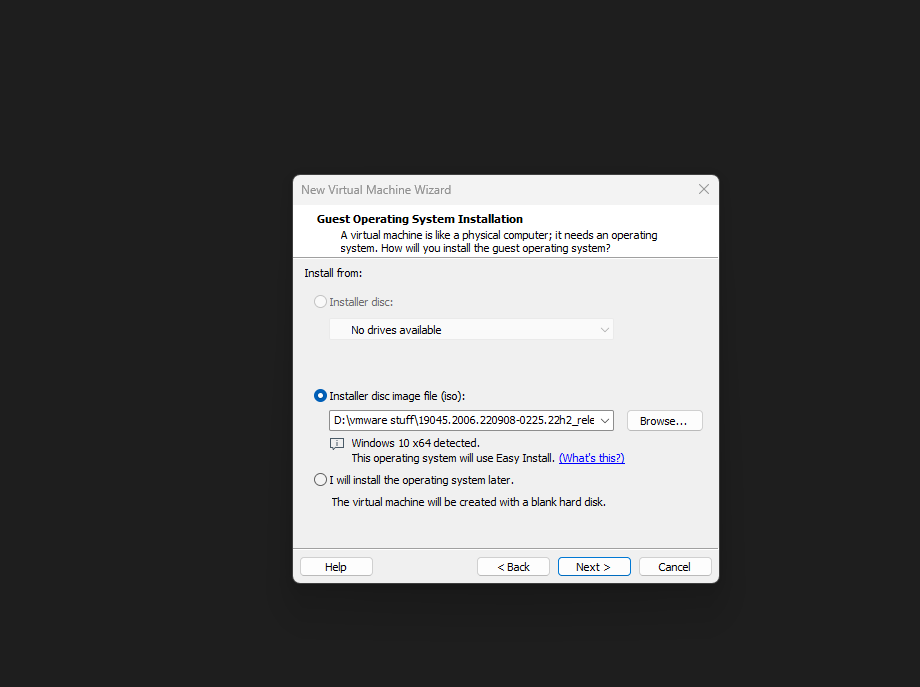
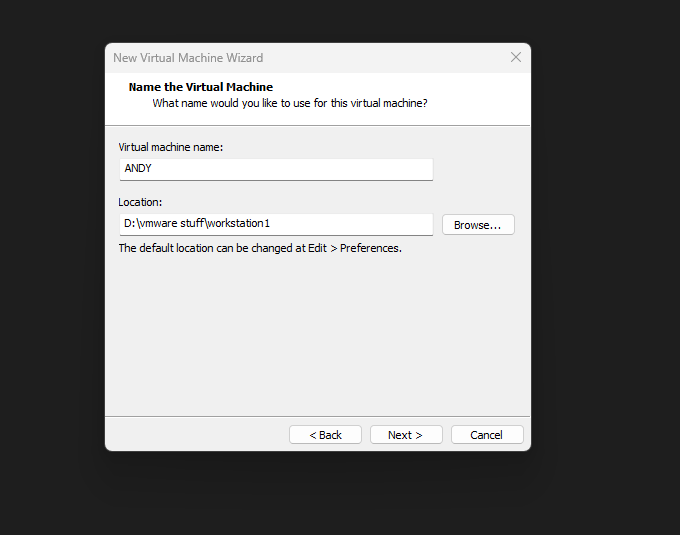
- Create Virtual Machines for Workstations:
- Use the ISO file for Windows 10.
- Go through the setup process and choose a name for each machine that matches your theme.
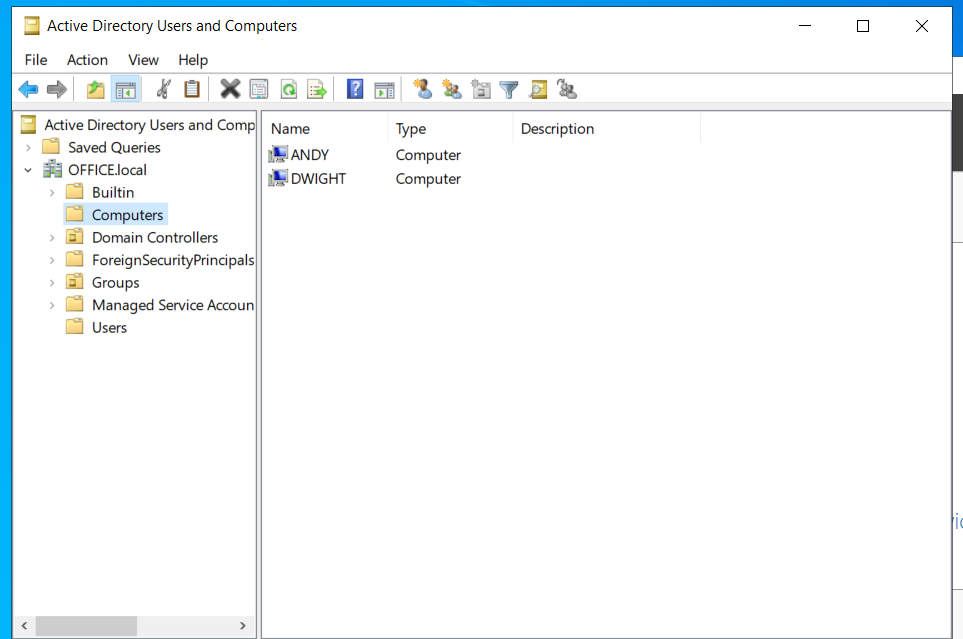
- Example: DWIGHT and AND.
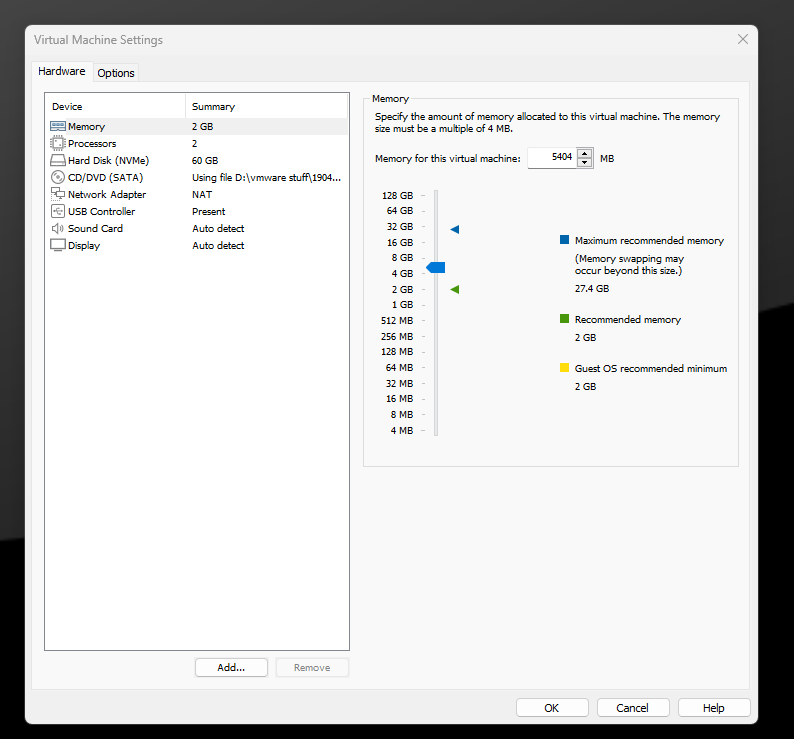
- Initial Setup:
- The initial setup procedure is the same as with the Windows Server:
- Allocate an appropriate amount of RAM based on your host machine’s capacity.
- Power on the virtual machines and proceed with the setup.
- The initial setup procedure is the same as with the Windows Server:
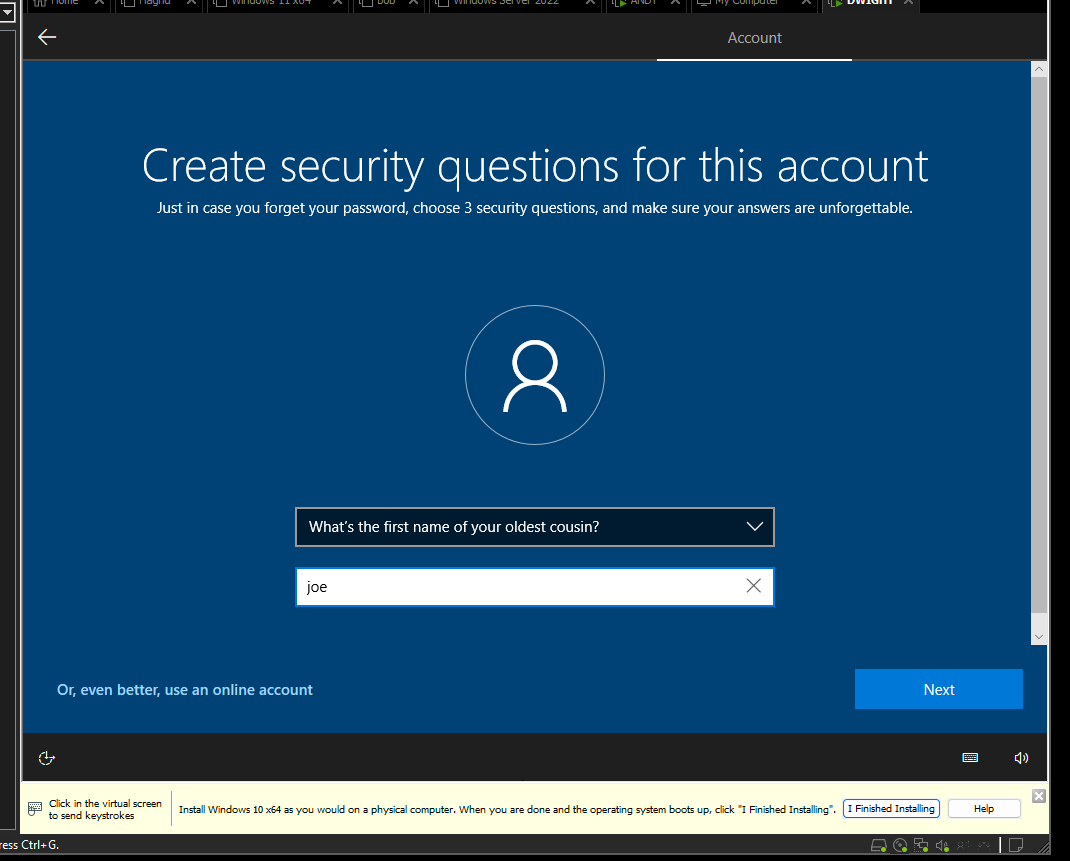
- Domain Login Setup:
- During the setup process, when prompted to log in with Microsoft:
- Choose Domain joined instead.
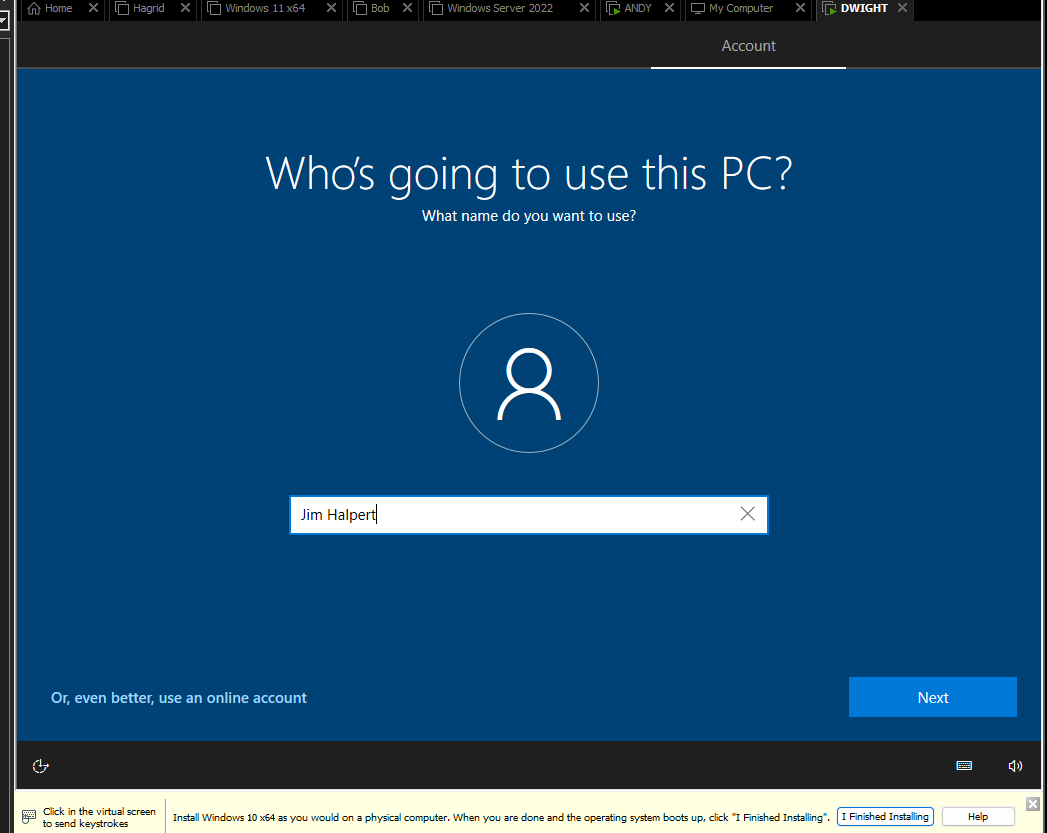
- Assign names for the workstations.
- Example: Andy Bernard and Jim Halpert.
- Set up passwords for both users.
- During the setup process, when prompted to log in with Microsoft:

- Install VMware Tools:
- After the initial setup, install VMware Tools for both workstations to enable full-screen resolution.
- Rename the Computers:
- Rename the computers to the names you assigned earlier (e.g., Andy Bernard and Jim Halpert).
- Reboot the virtual machines after renaming.
Step 5: Modifying the Domain Controller
- Turn Off the Workstations:
- Shut down both workstation virtual machines before proceeding with the domain controller modifications.
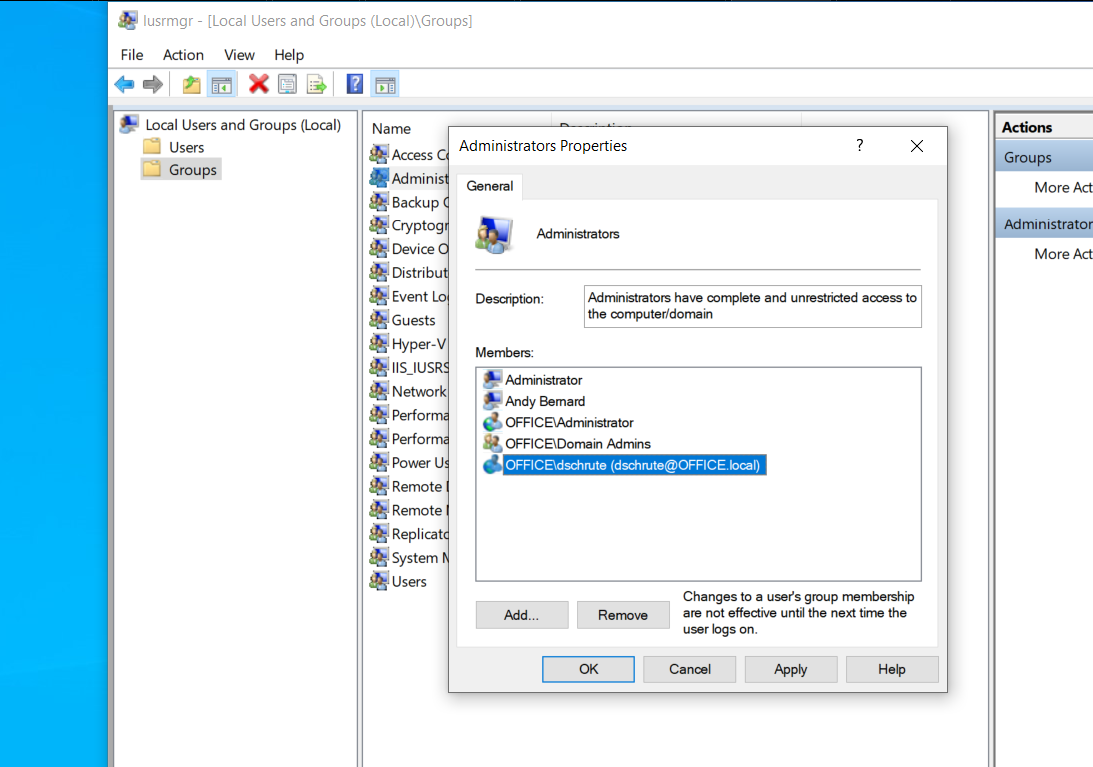
- Set Up Users, Groups, and Policies:
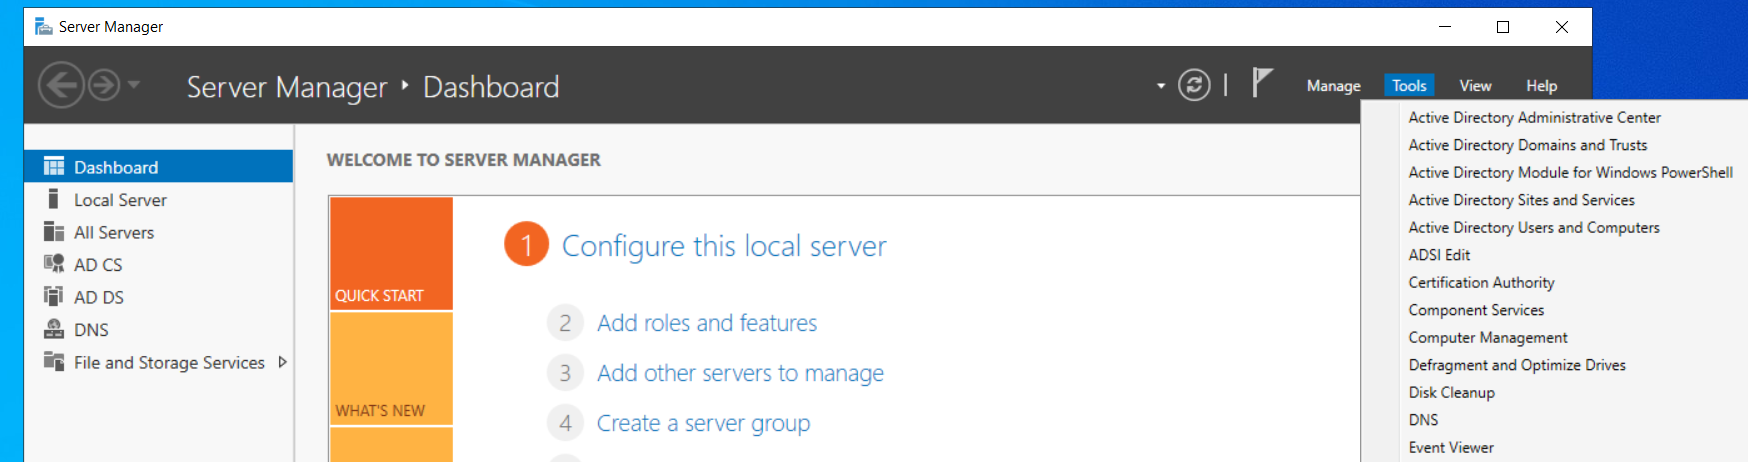
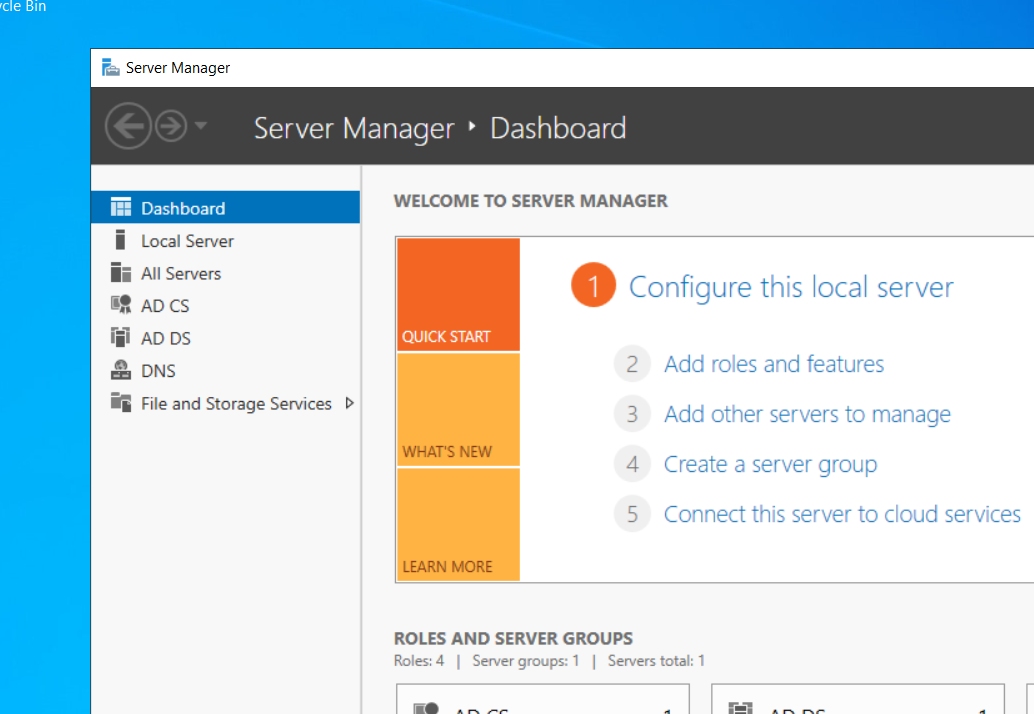
- Open Server Manager on the Domain Controller.
- Select Tools > Active Directory Users and Computers.
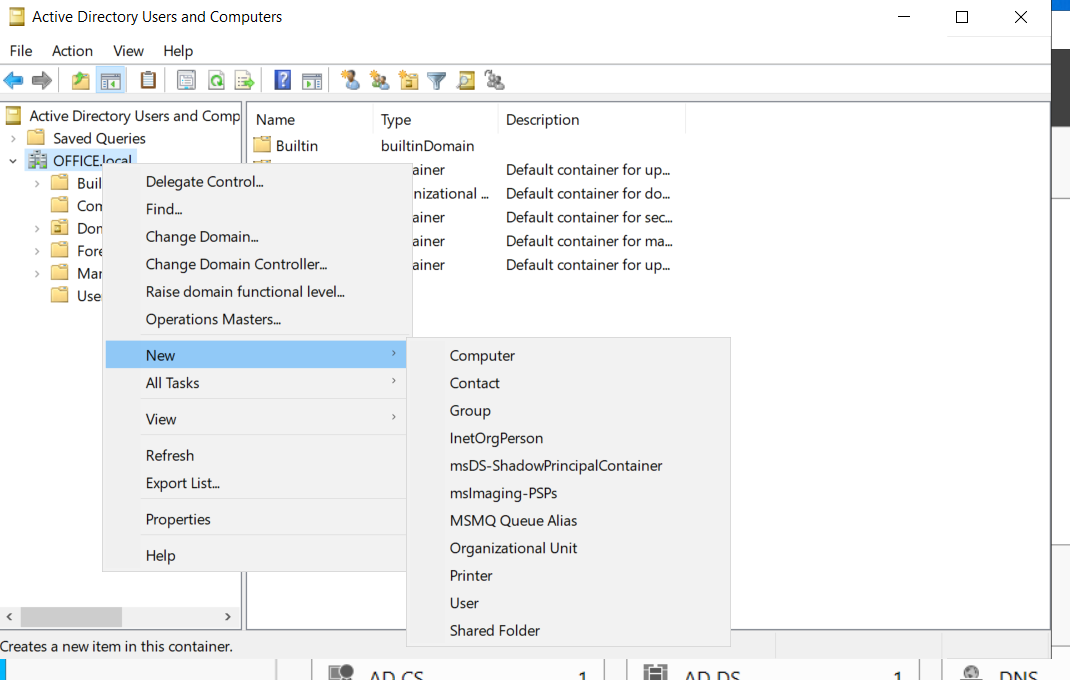
- Create an Organizational Unit:
- Create a new Organizational Unit (OU) and name it Groups.
- Move all the existing groups into this newly created folder.
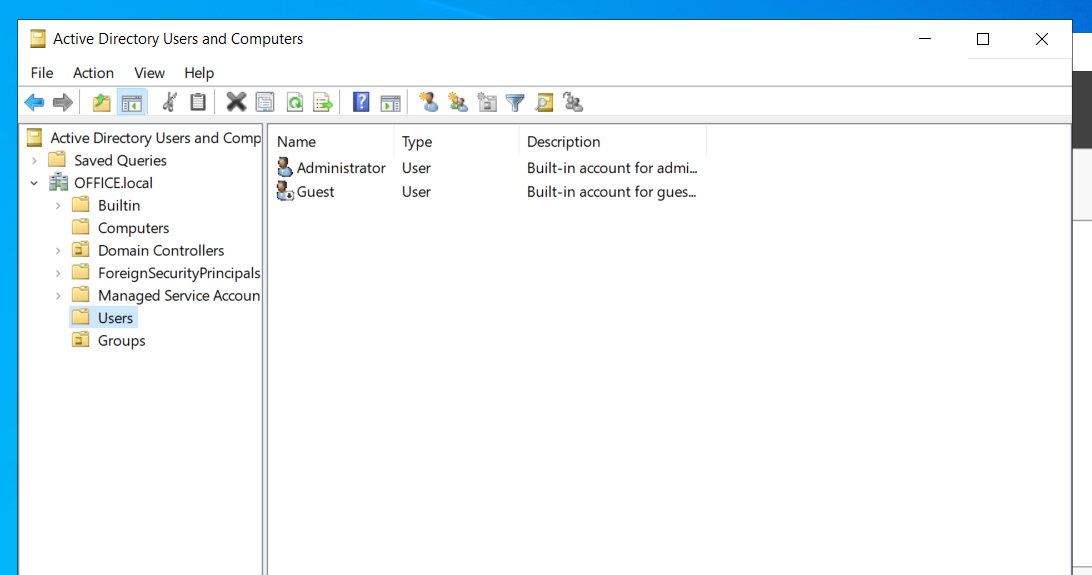
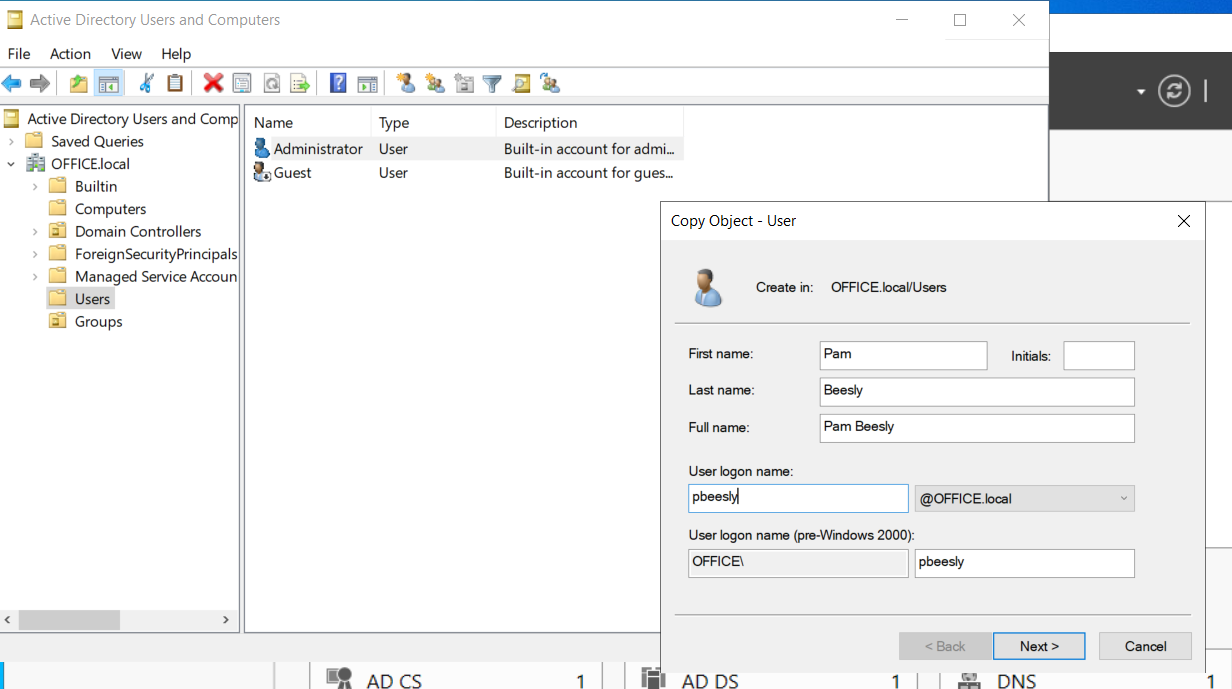
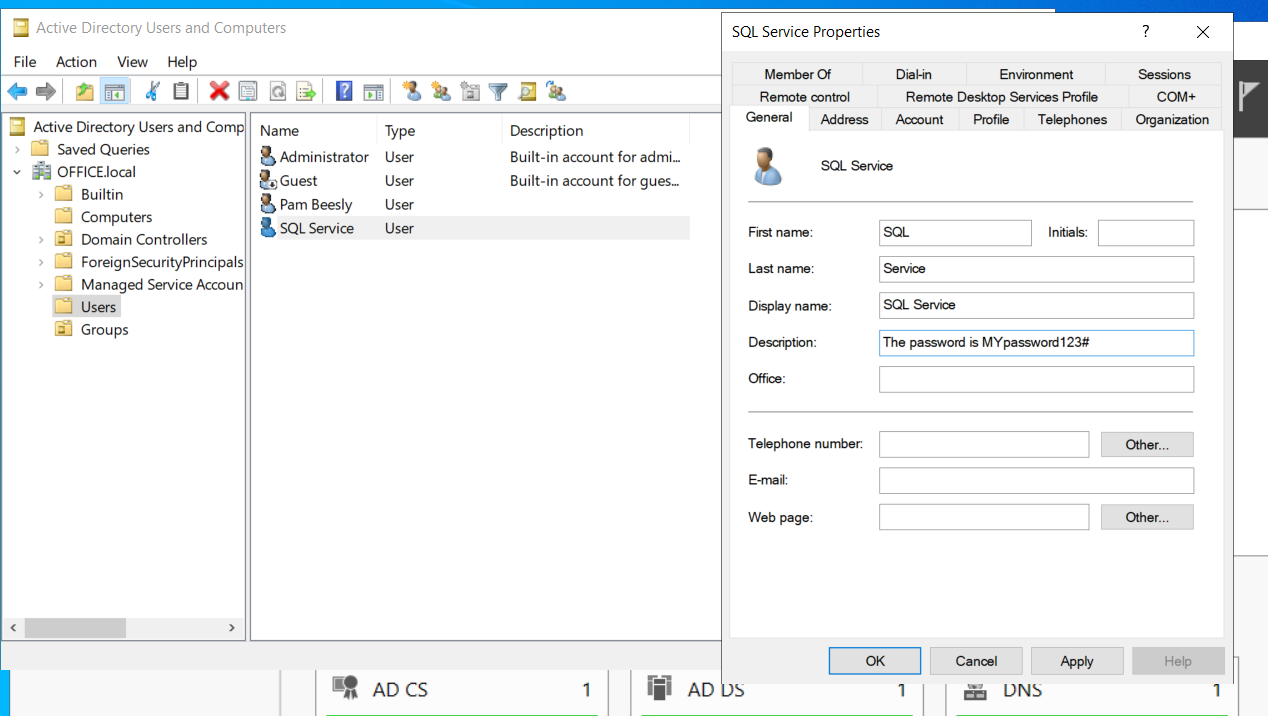
- Add New Accounts:
- Create the following accounts:
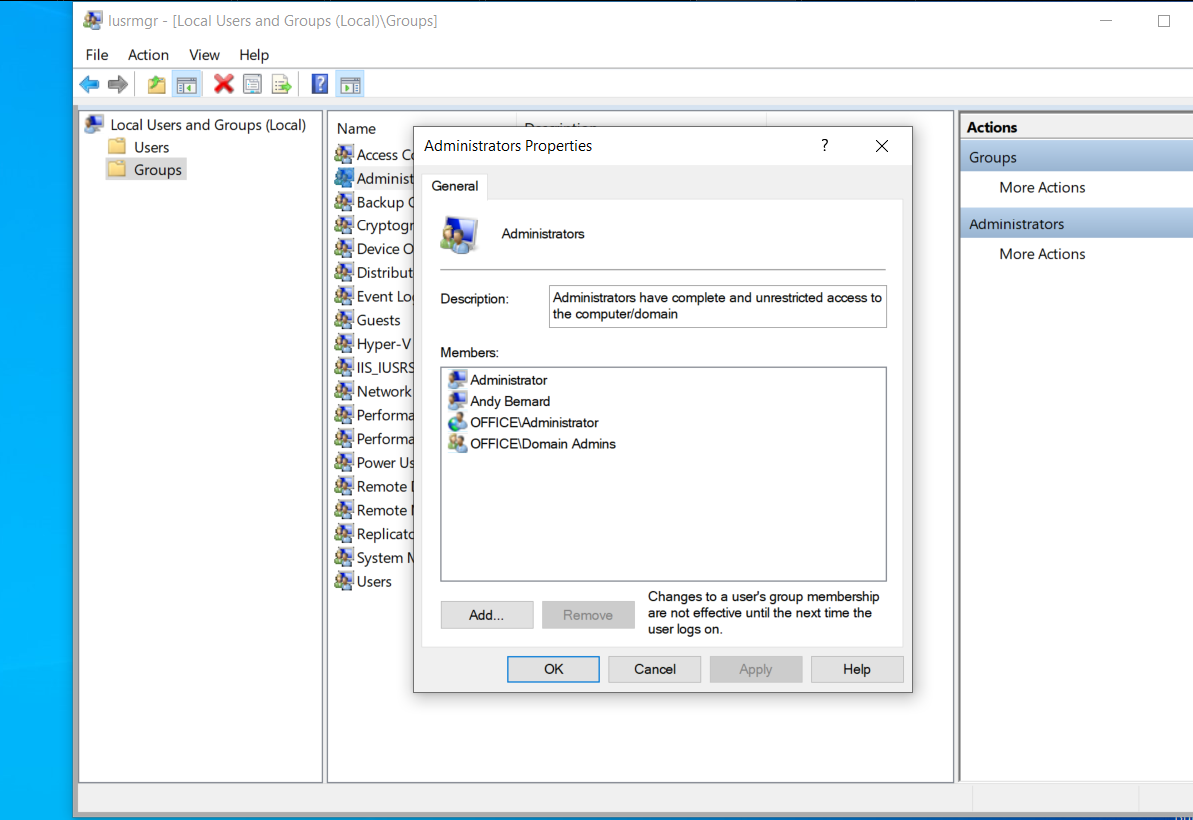
- Administrators: Assign Domain Administrator privileges.
- Service Accounts: For system administration purposes.
- Users: Regular domain user accounts.
- Create the following accounts:
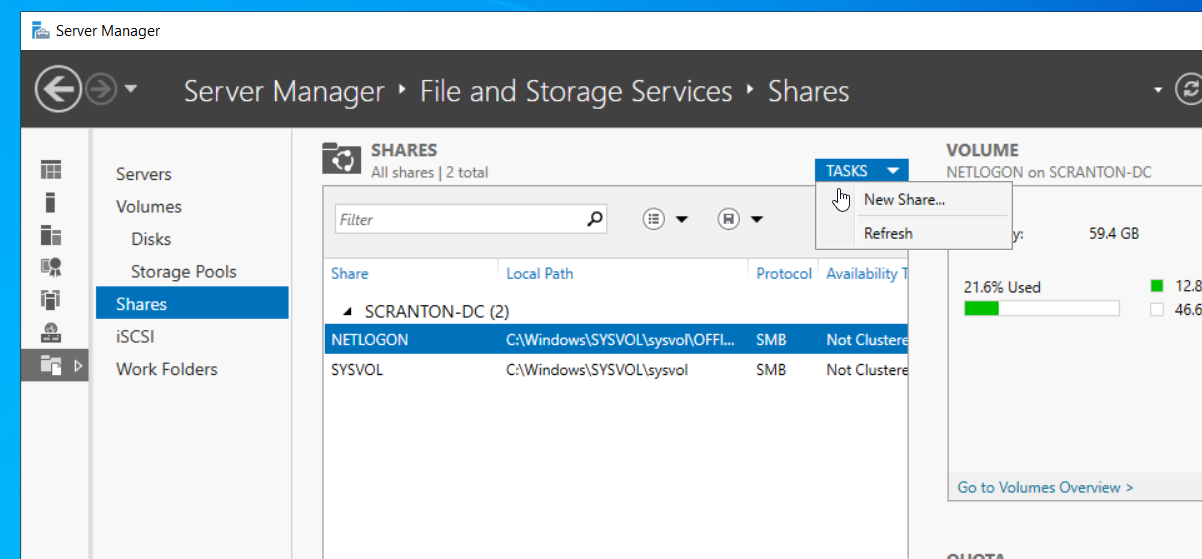
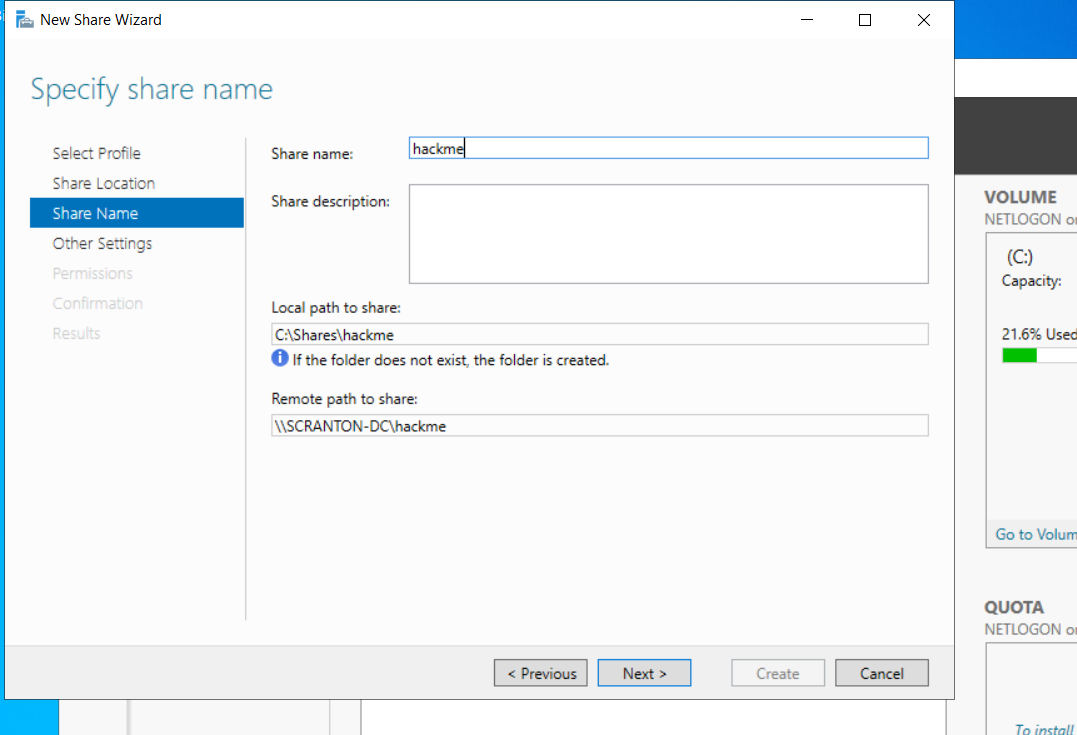
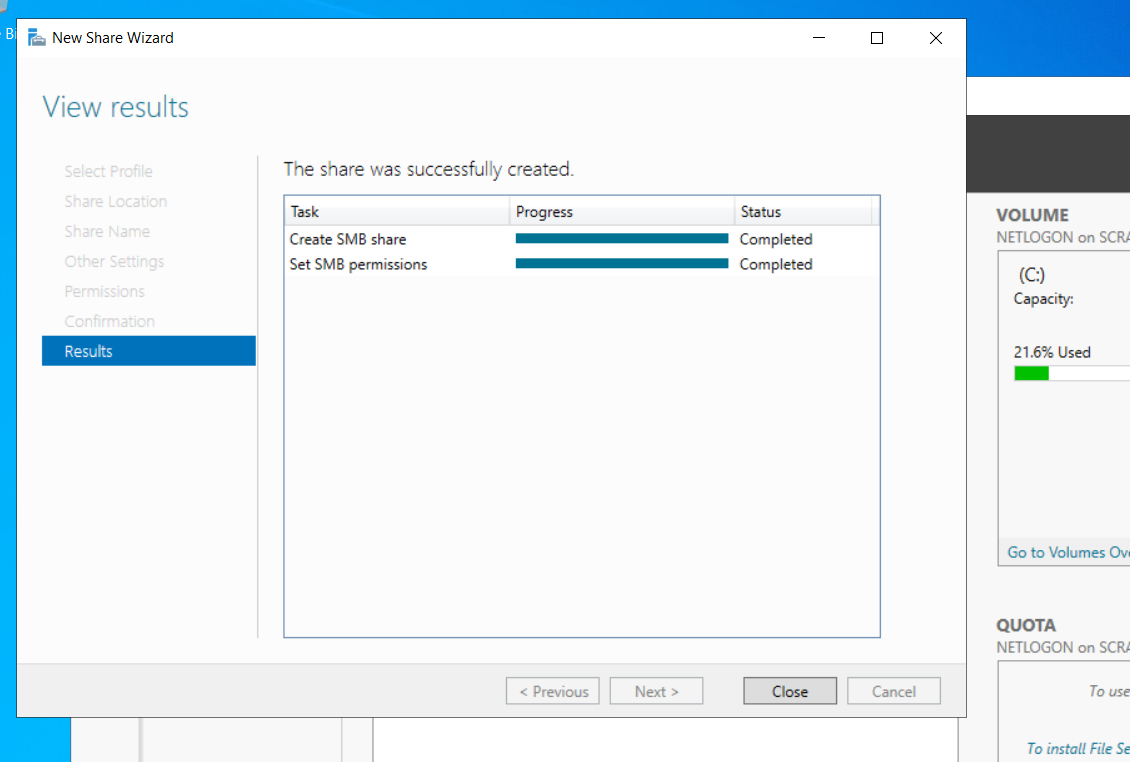
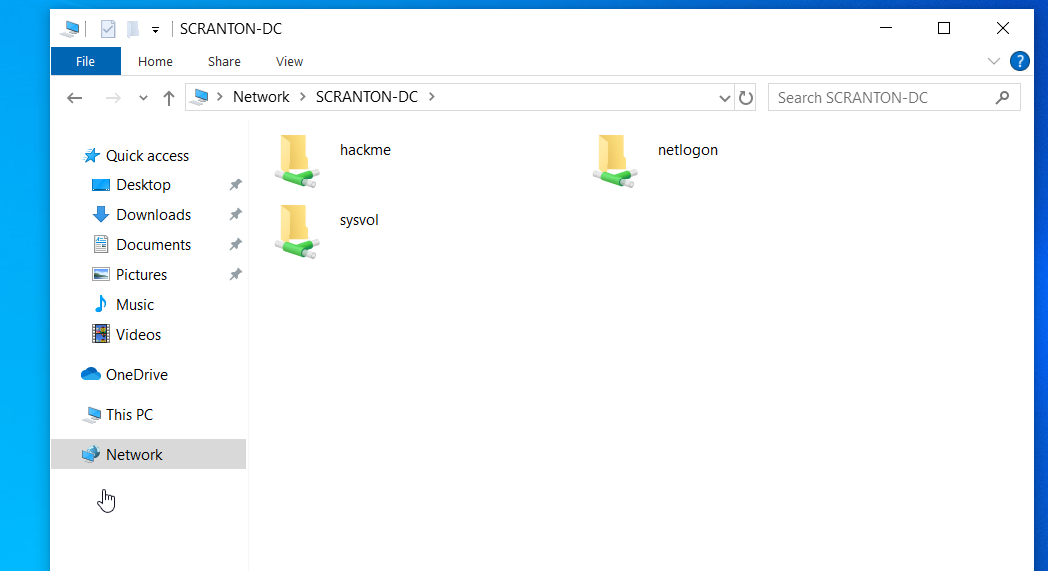
- Create a File Share:
- Open Server Manager > File and Storage Services.
- Select New Share and set up an SMB share.
- Name the share hackme.
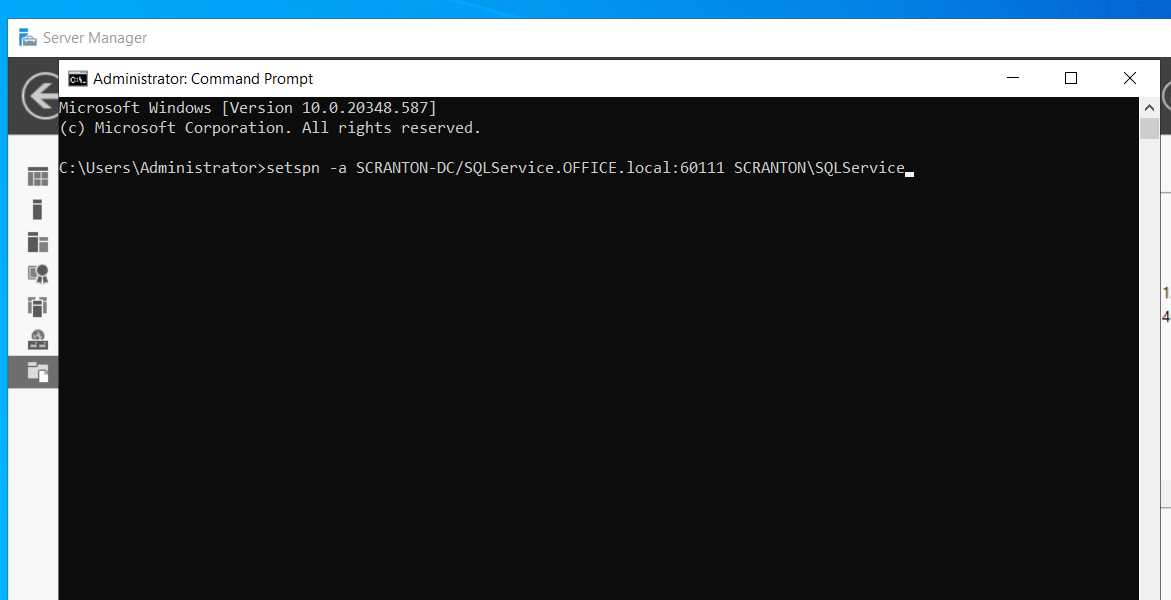
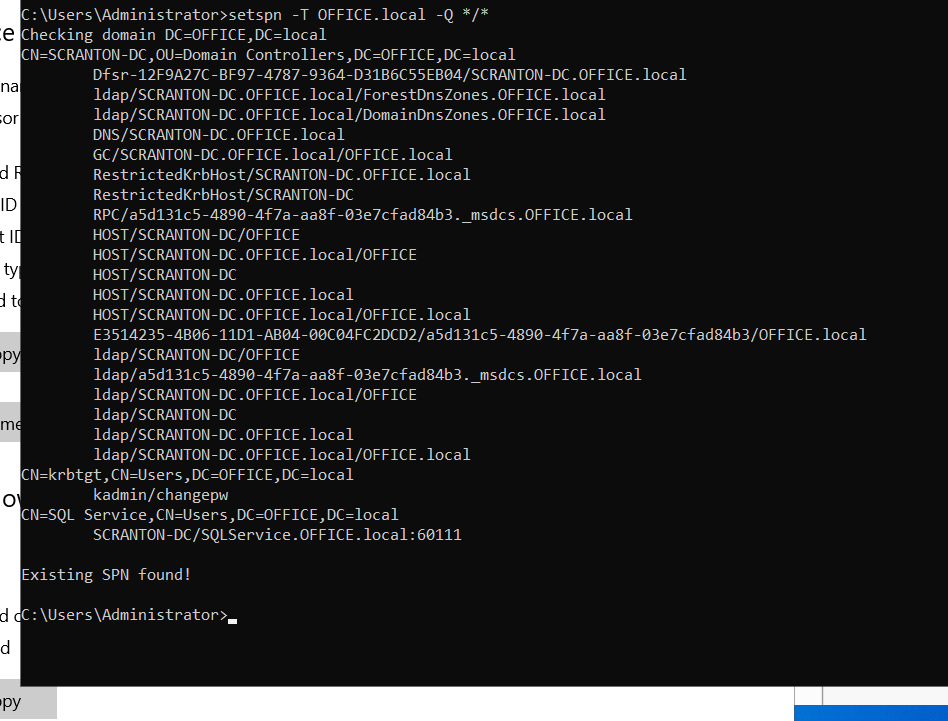
- Configure the Service Account:
- Use the Command Prompt to fully configure the service account by running the necessary commands.

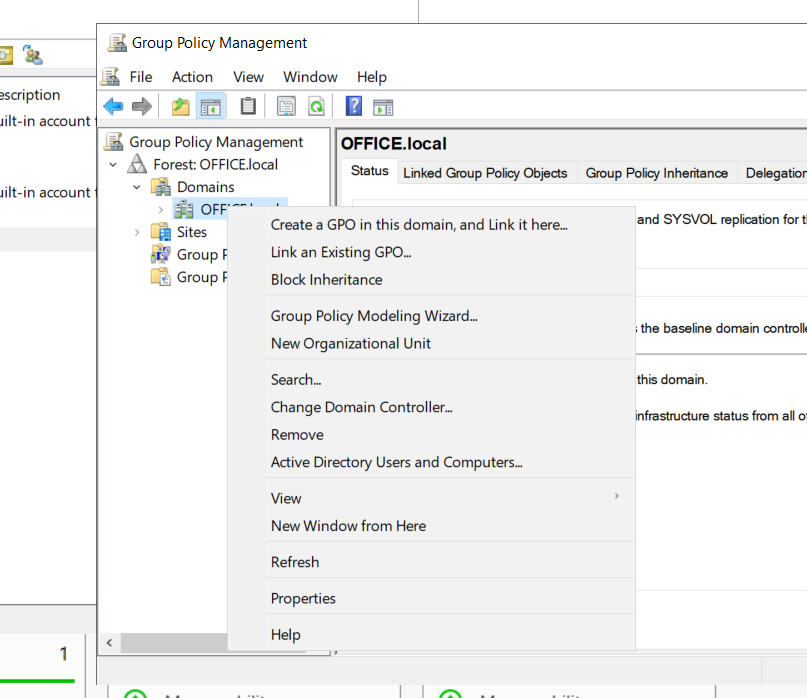
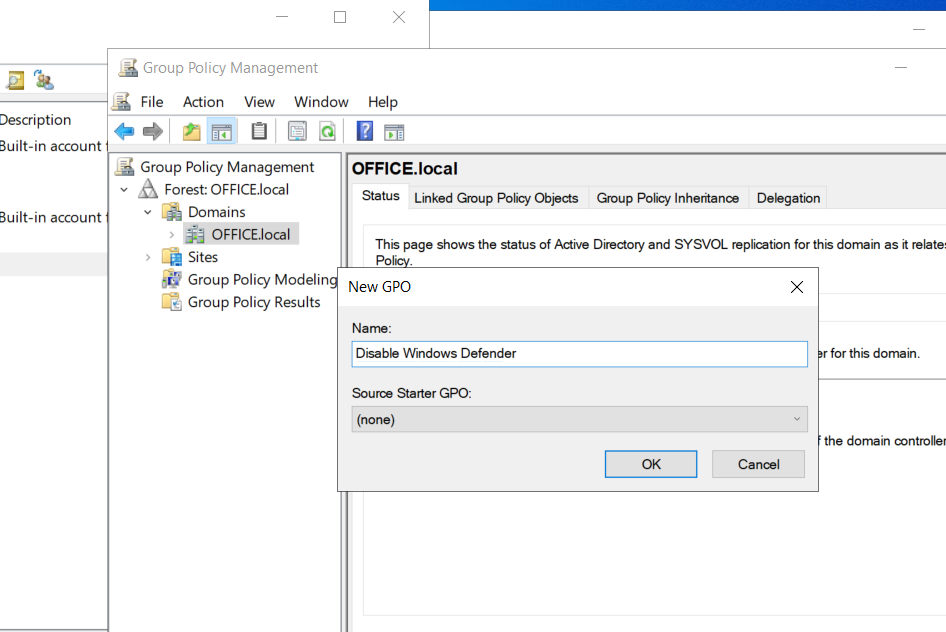
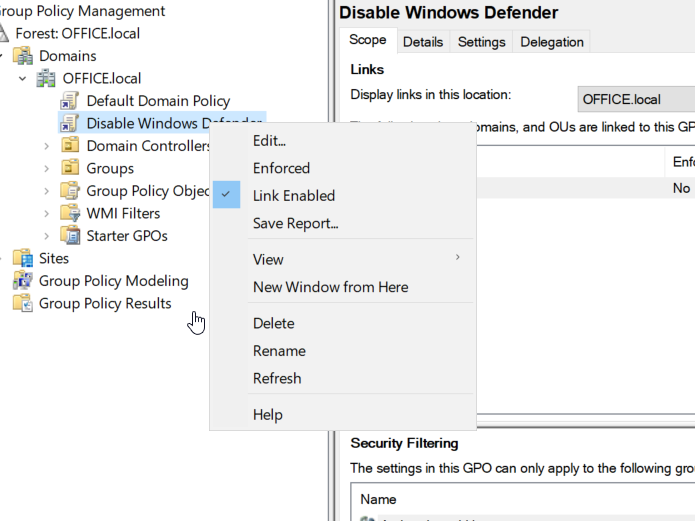
- Set Up a Group Policy:
- In Server Manager, create a Group Policy Object (GPO):
- Select Create a GPO in this domain, and Link it here….
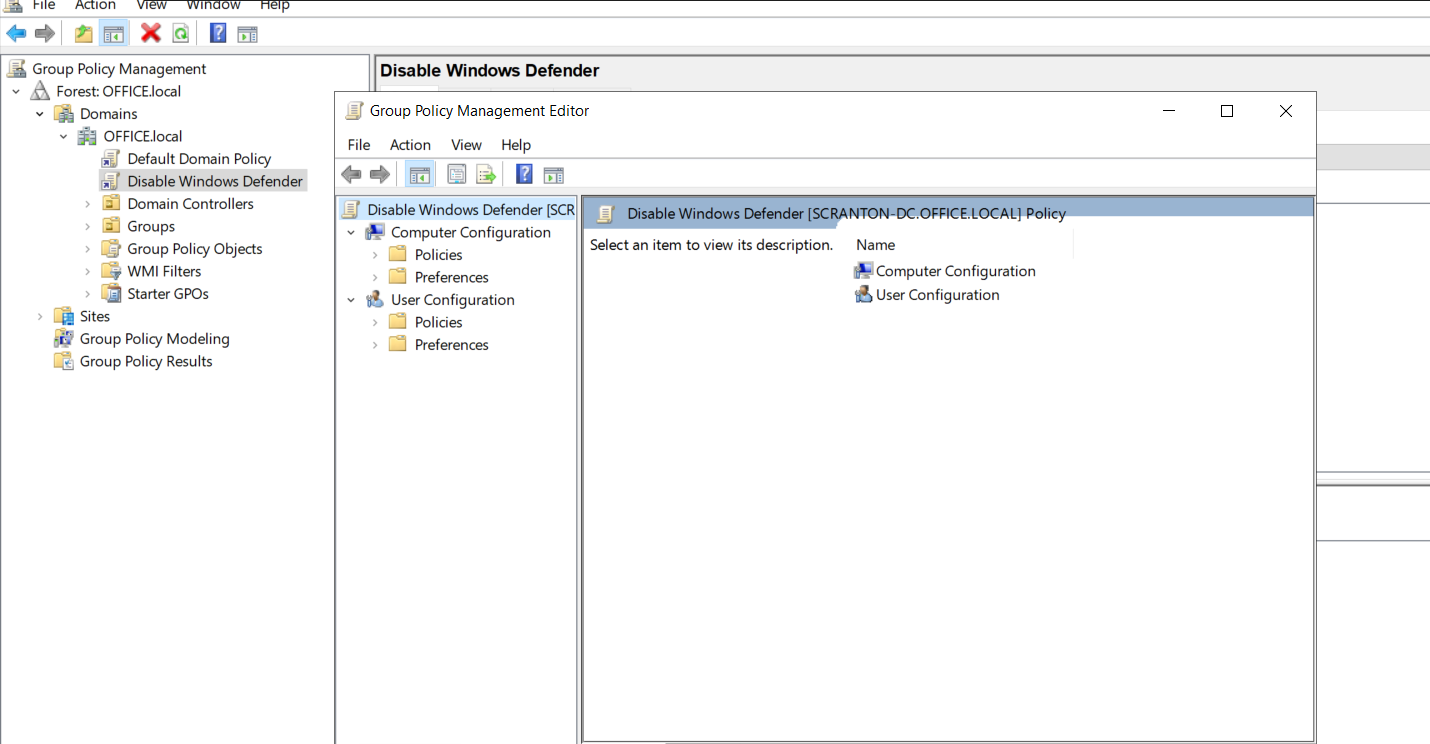
- Right-click on the new policy and select Edit.
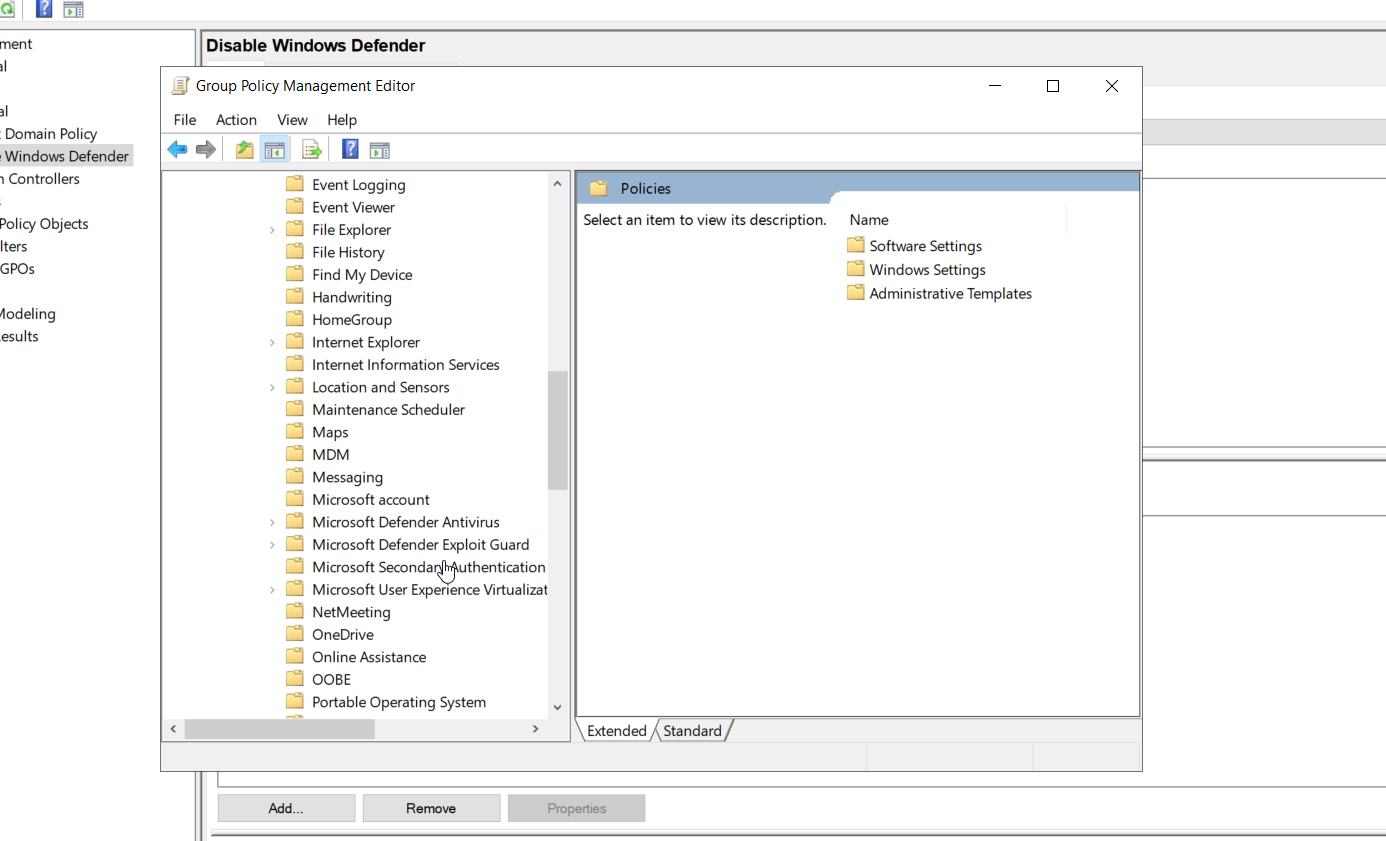
- Navigate to:
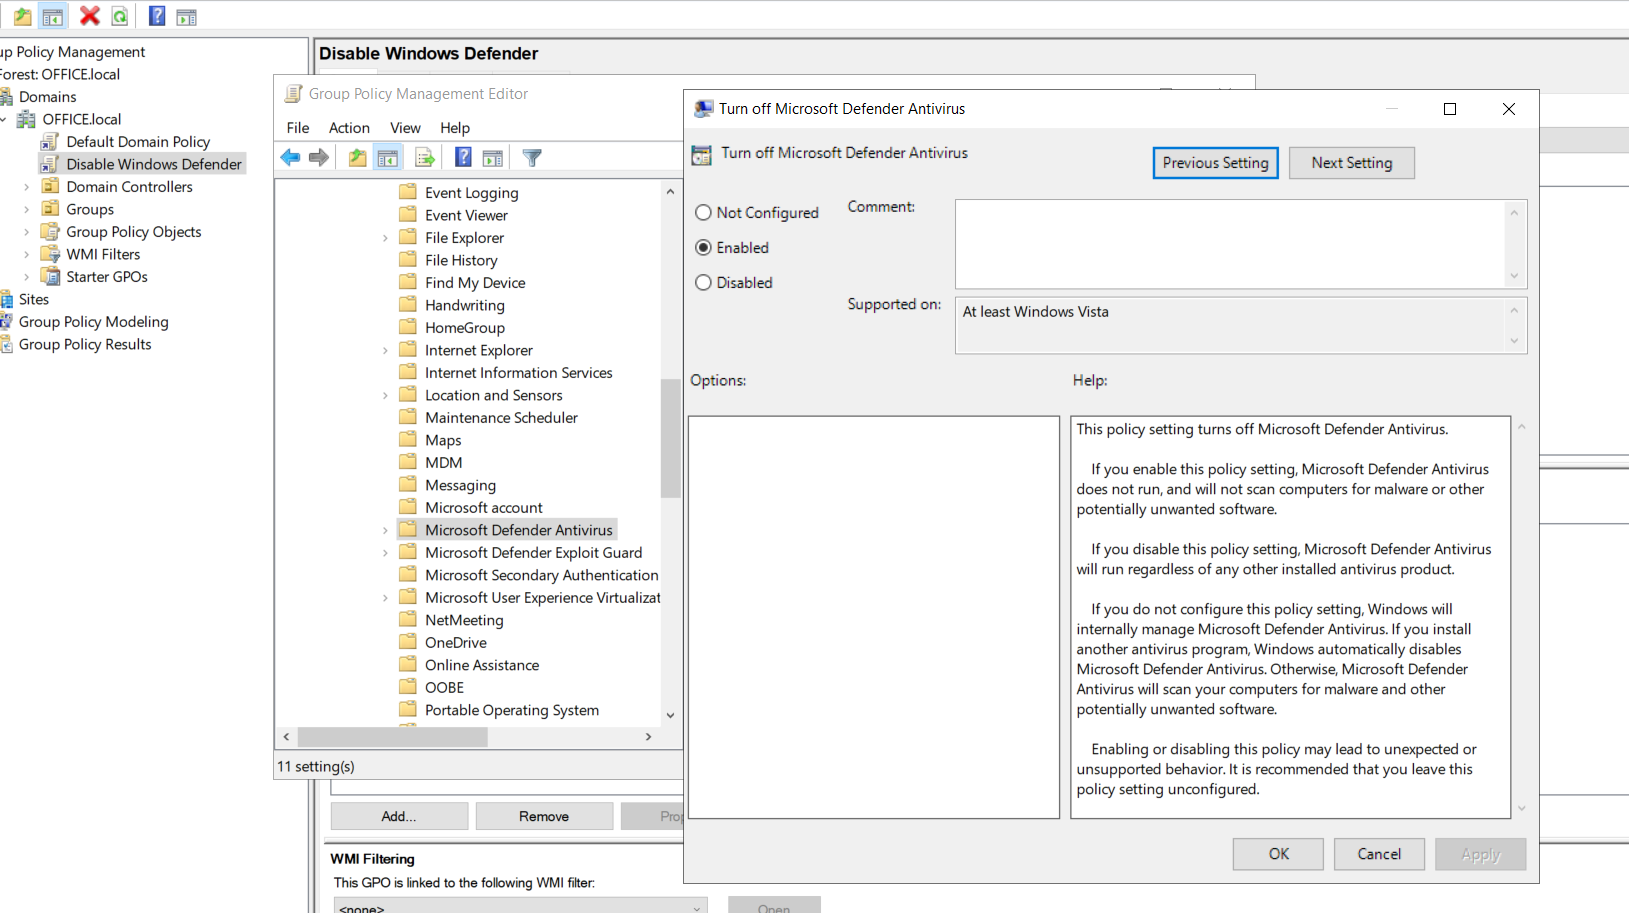
- Computer Configuration > Policies > Administrative Templates > Windows Components > Microsoft Defender Antivirus.
- Enable the Turn off Microsoft Defender Antivirus option.
- Enforce the policy by right-clicking on it and selecting Enforce.
- In Server Manager, create a Group Policy Object (GPO):
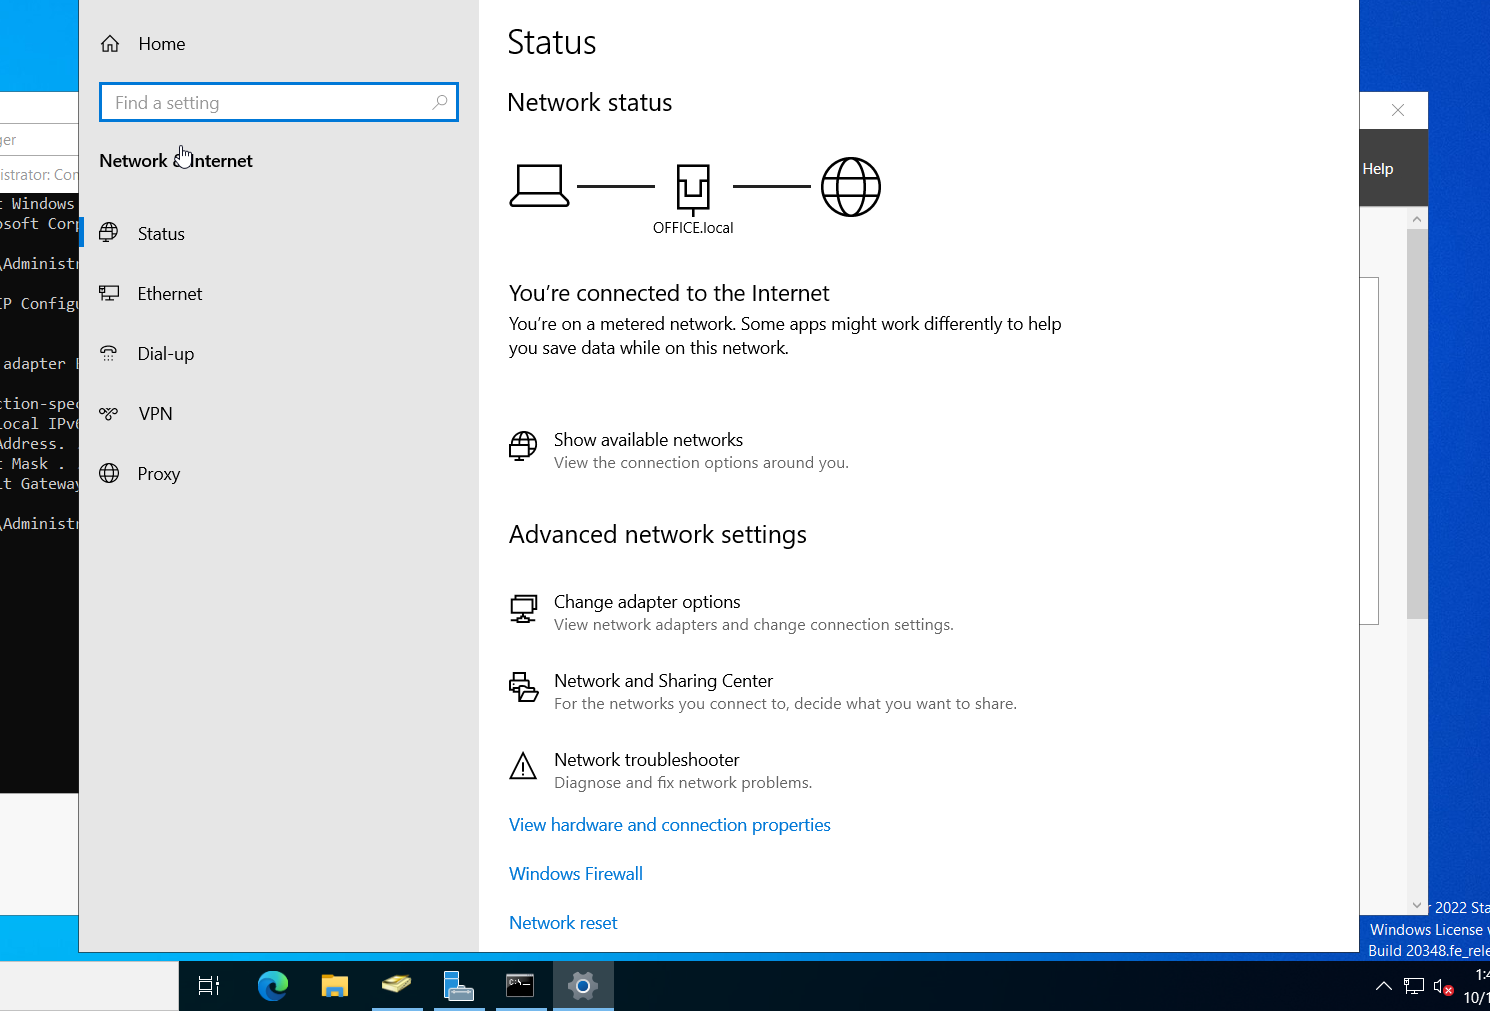
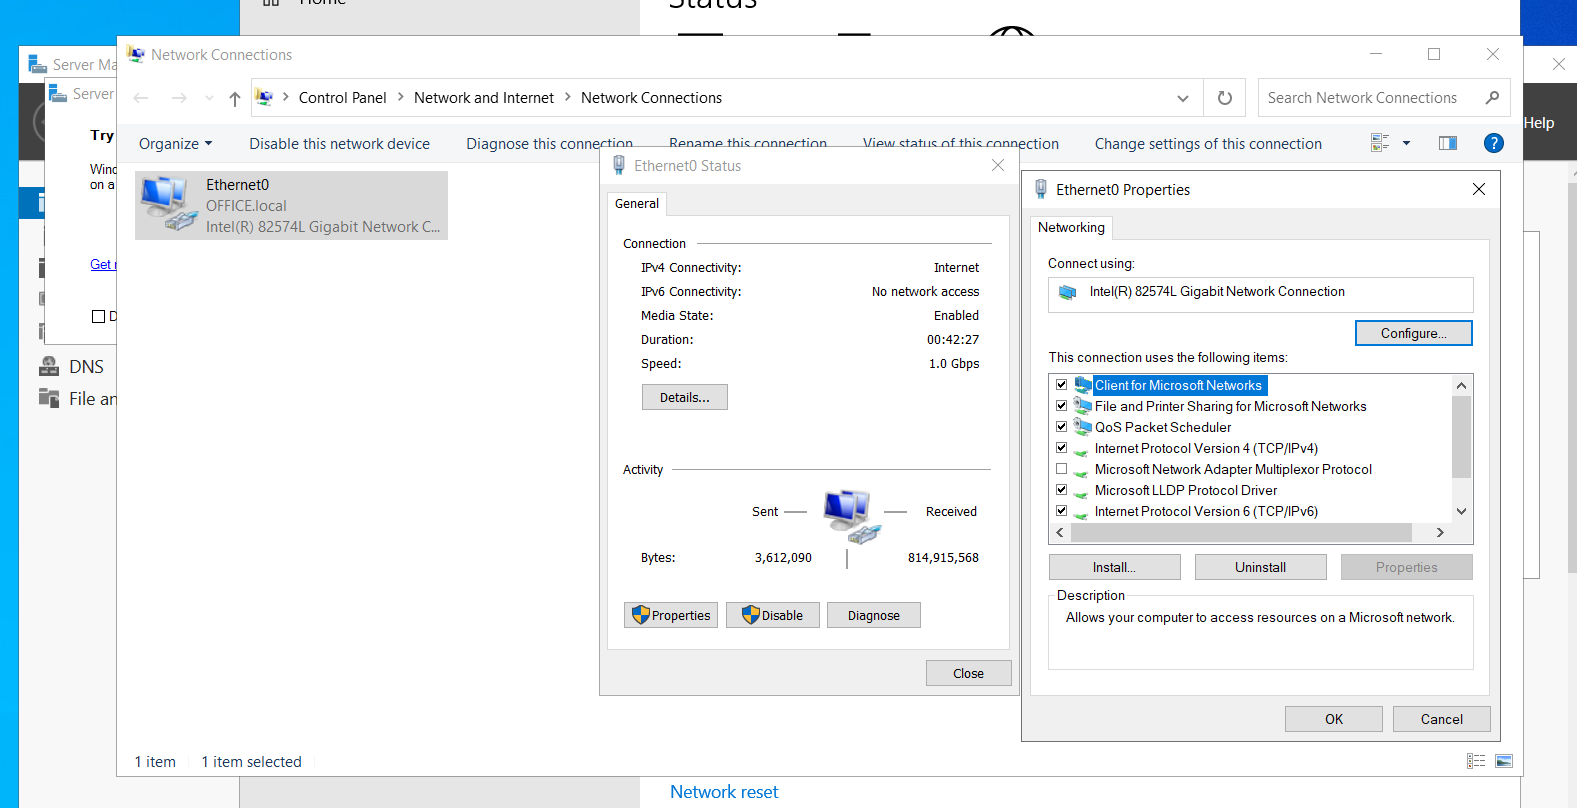
- Set a Static IP Address:
- Configure a static IP address for the Domain Controller in the Ethernet Options.
Step 6: Joining Workstations to the Domain
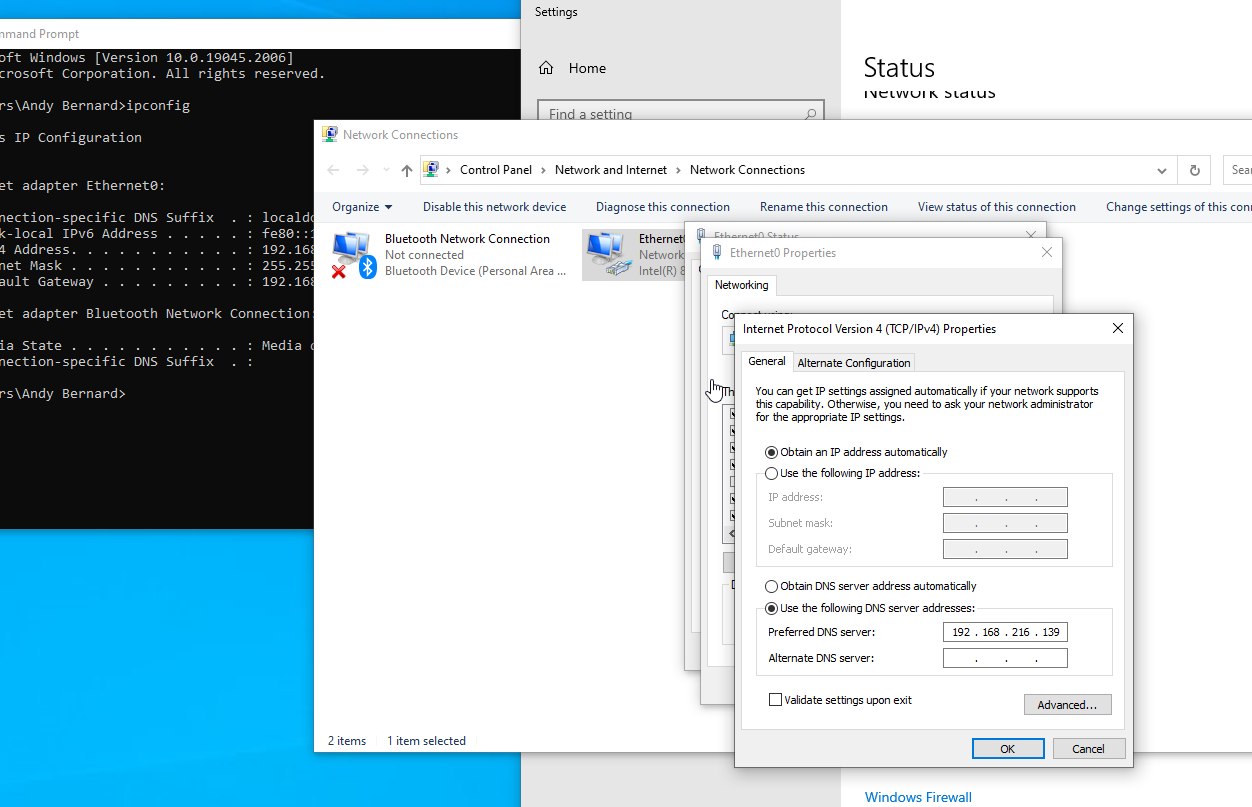
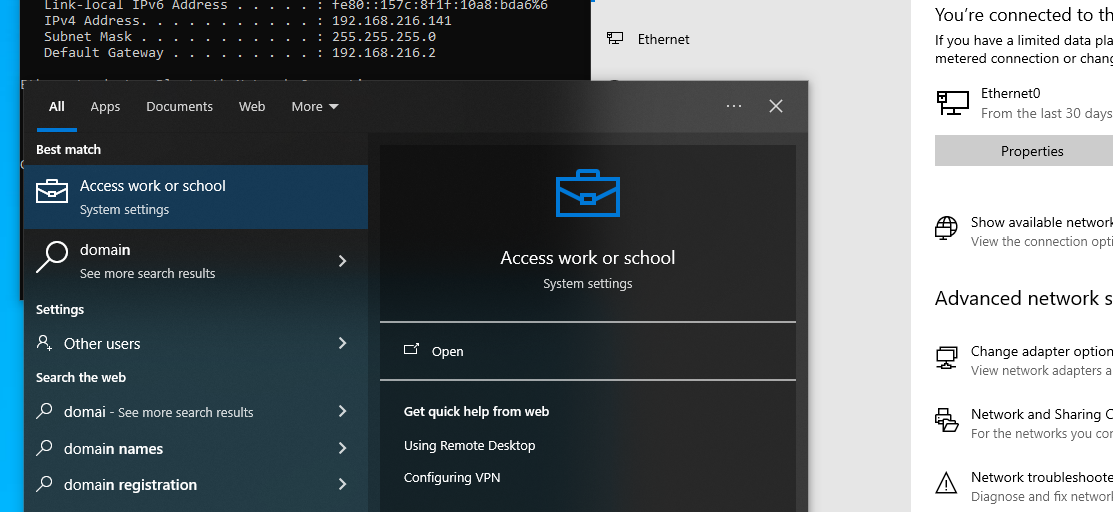
- Configure Adapter Options:
- Log into both workstations and modify the network adapter settings based on the Domain Controller’s static IP address.
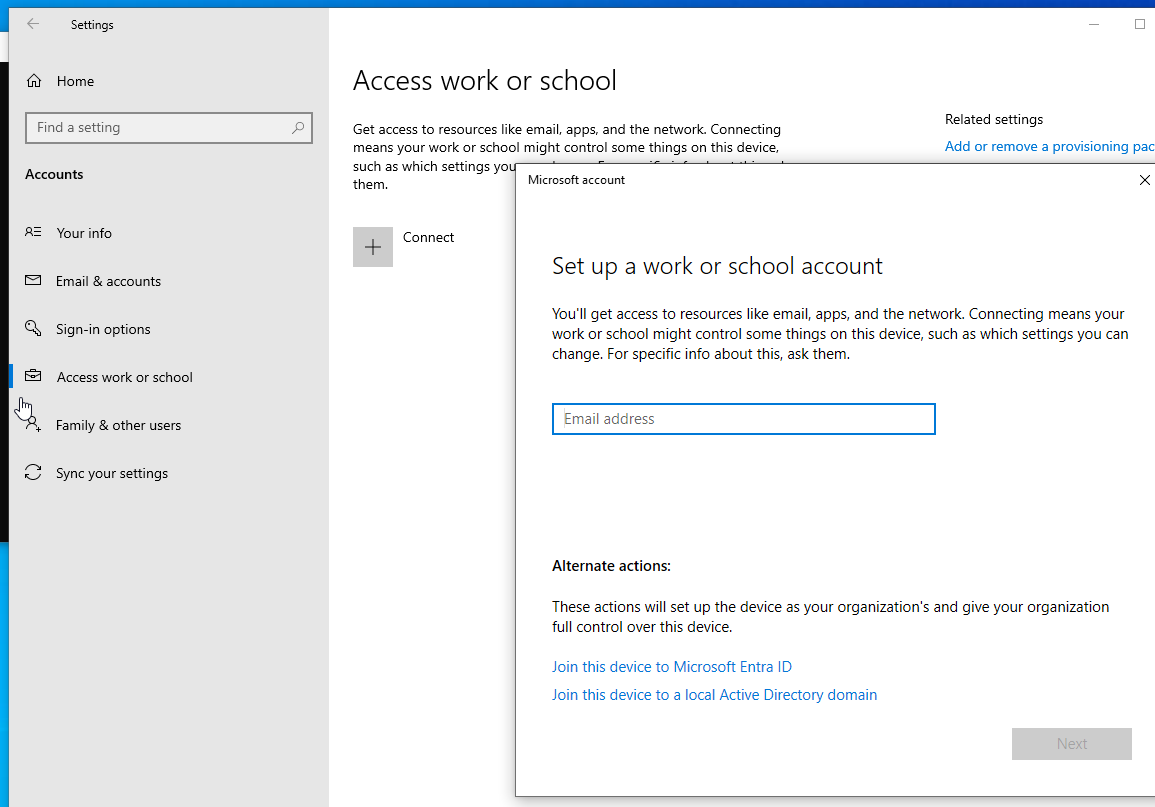
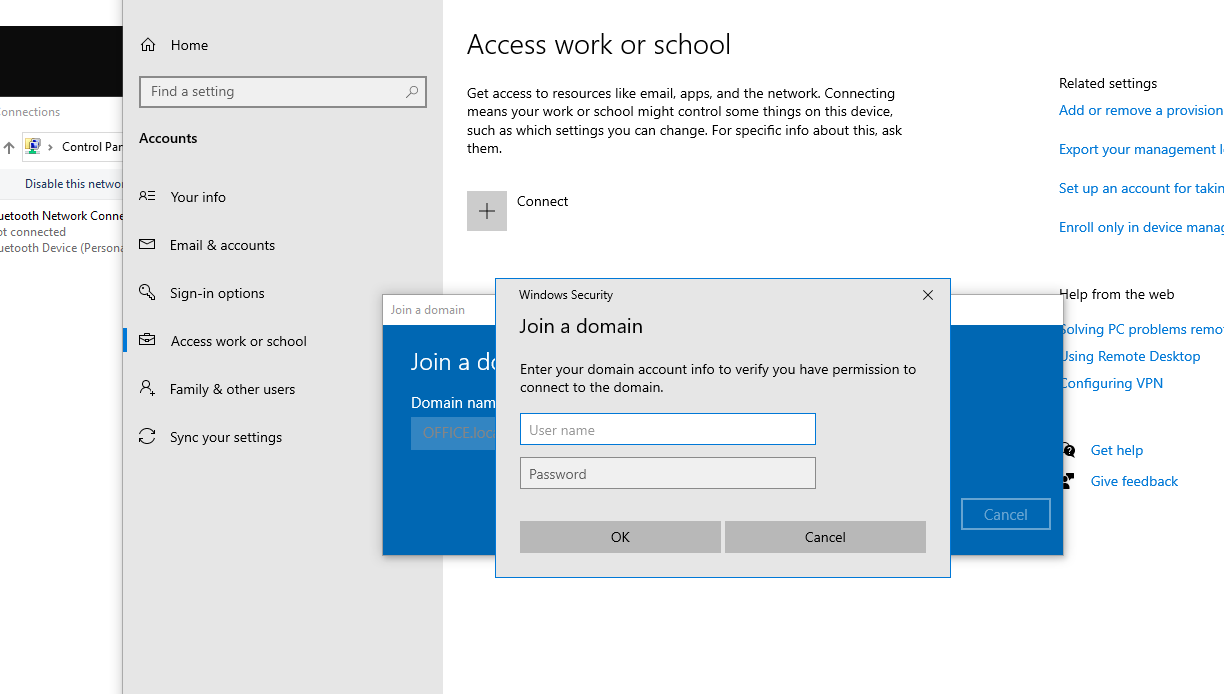
- Join the Domain:
- On each workstation:
- Select Join this device to a local Active Directory domain.
- Enter the domain name (e.g., OFFICE.local) and authenticate.
- On each workstation:
- Verify Domain Membership:
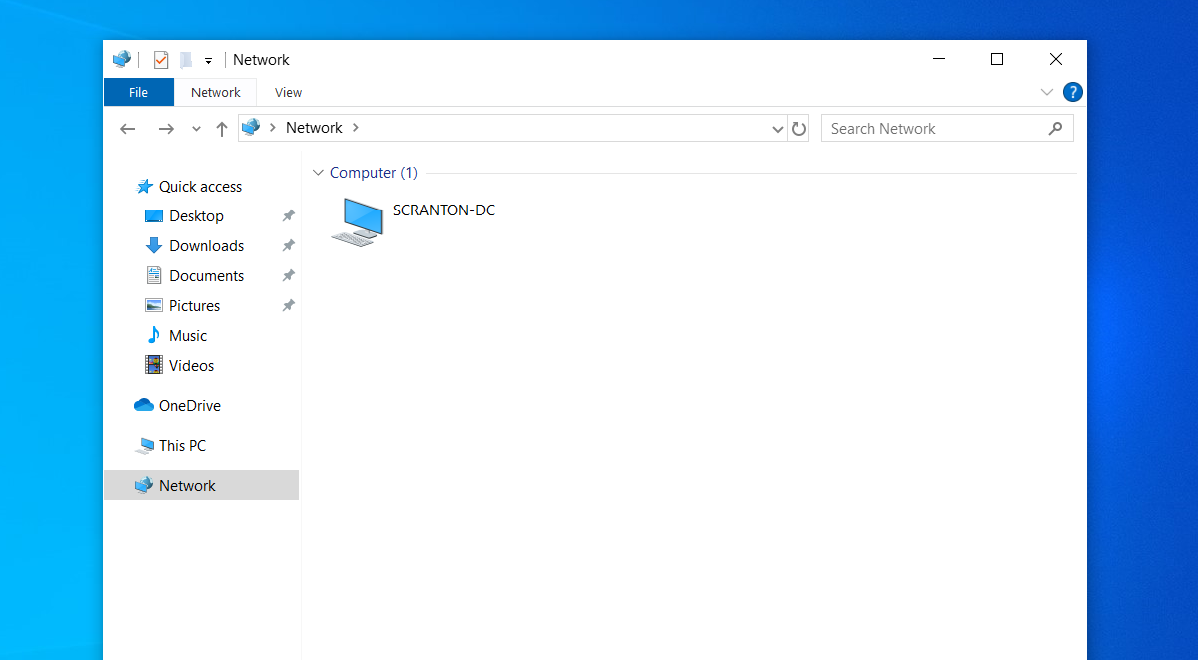
- Check Active Directory on the Domain Controller to ensure both workstations are successfully joined.
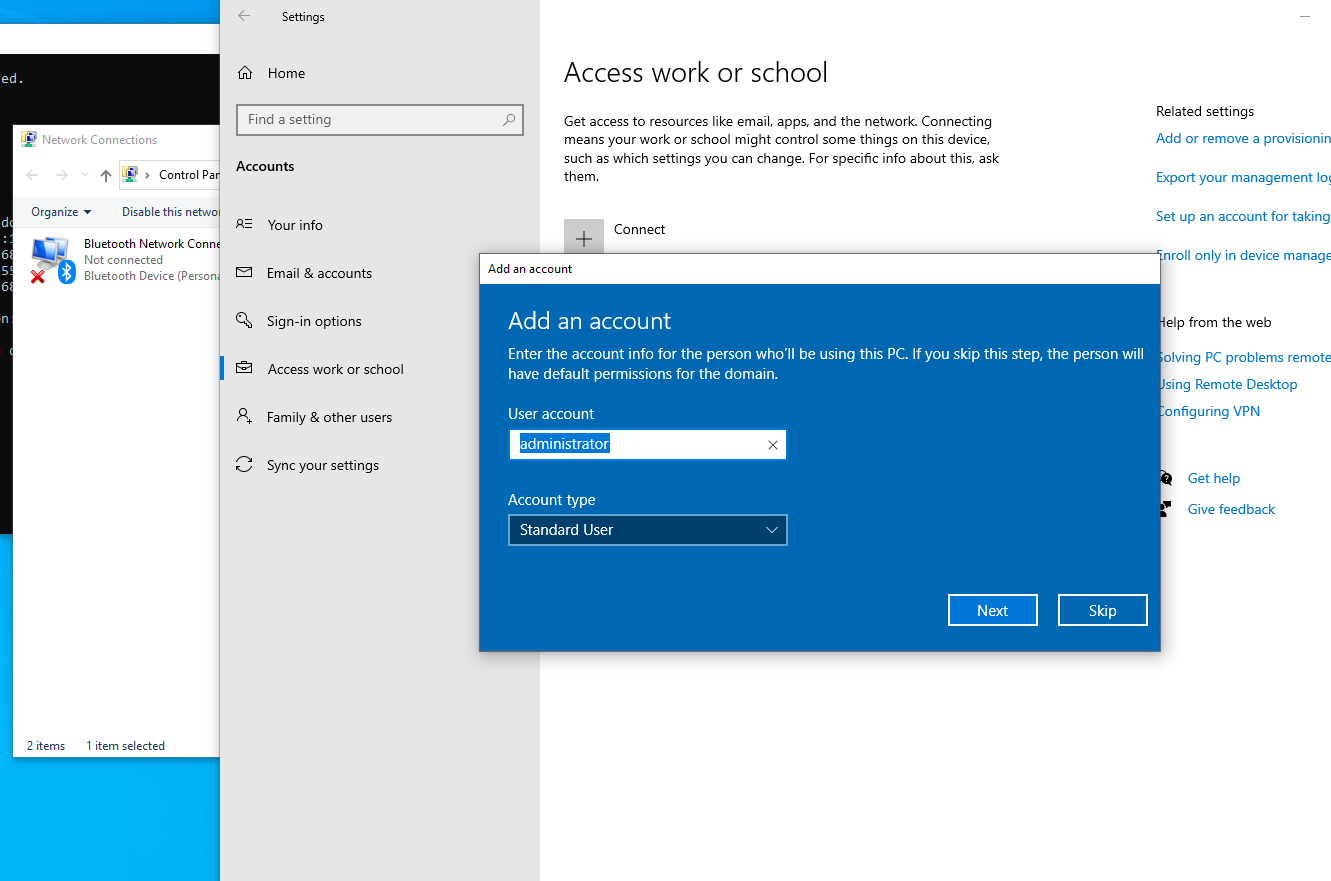
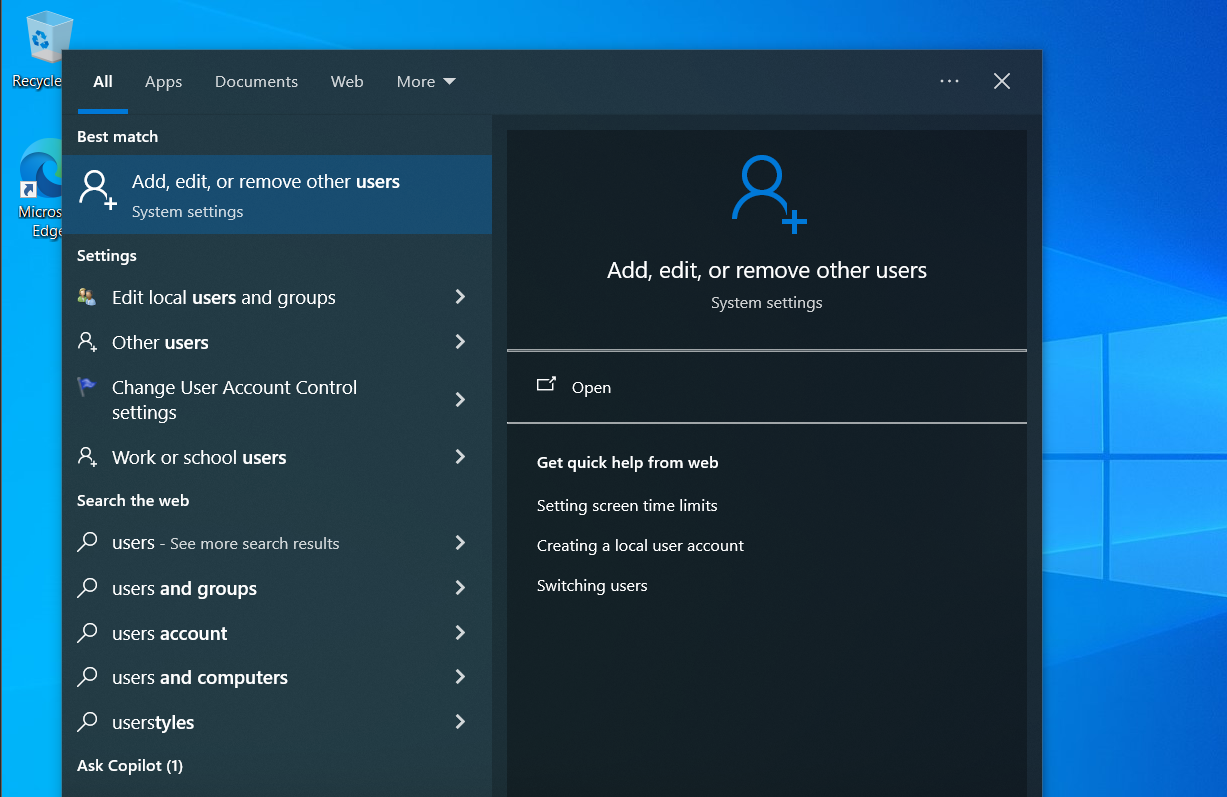
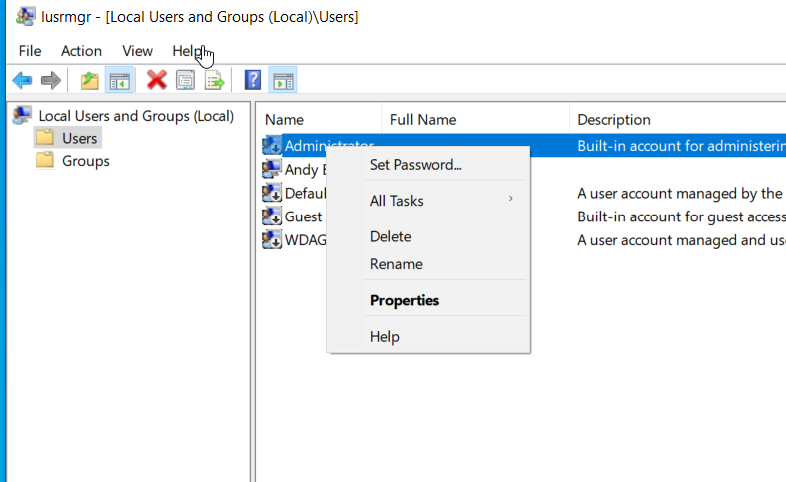
- Set Up Local Administrator Accounts:
- On each workstation:
- Create and configure a local administrator account.
- On each workstation:
- Enable Network Discovery:
- Turn on Network Discovery on both workstations.
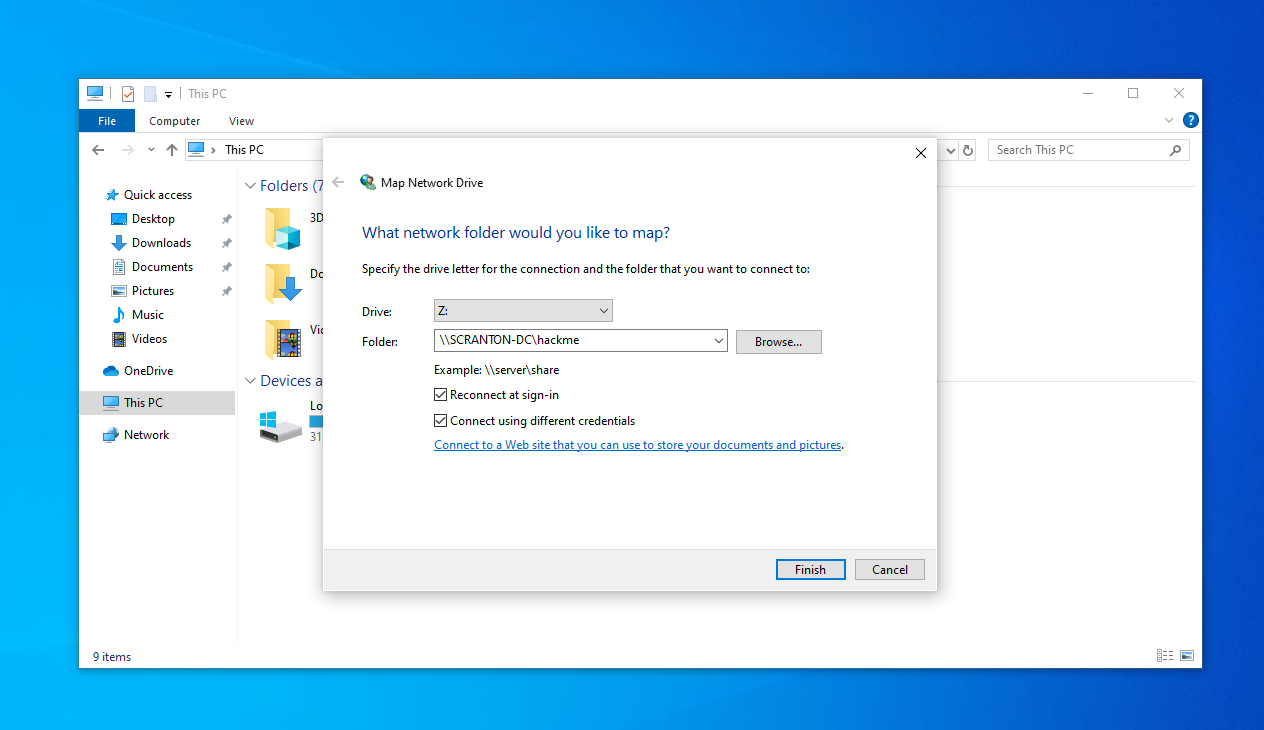
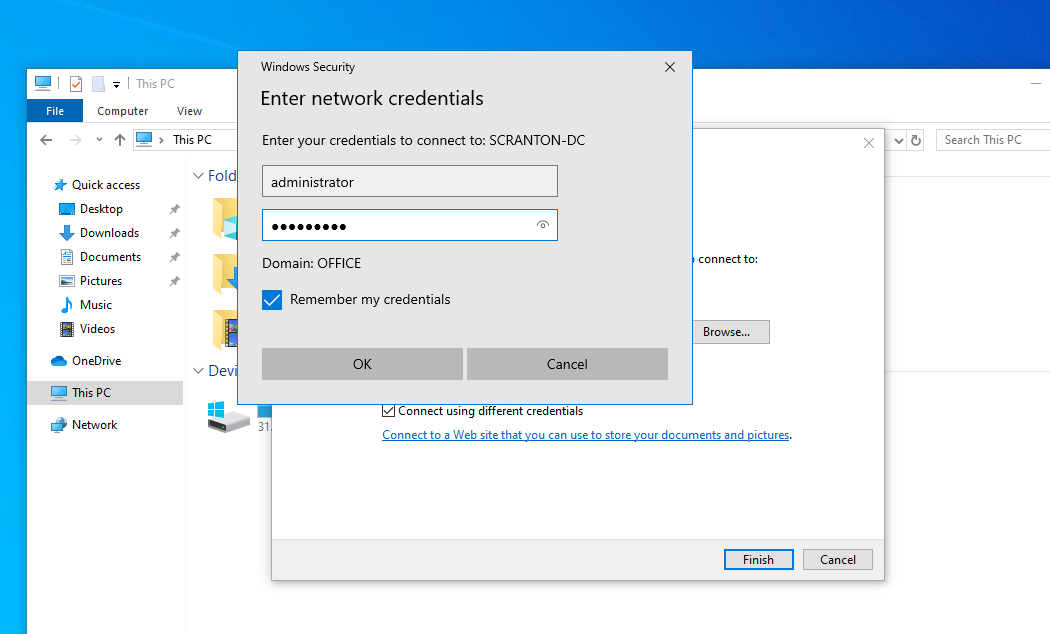
- Map a Network Drive:
- Log out and sign in as the local administrator.
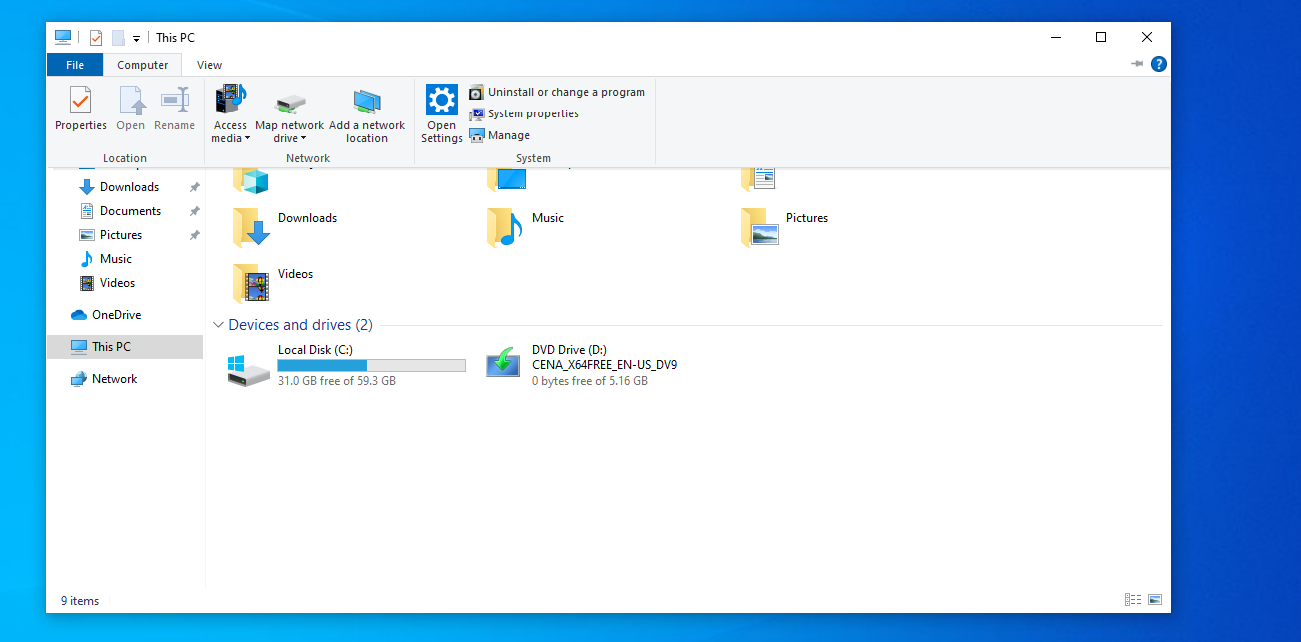
- Open File Explorer, select This PC, and choose Map Network Drive.
- Use the shared drive created earlier (e.g., hackme).
Final Notes: Lab Setup for Attack Simulation
- The above settings and procedures were intentionally designed to introduce potential problems and misconfigurations for practicing attack strategies.
This post is licensed under CC BY 4.0 by the author.